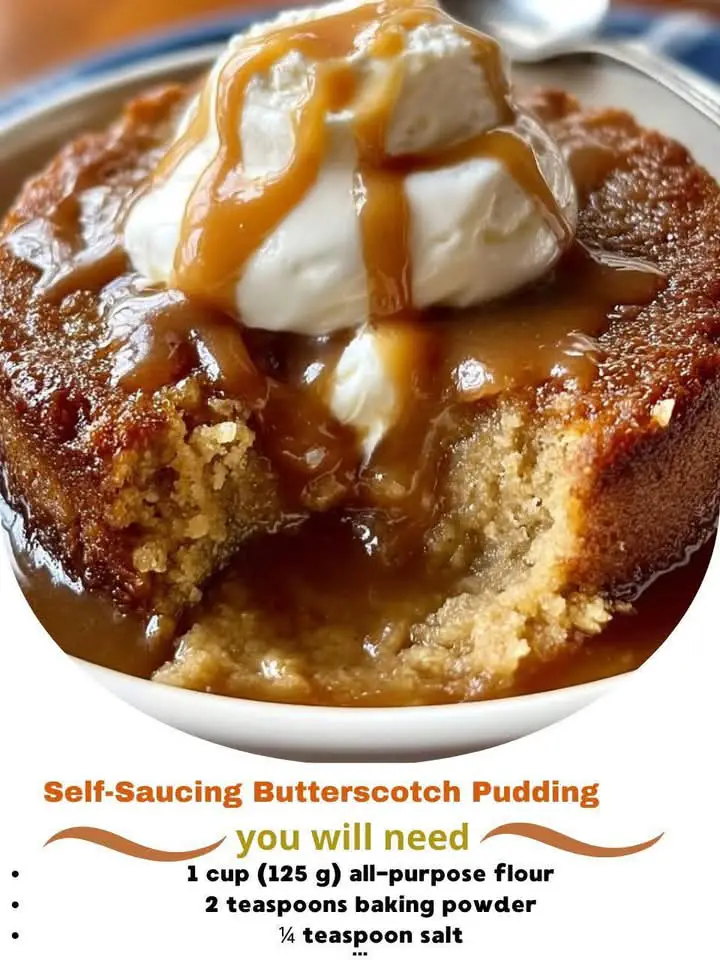
Self-saucing butterscotch pudding is one of those timeless desserts that feels almost magical the first time you make it. You pour a simple batter into a baking dish, sprinkle sugar on top, add boiling water, and place it in the oven. What comes out looks like a soft, cake-like pudding sitting on top of a rich, glossy butterscotch sauce that formed all by itself underneath. No stirring, no separate saucepan, and no complicated techniques—just pure comfort food perfection.
This dessert has long been a favorite in home kitchens because it delivers maximum flavor with minimal effort. It is warm, cozy, deeply caramelized, and best enjoyed straight from the oven with a spoon. Whether you are making it for a family dinner, a casual gathering, or a quiet evening treat, self-saucing butterscotch pudding always feels special.
In this article, you will learn exactly how this dessert works, why each ingredient matters, how to avoid common mistakes, and how to customize it to suit your taste. By the end, you will understand not only how to make it, but why it works so beautifully every time.
What Is Self-Saucing Butterscotch Pudding?
Self-saucing butterscotch pudding is a baked dessert that creates two layers as it cooks. The top layer is soft and cake-like, similar to a sponge pudding, while the bottom layer transforms into a thick, warm butterscotch sauce. The sauce forms naturally during baking without any stirring.
The magic happens because of the way the ingredients interact with heat. The batter is lighter and rises as it bakes, while the sugar, cornstarch, and boiling water sink to the bottom. As the dessert cooks, the cornstarch thickens the liquid into a silky sauce, flavored deeply by brown sugar and butter.
Why This Dessert Works So Well
There are several reasons why self-saucing butterscotch pudding is so reliable and satisfying:
- It uses simple pantry ingredients
- It requires no special equipment
- It bakes in one dish
- It creates its own sauce
- It is forgiving and hard to mess up
Even beginner bakers can achieve excellent results, which makes this dessert a popular choice for home cooks of all skill levels.
Ingredient Breakdown and Their Purpose
All-Purpose Flour
Flour provides structure to the pudding. It creates the soft cake layer that sits on top of the sauce. Too much flour would make the pudding dense, while too little would cause it to collapse into the sauce.
Baking Powder
Baking powder helps the batter rise as it bakes. This lift is important because it allows the cake layer to stay light and separate from the sauce below.
Salt
A small amount of salt balances the sweetness and enhances the caramel-like flavor of the brown sugar.
Brown Sugar (in the Batter)
Brown sugar in the batter adds moisture and a subtle molasses flavor. This gives the pudding its signature butterscotch taste and a soft crumb.
Melted Butter
Butter adds richness and depth. It also helps create a tender texture and enhances the overall flavor of the pudding.
Milk
Milk hydrates the batter and keeps it smooth. It also contributes to a creamy mouthfeel once baked.
Vanilla Extract
Vanilla adds warmth and rounds out the sweetness, making the flavor more complex and aromatic.
Brown Sugar (for the Sauce)
The brown sugar sprinkled on top is the heart of the butterscotch sauce. As it melts into the boiling water, it creates a deeply flavored caramel-like base.
Cornstarch
Cornstarch is the thickening agent for the sauce. As the pudding bakes, the cornstarch thickens the liquid into a smooth, spoonable sauce.
Boiling Water
Boiling water is essential. It dissolves the sugar and activates the cornstarch immediately, ensuring the sauce forms correctly during baking.
Step-by-Step Explanation of the Method
Step 1: Preheating the Oven
A properly preheated oven ensures even baking. Starting with the correct temperature allows the batter to rise at the right pace while the sauce develops underneath.
Step 2: Making the Batter
Mixing the dry ingredients first ensures even distribution of baking powder and sugar. Adding the wet ingredients creates a smooth batter that spreads easily in the baking dish. The batter should be thick but pourable.
Step 3: Preparing the Sauce Layer
The brown sugar and cornstarch are mixed and sprinkled evenly over the batter. This step is critical. Do not stir. Keeping this layer separate is what allows the sauce to form properly.
Step 4: Adding Boiling Water
Pouring boiling water over the top may feel counterintuitive, but this step is essential. The water seeps through the batter and carries the sugar and cornstarch downward. During baking, this liquid becomes the sauce.
Step 5: Baking
As the pudding bakes, the batter rises and sets on top while the sauce thickens below. The surface should look set and slightly cracked, while the bottom remains liquid and glossy.
Step 6: Serving
Letting the pudding rest briefly allows the sauce to thicken slightly without cooling too much. Serving it warm ensures the best texture and flavor.
Understanding the Self-Saucing Science
The key to this dessert lies in density and heat. The batter is lighter than the sugar-water mixture, so it naturally rises. The cornstarch thickens the liquid as it heats, transforming it into sauce. Because nothing is stirred after layering, the two components remain distinct, creating the signature pudding-and-sauce effect.
Tips for Perfect Results Every Time
- Always use boiling water, not warm or hot
- Do not stir after adding the sugar and water
- Use dark brown sugar for a deeper flavor
- Avoid overbaking, which can dry out the pudding
- Serve warm for the best texture
Flavor Variations to Try
Salted Butterscotch
Add a small pinch of sea salt to the sauce layer or sprinkle lightly over the finished pudding.
Apple Butterscotch
Fold thinly sliced apples into the batter before baking for a fruity twist.
Nutty Butterscotch
Sprinkle chopped pecans or walnuts over the batter before adding the boiling water.
Spiced Version
Add cinnamon, nutmeg, or ginger to the batter for warmth and complexity.
Chocolate-Butterscotch
Scatter chocolate chips over the batter for pockets of melted chocolate throughout.
Serving Suggestions
Self-saucing butterscotch pudding is delicious on its own, but it also pairs beautifully with:
- Vanilla ice cream
- Whipped cream
- Custard or pouring cream
The contrast between the warm pudding and cold topping makes every bite even more satisfying.
Storage and Reheating
- Store leftovers covered in the refrigerator for up to 3 days
- Reheat individual portions gently in the microwave
- Add a splash of milk if the sauce thickens too much
Frequently Asked Questions (FAQs)
Why didn’t my sauce form?
This usually happens if the water was not boiling or if the layers were stirred together before baking.
Can I use white sugar instead of brown sugar?
Brown sugar is strongly recommended. White sugar lacks the molasses flavor that gives butterscotch its depth.
Can I make this dessert ahead of time?
It is best served fresh, but it can be reheated gently with good results.
What size dish should I use?
An 8×8-inch baking dish works best. A dish that is too shallow may cause the sauce to evaporate too quickly.
Can I double the recipe?
Yes, but use a larger dish and extend the baking time slightly, checking for doneness.
Is this dessert supposed to be runny?
The sauce should be thick but pourable. If it is very thin, it likely needs a few more minutes of baking.
Final Thoughts
Self-saucing butterscotch pudding is the kind of dessert that proves you do not need complicated techniques to create something truly special. With simple ingredients and a bit of baking magic, you get a warm, comforting dessert that feels both nostalgic and impressive. Once you make it, it is almost guaranteed to become a regular favorite in your kitchen.