Tired of battling stubborn stains that just won’t budge? After hours of digging through Pinterest, I finally discovered a game-changing homemade stain remover using only three common household ingredients: Hydrogen Peroxide, Dawn Dish Soap, and Baking Soda. Not only is this mixture effective on fresh stains, but it works wonders on set-in stains—even those that have been around for years!
This DIY solution is budget-friendly, non-toxic, and surprisingly easy to make. In this article, I’ll walk you through everything you need to know about making and using this powerful homemade stain remover, share practical tips, and answer some frequently asked questions to help you get the best results.
Why This DIY Stain Remover Works So Well
Before we dive into the full recipe, let’s break down why this combination is so effective:
- Hydrogen Peroxide: A natural bleaching agent that lifts stubborn stains like blood, sweat, and food without harsh chemicals.
- Dawn Dish Soap: Known for its grease-cutting power, Dawn helps dissolve oils, food residues, and dirt.
- Baking Soda: A gentle abrasive and natural deodorizer that lifts stains and neutralizes odors.
When combined, these three ingredients form a powerful cleaning paste that penetrates deep into fabric fibers to lift even the most persistent stains.
Ingredients for the Stain Remover
To make this stain remover, you’ll only need a few basic ingredients:
What You’ll Need
- 2 parts Hydrogen Peroxide (3%)
- 1 part Dawn Dish Soap (original blue formula)
- 1 part Baking Soda
Example Measurement
If you’re mixing a batch for a few items, here’s a sample ratio:
- 1 cup Hydrogen Peroxide
- ½ cup Dawn Dish Soap
- ½ cup Baking Soda
Once combined, the mixture will start to bubble slightly and develop a thick, paste-like texture due to the reaction between the peroxide and baking soda.
How to Make the DIY Stain Remover
- Choose a mixing bowl or measuring cup.
- Add 1 cup of hydrogen peroxide.
- Mix in ½ cup of Dawn dish soap.
- Add ½ cup of baking soda and stir gently.
- Mix until the paste is well-combined. The bubbling reaction is normal—it means the ingredients are activating.
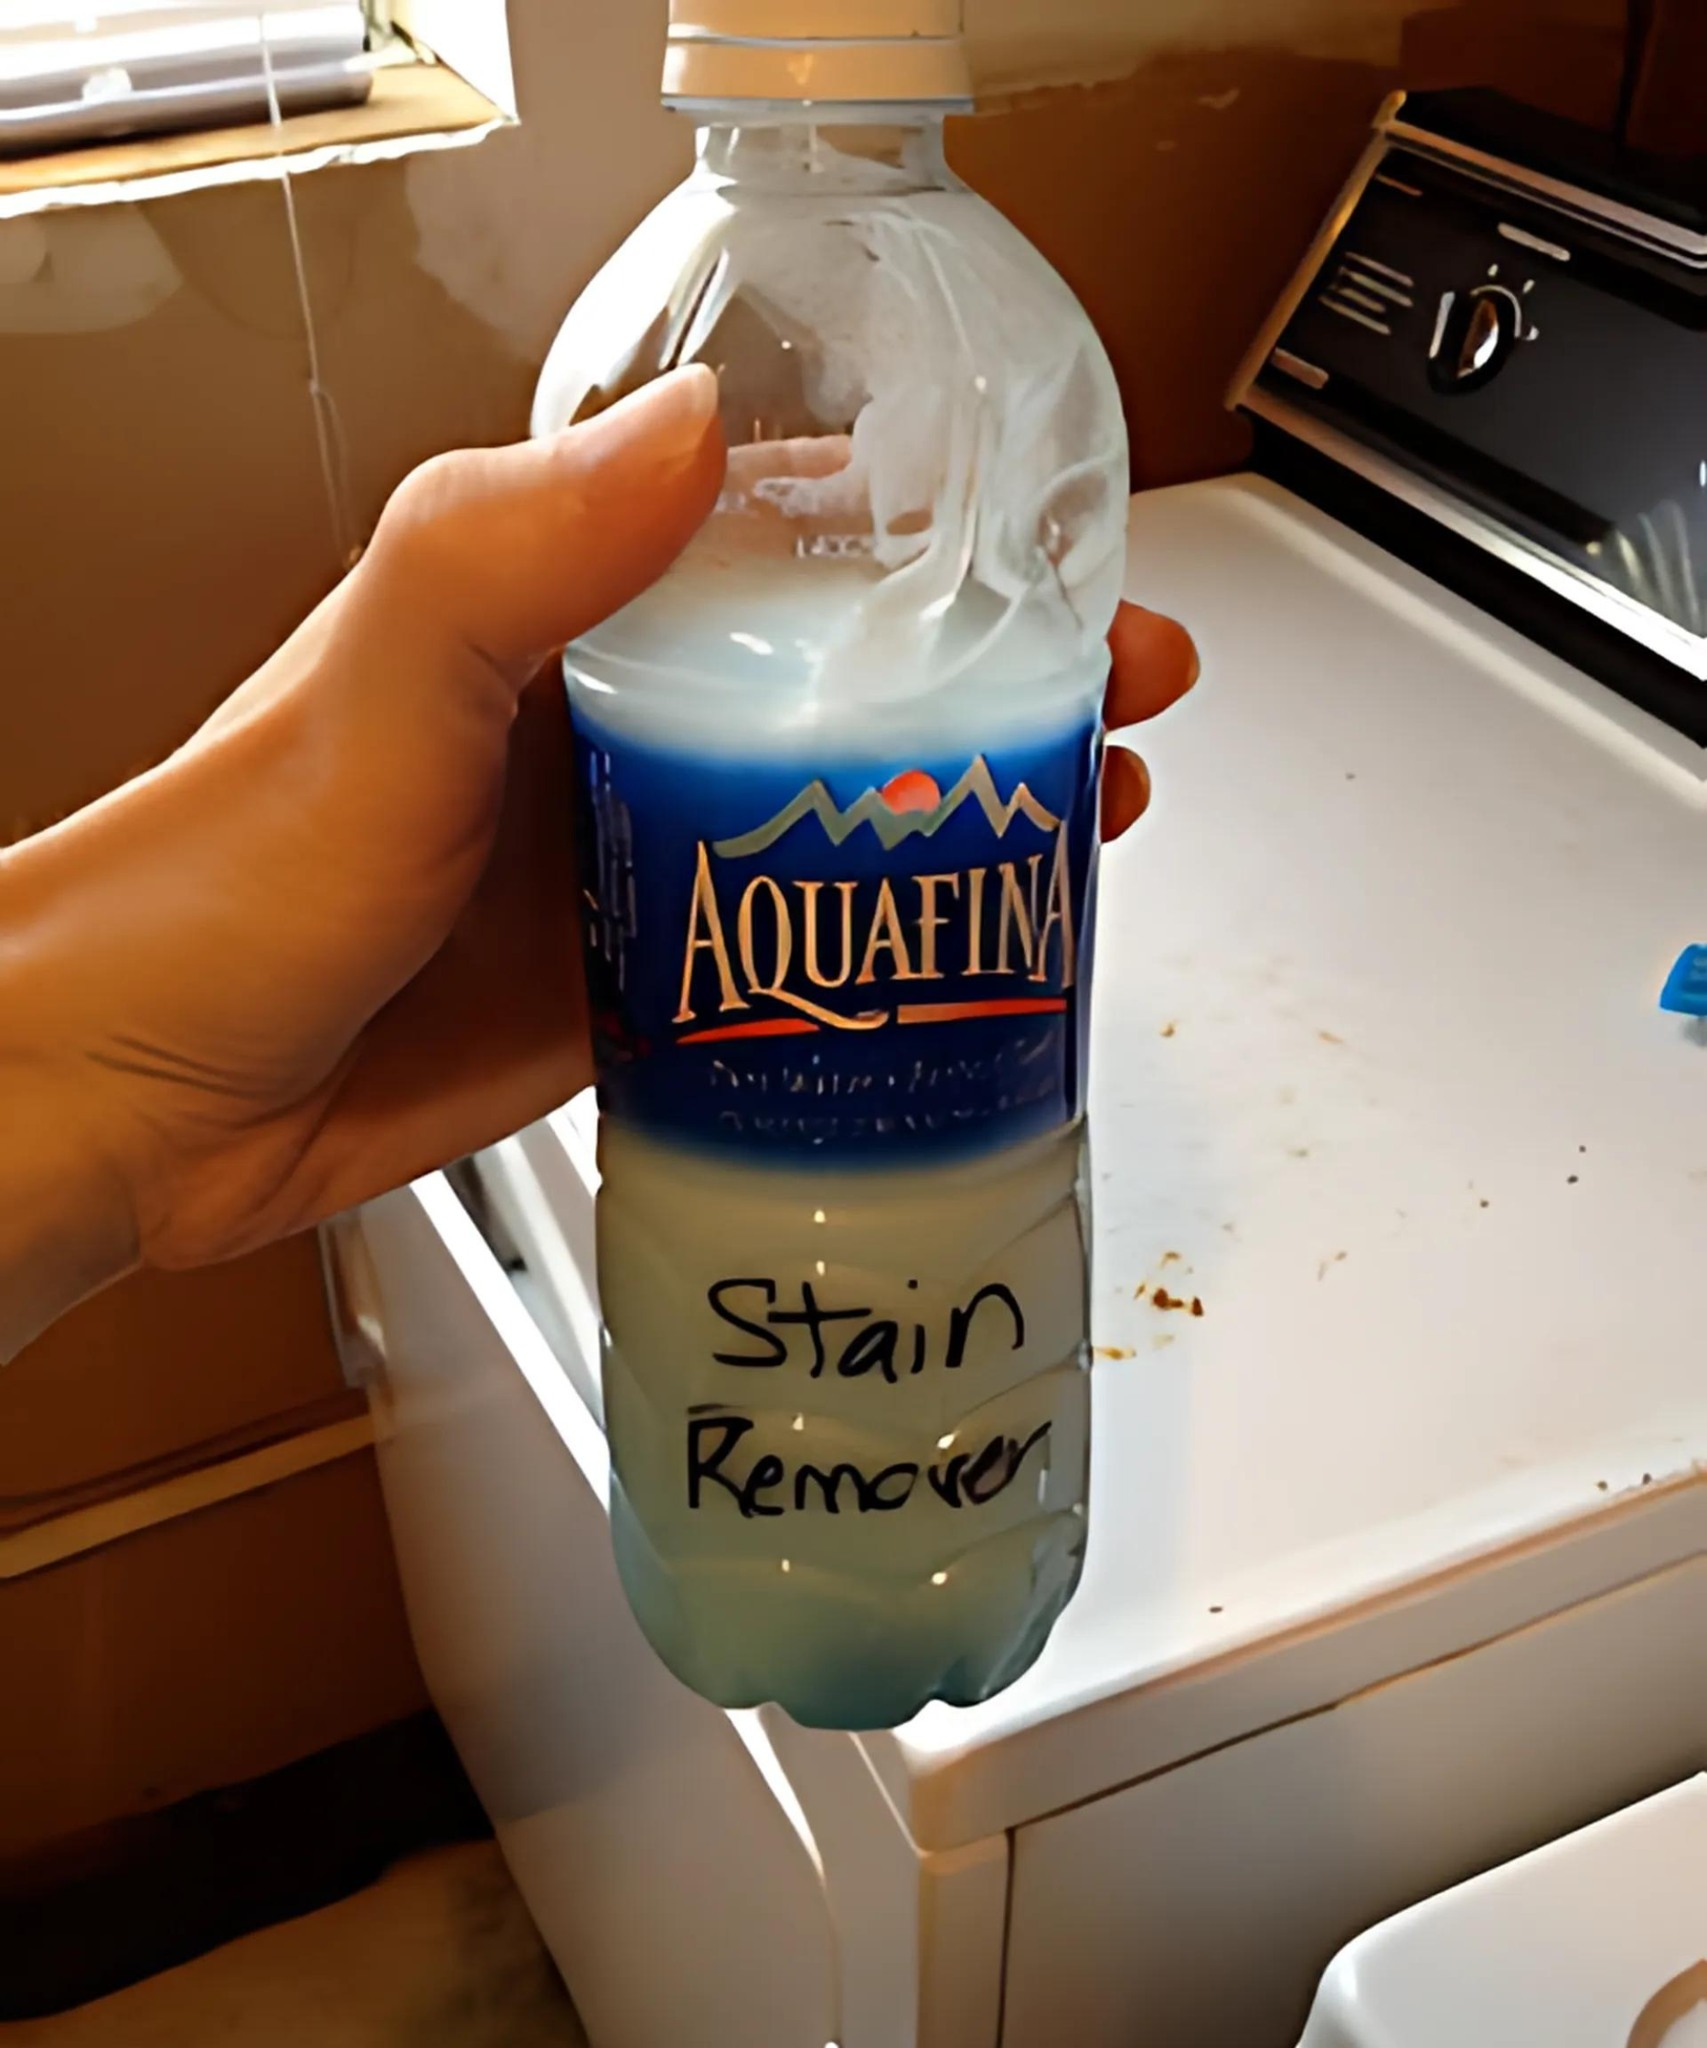
If you’re not using it immediately, pour the mixture into a squeeze bottle or airtight container for storage.
How to Use the Stain Remover Effectively
Step-by-Step Instructions
-
Apply Generously
- Use a spoon or squeeze bottle to apply the stain remover directly to the stained area. Make sure the fabric is dry before applying.
-
Scrub Into Fabric
- Use an old toothbrush, laundry brush, or your fingers (with gloves) to work the mixture into the stain. Be thorough but gentle to avoid damaging the fabric.
-
Let It Soak
- Allow the treated area to sit for at least 1 hour. For older or tougher stains, let it soak for 2–3 hours or even overnight.
-
Wash Normally
- After soaking, toss the garment into your washing machine and wash with your usual detergent on a normal cycle.
-
Inspect Before Drying
- Always check the stain before placing the item in the dryer. Heat can permanently set stains that aren’t completely gone.
Real-Life Results
I tested this DIY mixture on several old garments with stains ranging from coffee and ketchup to grass and sweat. One shirt had a tomato sauce stain that had been sitting for over two years. After one treatment, the stain vanished completely. No ghost stains, no yellowing—just bright, clean fabric.
The results were so impressive that I made a larger batch and stored it in a squeeze bottle for future use. It’s now my go-to solution for all laundry mishaps.
Tips for Best Results
- Spot Test First: Always test the solution on a hidden area of the fabric, especially with colored items, as hydrogen peroxide can lighten some dyes.
- Use Fresh Ingredients: Peroxide loses its potency over time. Make sure your bottle is still effective (check for fizzing when mixed with baking soda).
- Apply to Dry Fabric: The cleaner penetrates better when the fabric is dry. Avoid damp or wet areas during application.
- Storage Tip: Store leftovers in a dark-colored bottle or opaque container to keep the peroxide from breaking down in light.
- Avoid Delicate Fabrics: This mixture is best for cotton, denim, and synthetic blends. Avoid silk, wool, or delicate lace.
FAQs
Can I use this on colored clothes?
Yes, but always spot test first. Hydrogen peroxide can have a mild bleaching effect on some dark or bright-colored fabrics.
Can I use a different brand of dish soap?
Absolutely. While Dawn Blue is recommended because of its proven grease-cutting power, other mild dish soaps may work. Avoid soaps with added bleach or moisturizers
Is it safe to use on baby clothes?
Yes, as long as you rinse the fabric thoroughly. This stain remover contains no harsh chemicals, but you may want to do an extra rinse cycle to ensure no residue remains.
Can I store the mixture?
Yes, but for short-term use only. Hydrogen peroxide loses strength when exposed to light and air. Store it in a sealed, opaque container and use within a week for best results.
What types of stains does this work on?
This remover is great for:
- Grass
- Blood
- Grease
- Sweat
- Coffee
- Tomato sauce
- Ink
- Food stains
For oil-based stains, you may need to apply a second treatment.
Can I use this on upholstery or carpet?
You can try it on durable, light-colored upholstery, but spot test first and avoid over-saturating the fabric. Blot instead of scrubbing to prevent damage.
Final Thoughts
This DIY stain remover is a lifesaver in any laundry routine. With just three inexpensive, everyday ingredients, you can eliminate tough stains that store-bought removers often fail to touch. It’s easy to make, simple to use, and—most importantly—it really works.
Keep a small batch on hand in your laundry room, and you’ll never have to worry about unexpected spills again. Whether it’s a fresh stain or one that’s been haunting your clothes for years, this homemade solution brings your fabrics back to life—bright, clean, and stain-free.