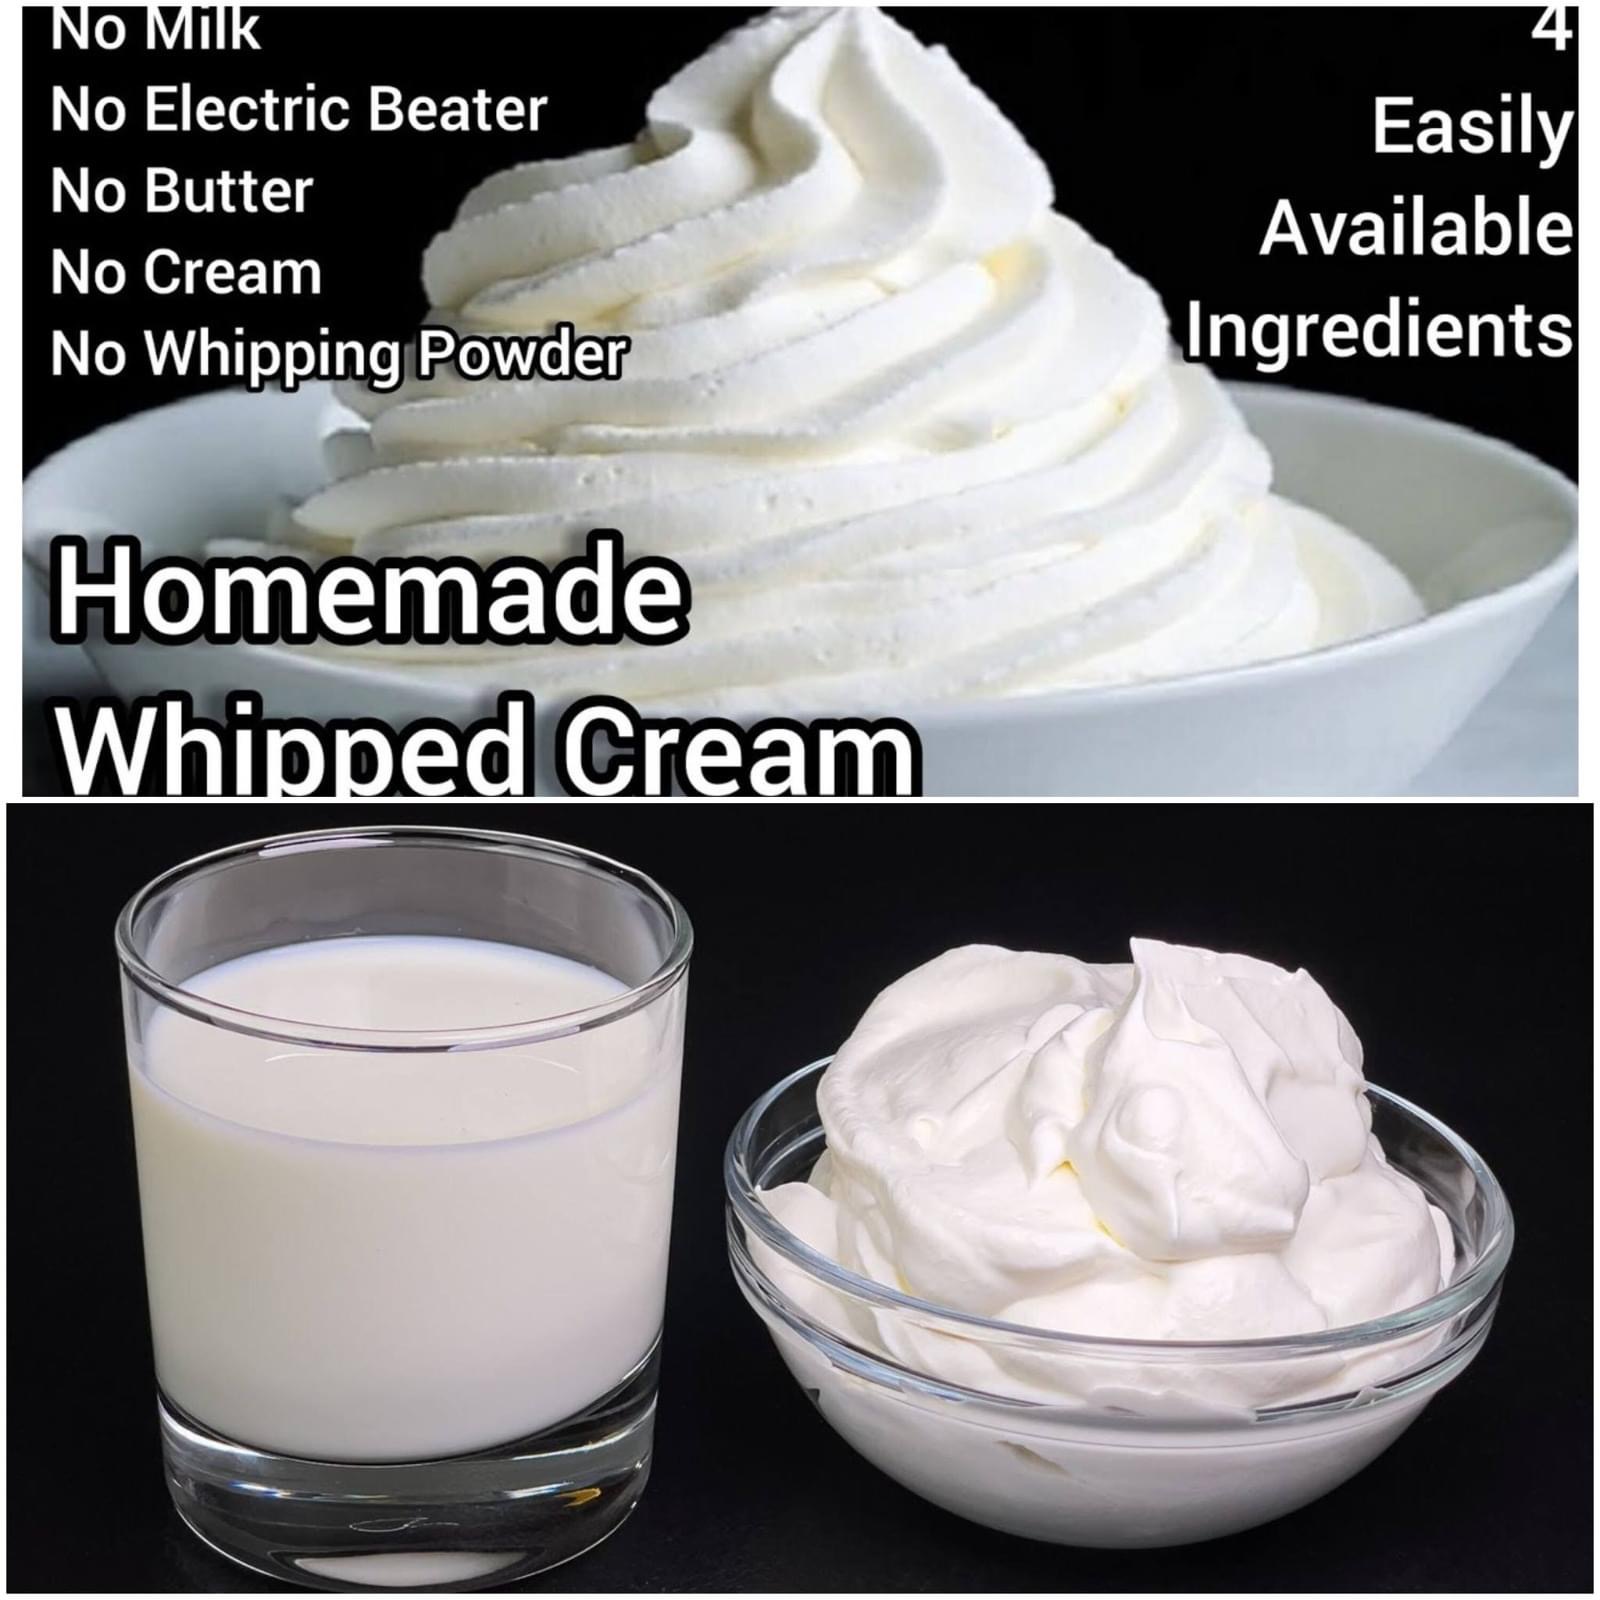
How to Turn One Glass of Milk into Whipped Cream: A Quick 10-Minute Homemade Recipe without Sugar
Whipped cream is a delightful addition to many desserts, from cakes and pies to hot cocoa and fresh fruit. Typically, making whipped cream requires heavy cream, but did you know you can also make it with just a glass of milk? This easy, sugar-free recipe takes only 10 minutes and produces a creamy, fluffy topping that’s perfect for any treat. Let’s dive into the process of transforming a simple glass of milk into delicious whipped cream.
Why Make Whipped Cream from Milk?
Using milk to make whipped cream is a great alternative for those who:
- Don’t have heavy cream on hand.
- Prefer a lighter option.
- Want to control the ingredients, avoiding added sugars and preservatives.
Ingredients and Equipment
Ingredients:
- 1 cup of full-fat milk (whole milk works best for this recipe)
- 1 tablespoon of unflavored gelatin
- 2 tablespoons of cold water
- 1/2 teaspoon of vanilla extract (optional, for added flavor)
Equipment:
- A small mixing bowl
- A microwave or a small saucepan
- A large mixing bowl
- An electric mixer or a whisk
- Measuring cups and spoons
Step-by-Step Instructions
Step 1: Prepare the Gelatin Mixture
- In a small bowl, combine the unflavored gelatin with 2 tablespoons of cold water. Stir well and let it sit for a minute to allow the gelatin to bloom (absorb the water and swell).
Step 2: Dissolve the Gelatin
- Once the gelatin has bloomed, heat it gently to dissolve. You can do this in the microwave for about 10-15 seconds or in a small saucepan over low heat. Stir until the gelatin is completely dissolved and set it aside to cool slightly.
Step 3: Whip the Milk
- Pour the cup of milk into a large mixing bowl. If you prefer, add the vanilla extract for a touch of flavor.
- Using an electric mixer or a whisk, start whipping the milk on medium speed. Continue whipping until the milk begins to thicken and form soft peaks. This process can take about 5-7 minutes.
Step 4: Incorporate the Gelatin
- Slowly drizzle the cooled, dissolved gelatin into the whipped milk while continuing to beat on medium speed. The gelatin will help stabilize the whipped cream, allowing it to hold its shape.
- Increase the mixer speed to high and continue whipping until stiff peaks form. This means the whipped cream should hold its shape firmly when the beaters are lifted.
Step 5: Serve Immediately
- Your homemade whipped cream is now ready to use! It’s best to use it immediately, but if you need to store it, keep it in the refrigerator for up to 2 hours. Stir gently before using, as it may lose some of its volume over time.
Tips for Perfect Homemade Whipped Cream
- Use Cold Ingredients: Cold milk and a cold mixing bowl can help achieve better volume and texture.
- Full-Fat Milk: Full-fat milk works best for this recipe, as it has a higher fat content that contributes to a creamier, more stable whipped cream.
- Avoid Over-Whipping: Be careful not to over-whip the mixture, as it can turn grainy. Stop whipping as soon as stiff peaks form.
Frequently Asked Questions (FAQs)
Can I use non-dairy milk for this recipe?
Non-dairy milk, such as almond or soy milk, generally doesn’t whip up as well as full-fat dairy milk due to its lower fat content. However, you can experiment with non-dairy whipping creams available in the market, designed specifically for whipping.
Is it possible to sweeten the whipped cream?
Yes, if you prefer sweetened whipped cream, you can add a sugar substitute, such as stevia or erythritol, or a tablespoon of honey or maple syrup to the milk before whipping.
How long will this whipped cream hold its shape?
This whipped cream is best used immediately.