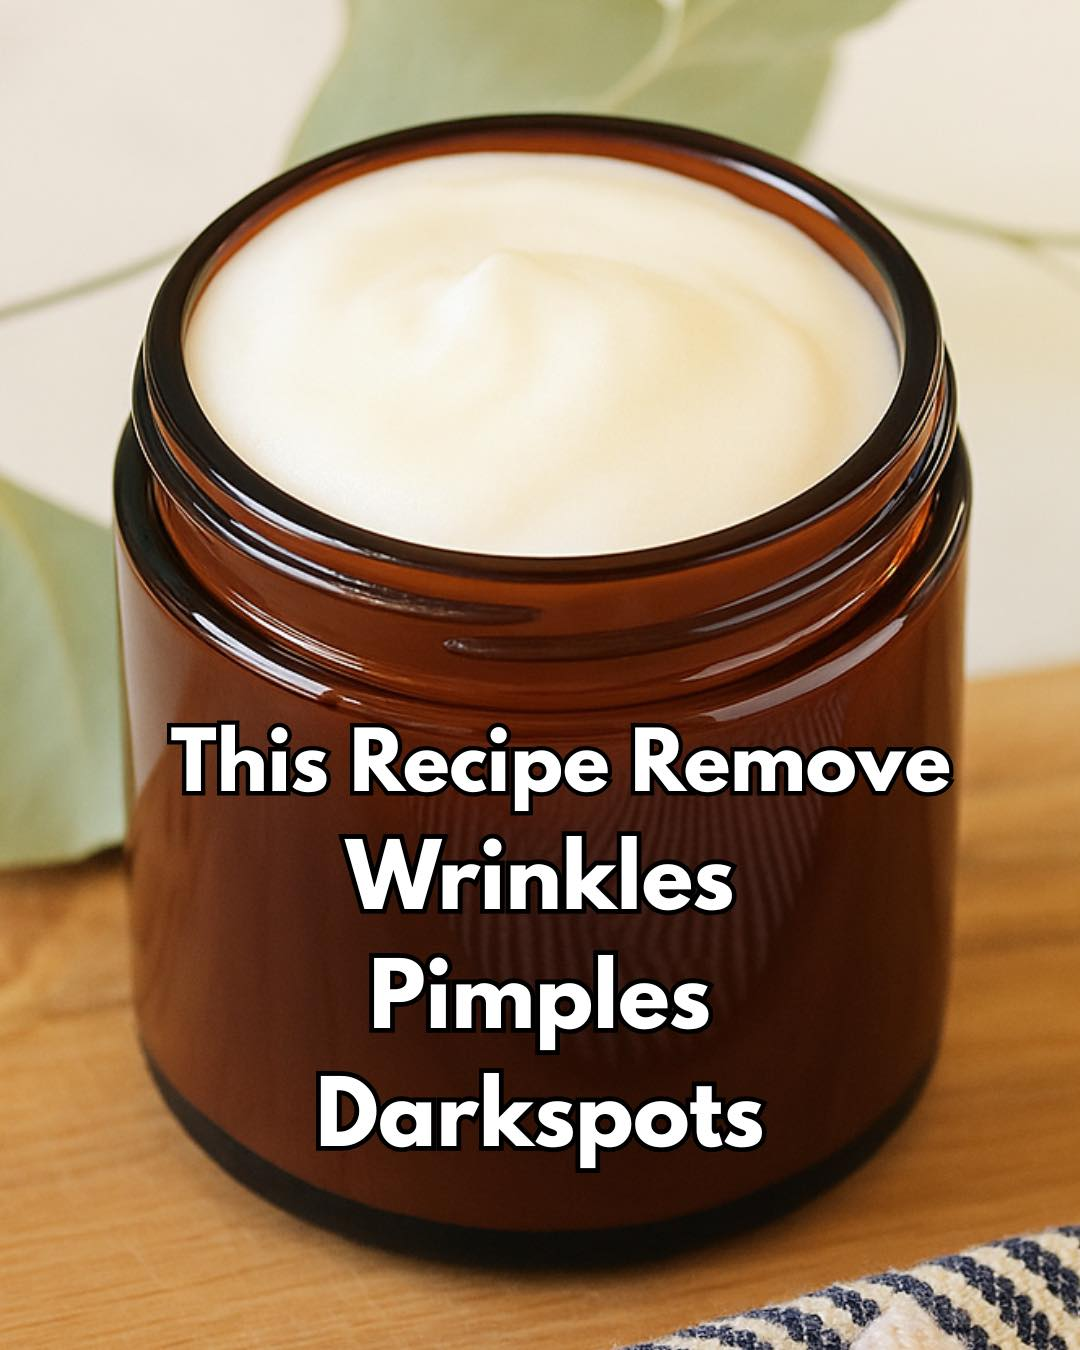
If you’re struggling with stubborn pimples, dark spots, or early signs of aging, you’re not alone. Many over-the-counter skincare products promise fast results but contain harsh chemicals that may do more harm than good. This DIY herbal cream offers a simple, natural alternative packed with plant-based ingredients that nourish the skin deeply and target multiple skin concerns at once.
With regular use, this cream helps smooth fine lines, calm acne, and lighten dark spots—without harmful additives or synthetic preservatives. It’s gentle enough for daily use and suitable for all skin types, including sensitive, oily, and aging skin.
Benefits of Using Natural Skincare
Switching to natural skincare isn’t just a trend—it’s a smart, skin-loving choice. Commercial products often include parabens, sulfates, and artificial fragrances that irritate the skin or trigger allergic reactions. Natural ingredients, however, are gentle and loaded with nutrients your skin actually needs.
Here’s why this DIY herbal cream stands out:
- Non-toxic: No synthetic additives or artificial preservatives
- Multitasking: Combats wrinkles, acne, and pigmentation in one formula
- Nutrient-rich: Full of antioxidants, essential oils, and vitamins
- Budget-friendly: Saves money compared to store-bought serums and creams
- Customizable: Easily adaptable based on your skin’s needs
Ingredients for DIY Herbal Cream
Each ingredient in this cream plays a key role in restoring your skin’s health. These natural components work in synergy to improve texture, tone, and clarity.
Shea Butter (2 tablespoons)
- Deeply moisturizing and softens fine lines
- Rich in Vitamins A and E
- Helps restore elasticity and strengthen the skin barrier
Aloe Vera Gel (2 tablespoons)
- Hydrates and calms inflamed skin
- Reduces redness and acne scars
- Lightens dark spots over time
Rosehip Seed Oil (1 tablespoon)
- Loaded with antioxidants and essential fatty acids
- Known for fading dark spots, scars, and signs of aging
- Encourages collagen production
Turmeric Powder (½ teaspoon)
- Natural brightener and anti-inflammatory
- Reduces pimples and evens skin tone
- May stain skin slightly, use cautiously
Tea Tree Essential Oil (5 drops)
- Powerful antibacterial agent
- Treats acne by targeting clogged pores and inflammation
- Prevents future breakouts
Vitamin E Oil (1 capsule or 5 drops)
- Slows signs of aging
- Reduces scars and supports healing
- Acts as a natural preservative
Lavender Essential Oil (Optional – 5 drops)
- Calming scent
- Speeds up wound healing
- Helps reduce redness and inflammation
Step-by-Step Instructions
This recipe is simple to follow and takes less than 15 minutes to prepare. Just follow these steps and store it properly for long-lasting use.
Step 1: Melt the Shea Butter
Use a double boiler or place a heat-safe bowl over a pot of simmering water. Melt the shea butter until it’s soft but not completely liquid. Remove from heat.
Step 2: Add Aloe Vera Gel
Once slightly cooled, mix in the aloe vera gel. Stir well to create a creamy texture.
Step 3: Mix in the Oils
Add rosehip seed oil, vitamin E oil, and tea tree essential oil (and lavender oil if using). Stir continuously to combine.
Step 4: Add Turmeric Powder
Sprinkle in the turmeric and whisk thoroughly until evenly distributed. Ensure there are no clumps.
Step 5: Pour and Store
Transfer the cream into a clean, sterilized jar with a lid. Let it cool and set at room temperature. For a thicker texture, refrigerate for a few hours.
How to Use the Herbal Cream
- Cleanse: Wash your face thoroughly and pat dry.
- Apply: Take a pea-sized amount and massage gently into your face using upward circular motions.
- Timing: Best applied at night before bed so it can absorb while you sleep.
- Frequency: Safe for daily use, but start with 3–4 times a week to test how your skin reacts.
Tips for Best Results
- Patch Test First: Especially important if you have sensitive or allergy-prone skin. Test on your wrist before full application.
- Avoid the Eye Area: The cream is rich and may be too heavy for delicate under-eye skin.
- Use at Night: Because it’s oil-based, it’s best used before bed rather than under makeup.
- Mix Fresh Aloe: If possible, use freshly scooped aloe vera gel instead of store-bought versions with additives.
- Apply on Damp Skin: This helps the cream absorb better and lock in hydration.
Storage Tips
- Shelf Life: Lasts about 1 month at room temperature, up to 3 months if refrigerated.
- Use Clean Tools: Always scoop out cream with a clean spoon or spatula to avoid contamination.
- Keep Away from Heat: Store in a cool, dark cabinet or refrigerator for maximum freshness.
Frequently Asked Questions
Can I use this cream on oily skin?
Yes. Although rich, the ingredients are non-comedogenic. Use a small amount and monitor how your skin responds.
Will turmeric stain my face?
It may leave a temporary yellow tint, especially on fair skin. Use only ½ teaspoon and mix thoroughly to reduce staining.
Can I wear this cream under makeup?
It’s not recommended. The cream is rich and oil-based, which may cause your makeup to slide or look patchy.
How long until I see results?
Visible improvements usually appear within 2–4 weeks of consistent use. Results vary based on skin type and condition.
Is it safe for teens or older adults?
Absolutely. All ingredients are gentle and suitable for any age group.
Can I use different essential oils?
Yes, you can substitute tea tree or lavender oil with others like frankincense, geranium, or chamomile—just make sure they suit your skin type.
Final Thoughts
This DIY herbal cream is a natural and effective way to target wrinkles, pimples, and dark spots without the harsh side effects of chemical-based products. With nourishing oils, healing herbs, and time-tested skincare ingredients, it offers a complete solution for brighter, smoother, and clearer skin.