If you’re a peanut butter lover, these Mini Peanut Butter Pies will become your new favorite dessert! With a creamy peanut butter filling nestled in a crunchy graham cracker crust, they are the perfect bite-sized indulgence. Whether you’re looking for a quick snack, an after-dinner treat, or a make-ahead dessert for a party, these mini pies are delicious, easy, and require no baking.
One of the best things about this recipe is its simplicity. With just a few ingredients and minimal effort, you can create a dessert that tastes rich, creamy, and absolutely irresistible. Plus, since they’re made in mini portions, they’re great for sharing—or keeping all to yourself!
In this article, we’ll walk you through everything you need to know about making the perfect mini peanut butter pies, from the ingredients to step-by-step instructions, expert tips, and FAQs.
Why You’ll Love This Recipe
✔ No-Bake & Easy – No oven required! Just mix, whip, and chill.
✔ Perfectly Creamy – A luscious peanut butter filling with a light, fluffy texture.
✔ Mini & Portable – Great for portion control and easy to serve at parties.
✔ Customizable – Add chocolate, caramel, or nuts for extra flavor.
✔ Make-Ahead Friendly – Perfect for preparing in advance and storing in the fridge or freezer.
Ingredients for Mini Peanut Butter Pies
For the Peanut Butter Filling:
- 1 cup (240g) smooth peanut butter – Creamy peanut butter creates a rich, velvety texture.
- 1 cup (120g) powdered sugar – Adds sweetness and helps achieve the right consistency.
- 1 cup (240ml) heavy cream – Whipped to create a light, airy filling.
- 1 teaspoon vanilla extract – Enhances the overall flavor.
For the Crust:
- 12 mini graham cracker pie crusts – Store-bought or homemade.
For Toppings (Optional):
- Chocolate shavings – Adds a decorative and tasty touch.
- Mini peanut butter cups – Perfect for extra peanut butter goodness.
- Drizzle of melted chocolate or caramel – For extra indulgence.
- Crushed peanuts – Adds a crunchy texture.
Step-by-Step Instructions
Step 1: Prepare the Peanut Butter Filling
- In a large mixing bowl, combine the smooth peanut butter and powdered sugar. Stir until smooth and fully combined.
- In a separate bowl, beat the heavy cream and vanilla extract using an electric mixer until stiff peaks form. Be careful not to overwhip, or the cream may turn grainy.
Step 2: Fold the Mixture
- Gently fold the whipped cream into the peanut butter mixture. Use a spatula and a light hand to keep the mixture airy. Avoid overmixing, as this can deflate the whipped cream and make the filling dense.
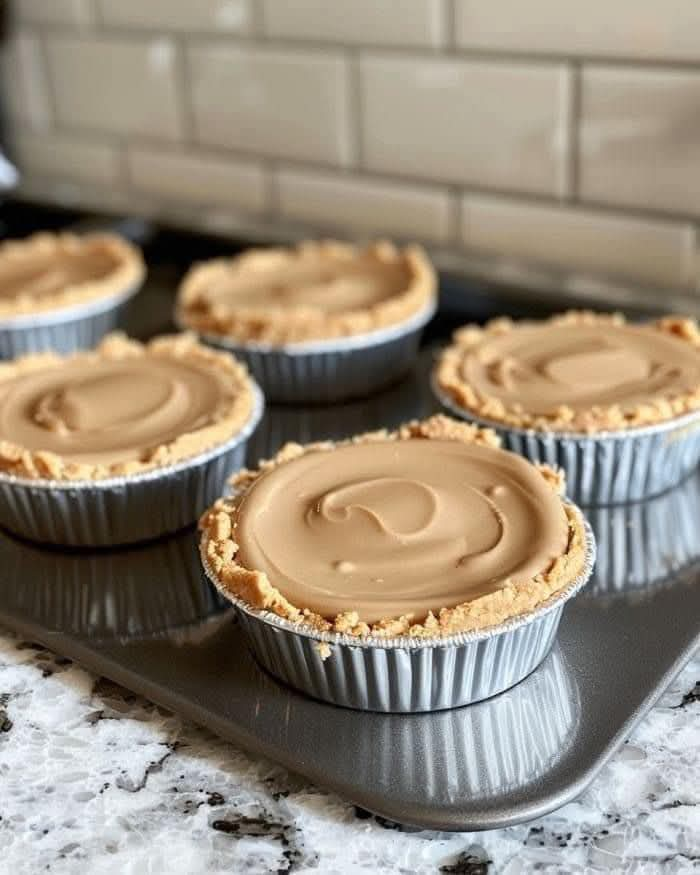
Step 3: Fill the Mini Pie Crusts
- Evenly distribute the peanut butter filling into the mini graham cracker crusts using a spoon or piping bag.
- Smooth the tops with a spatula or the back of a spoon to create an even surface.
Step 4: Chill the Pies
- Place the pies in the refrigerator for at least 2 hours to allow the filling to set properly.
Step 5: Add Toppings & Serve
- Just before serving, garnish with chocolate shavings, mini peanut butter cups, or a drizzle of melted chocolate for an extra touch of flavor and decoration.
- Serve chilled and enjoy!
Expert Tips for the Best Mini Peanut Butter Pies
✔ Use Full-Fat Ingredients – Full-fat heavy cream and peanut butter create the creamiest, richest filling.
✔ Chill for the Best Texture – Allowing the pies to chill for at least 2 hours helps them firm up properly.
✔ Homemade Graham Cracker Crust – If you can’t find mini pie crusts, make your own by mixing 1 cup crushed graham crackers + ¼ cup melted butter and pressing the mixture into muffin tins.
✔ Make Them Ahead – These pies can be made up to 2 days in advance and stored in the fridge.
✔ Try a Chocolate Twist – Add 2 tablespoons of cocoa powder to the peanut butter filling for a chocolate-peanut butter version.
FAQs About Mini Peanut Butter Pies
Can I Use Crunchy Peanut Butter Instead of Smooth?
Yes! Crunchy peanut butter will add a slight crunch to the filling, making it even more textured. However, if you prefer a completely smooth consistency, stick with creamy peanut butter.
Can I Use Whipped Topping Instead of Heavy Cream?
Yes, if you prefer, you can substitute 1 ½ cups of Cool Whip for the homemade whipped cream. The texture will be slightly different but still delicious.
How Do I Store These Mini Peanut Butter Pies?
Store them in an airtight container in the refrigerator for up to 5 days.
Can I Freeze Mini Peanut Butter Pies?
Yes! These pies freeze exceptionally well. Place them in an airtight container and freeze for up to 2 months. When ready to eat, let them thaw in the fridge for a few hours before serving.
How Can I Make a Healthier Version?
To make a lighter version, try using:
- Natural peanut butter with no added sugar.
- Greek yogurt instead of heavy cream.
- A sugar substitute like monk fruit sweetener.
What Other Flavors Can I Try?
- Salted Caramel Peanut Butter Pies: Drizzle with caramel and sprinkle with flaky sea salt.
- Nutella Peanut Butter Pies: Swirl Nutella into the filling for a chocolate-hazelnut twist.
- Oreo Peanut Butter Pies: Add crushed Oreos to the graham cracker crust.
Storage & Reheating Tips
How to Store Mini Peanut Butter Pies
✔ Refrigerator: Store in an airtight container for up to 5 days.
✔ Freezer: Freeze individual pies for up to 2 months.
How to Serve After Freezing
✔ Let the pies thaw in the fridge for a few hours before serving.
✔ Eat them partially frozen for a firmer, ice cream-like texture.
Conclusion
These Mini Peanut Butter Pies are the perfect no-bake dessert—easy, delicious, and packed with rich peanut butter flavor. Whether you’re making them for a party, meal prep, or a quick snack, they’re guaranteed to satisfy your sweet cravings.
With their creamy texture, customizable flavors, and simple preparation, these pies are a must-try for any peanut butter fan. Try this recipe today and enjoy a creamy, dreamy peanut butter treat anytime you want!