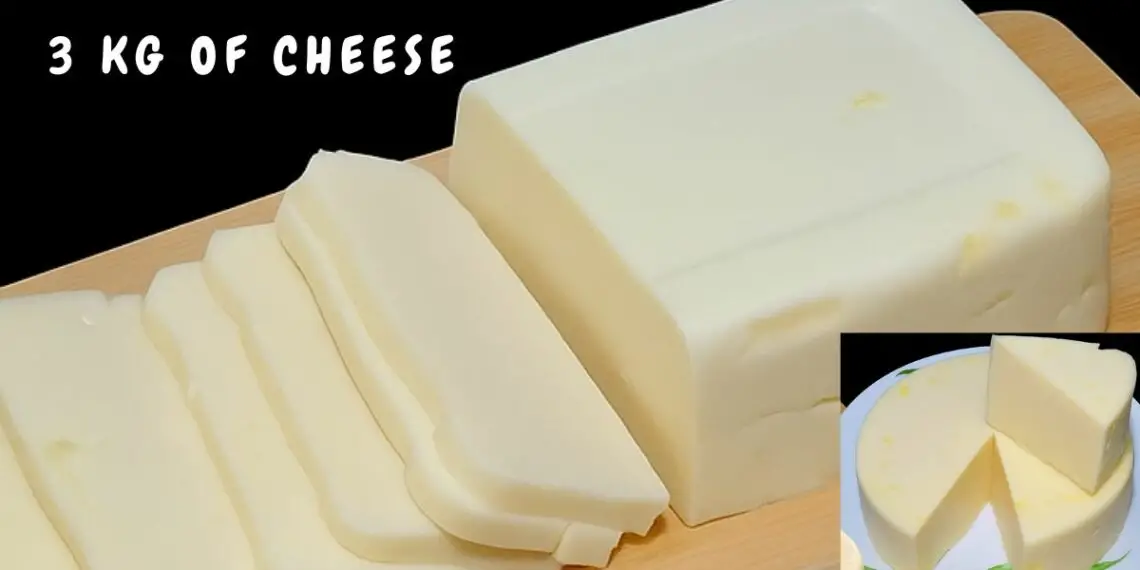
Making homemade cheese doesn’t have to be complicated or expensive. In fact, with just a few everyday ingredients and a bit of patience, you can prepare nearly 3 kilograms (6.6 pounds) of creamy, firm, and flavorful cheese in your own kitchen. No need for professional equipment or special training—just follow this step-by-step method and enjoy a cheese that rivals store-bought versions in both taste and texture.
Ingredients
- 8 ½ cups whole milk (2 liters)
- 3 ½ cups shredded mozzarella cheese (400 g)
- 2 cups milk whey (500 ml), reserved from curdling process
- ⅔ cup apple cider vinegar (150 ml)
- 4 tablespoons butter or margarine (60 g)
- 1 ½ tablespoons salt
- 2 tablespoons cornstarch (20 g)
- 1 small carton heavy cream or table cream (optional, 200 ml / ~¾ cup)
Preparing the Curds
Heat the Milk
Pour 2 liters of whole milk into a large saucepan.
Set the pan over medium heat and warm the milk until you see the first small bubbles forming along the sides. Do not allow it to reach a full boil.
Add the Vinegar
Once the milk is hot, gently stir in 150 ml of apple cider vinegar.
As you stir, you’ll notice the milk beginning to curdle—solid curds will separate from the watery whey.
Note: If you don’t have apple cider vinegar, white vinegar or lemon juice will also work, but the flavor may be slightly different.
Let It Rest
Turn off the heat and allow the curdled mixture to sit undisturbed for about 30 minutes.
This resting time helps the curds fully form and firm up.
Separating the Whey
Strain the Mixture
Line a fine sieve or colander with a clean cheesecloth or cotton kitchen towel.
Carefully pour the mixture through to separate the curds from the whey.
Set aside 500 ml (2 cups) of the whey—you’ll need it later in the recipe. The remaining whey can be stored for other recipes (like bread, smoothies, or soups).
Drain the Curds
Gather the cloth around the curds and gently squeeze out any excess liquid.
Then, let the bundle sit and drain for an additional 30 minutes so the curds become dry enough to blend.
Making the Cheese Base
Blend the Ingredients
Transfer the drained curds to a blender or food processor.
Add the following:
- 4 tablespoons butter or margarine
- 1 ½ tablespoons salt
- 3 ½ cups shredded mozzarella cheese
- Optional: 200 ml heavy cream or table cream (for extra creaminess)
- 2 tablespoons cornstarch
- 500 ml (2 cups) of the reserved whey
Blend everything on high speed for about 2 minutes, or until the mixture is completely smooth and creamy.
Cooking the Cheese
Cook the Mixture
Pour the blended cheese mixture into a nonstick saucepan.
Heat it over high heat for about 30 seconds, then immediately reduce to low heat.
Stir continuously for 1 to 2 minutes, or until the mixture begins to pull away from the sides of the pan and come together.
This is the key sign that your cheese is nearly finished—it should look glossy and thick.
Setting the Cheese
Prepare the Mold
Grease a rectangular or square glass dish with a bit of butter or margarine.
Spoon the cheese mixture into the dish and press it down with the back of the spoon to ensure a flat, compact surface.
Chill
Allow the cheese to cool at room temperature for 30 minutes, then refrigerate it for 3 to 4 hours, or until completely set and firm to the touch.
Serving the Cheese
Once fully chilled, turn the cheese out of the dish. Slice it into blocks, sticks, or wedges—however you like to serve it.
This homemade cheese has a firm texture, similar to processed cheese, but without the artificial additives. It melts beautifully when grilled or toasted, and it’s perfect for sandwiches, cheese platters, and snacks.
Tips for Success
- Use full-fat milk. Skim or low-fat milk won’t produce as many curds and can affect yield and texture.
- Don’t rush the draining. Proper draining gives you a firmer, more sliceable cheese.
- Use clean utensils and cloths. Cheese is sensitive to contamination—make sure everything is sanitized.
- Season to taste. You can add garlic powder, herbs, or chili flakes during blending for a flavored cheese variation.
- Chill fully before slicing. If the cheese is too soft, give it more time in the fridge. It sets firmer with time.
Flavor Variations
- Garlic & Herb: Add dried oregano, basil, or garlic powder during the blending step.
- Spicy Cheese: Blend in chopped jalapeños or chili flakes for a kick.
- Smoky Cheese: Use a smoked mozzarella or add a dash of smoked paprika for a smoky finish.
- Cream Cheese Texture: Increase the cream and reduce cornstarch for a softer, spreadable version.
Frequently Asked Questions
How does 2 liters of milk yield nearly 3 kg of cheese?
The added ingredients—like mozzarella, butter, and cream—boost the total volume significantly. The result is a dense, high-yield cheese that feels and tastes abundant, even from a modest amount of milk.
Can I use plant-based milk?
No. Non-dairy milks like almond, soy, or oat won’t curdle properly with vinegar and won’t produce cheese-like curds.
What can I do with leftover whey?
Whey is rich in protein and nutrients. Use it in bread dough, pancake batter, soups, or as a base for smoothies. It can also be used to water plants (in small amounts).
Can I store the cheese for later use?
Yes. Keep it in an airtight container in the fridge for up to 7 days. For longer storage, freeze slices individually wrapped in parchment and then sealed in a freezer-safe bag. Defrost in the fridge.
Is this cheese good for melting?
Absolutely! Thanks to the mozzarella and butter content, it melts smoothly, making it ideal for grilling, sandwiches, or baked dishes.
Why is my cheese too soft or runny?
It may need more time to set, or the curds may not have been drained fully. Next time, extend the draining step and double-check your cornstarch quantity.
Can I make this cheese without a blender?
A blender is ideal for a smooth texture, but you can use a food processor or even a hand mixer if necessary. Just make sure all ingredients are well combined.
Final Thoughts
This homemade cheese recipe offers an incredible yield with minimal ingredients. It’s a budget-conscious, customizable, and satisfying way to make your own cheese at home—no rennet, no special cultures, and no fuss. Whether you’re aiming to reduce your grocery bill, avoid additives, or simply try something new, this process delivers reliable results every time.
Once you try this recipe, you’ll be amazed by how easy—and delicious—homemade cheese can be. Grill it, slice it, spread it, or snack on it plain. However you enjoy it, you’ll never look at store-bought cheese the same way again.