

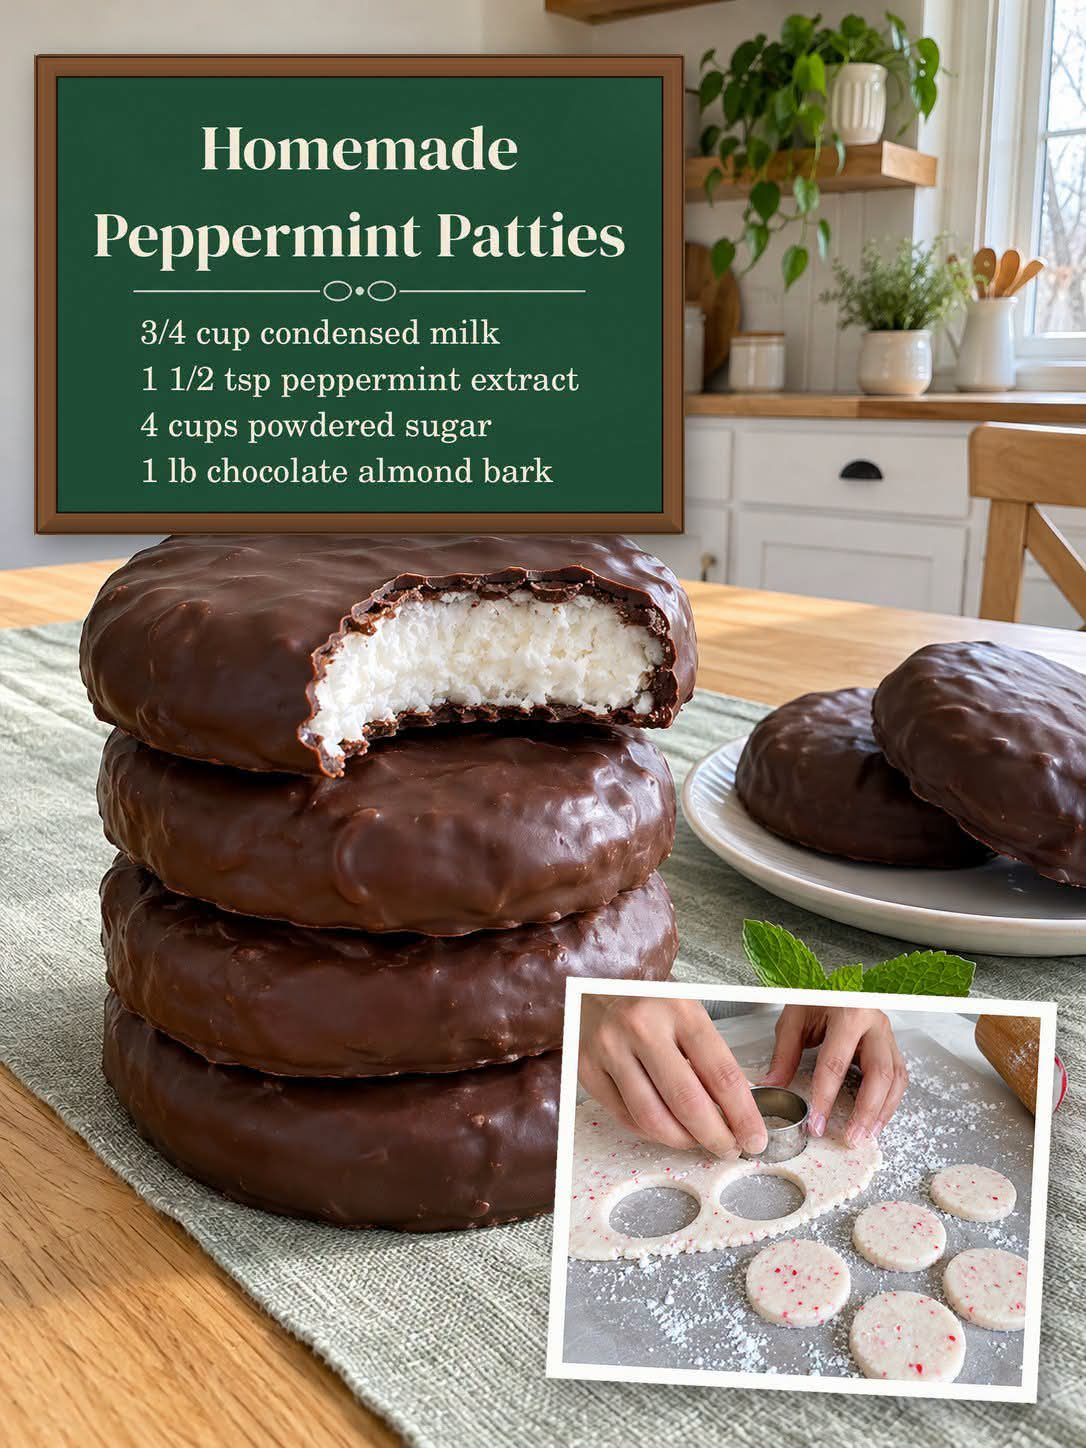
These Homemade Peppermint Patties are the perfect combination of cool, creamy peppermint filling and a smooth, snappy chocolate coating. With just four simple ingredients, you can make delicious chocolate mint candies right in your own kitchen without turning on the oven or using a candy thermometer.
Each bite has a refreshing peppermint center wrapped in rich chocolate, making these homemade treats perfect for Christmas, holiday parties, dessert trays, or thoughtful edible gifts.
The best part? They’re surprisingly easy to prepare. Simply mix the peppermint filling, shape it into small discs, chill until firm, and dip each piece into melted chocolate. Once the coating sets, you’ll have beautiful homemade candies that taste like they came from a candy shop!
Why You’ll Love These Homemade Peppermint Patties
- Only four main ingredients: You don’t need a long shopping list to make these delicious treats.
- No baking required: Everything comes together with simple mixing, chilling, and dipping.
- Creamy peppermint center: The sweet, cool filling pairs beautifully with the chocolate coating.
- Perfect for holidays: They’re wonderful for Christmas candy trays, cookie exchanges, and homemade gift boxes.
- Easy to customize: Add food coloring, crushed candy canes, or a little flaky salt to make them your own.
Ingredients You’ll Need
For the Peppermint Centers
- 3/4 cup sweetened condensed milk
- 1 1/2 teaspoons peppermint extract
- 4 cups powdered sugar, plus extra for dusting
For the Chocolate Coating
- 1 pound chocolate almond bark
Optional Additions
- 1 tablespoon shortening or coconut oil, to thin the melted chocolate
- 1 drop green food coloring
- Crushed candy canes for topping
- Flaky sea salt for a sweet-and-salty finish
How to Make Homemade Peppermint Patties
Step 1: Mix the Peppermint Base
In a large mixing bowl, combine the sweetened condensed milk and peppermint extract. Stir until the ingredients are well blended.
Step 2: Add the Powdered Sugar
Gradually add the powdered sugar, about one cup at a time, mixing after each addition.
As the mixture becomes thicker, you may need to use your hands to knead in the remaining powdered sugar. Continue until a firm, smooth dough forms.
If the dough feels too sticky, add a little more powdered sugar until it’s easier to handle.
Step 3: Shape the Peppermint Centers
Lightly dust a sheet of parchment paper or a clean work surface with powdered sugar.
Roll the peppermint dough to approximately 1/4 inch thick. Use a small round cookie cutter to cut out discs.
Alternatively, scoop small portions of dough, roll them into balls, and gently flatten each one into a round patty.
Step 4: Chill Until Firm
Arrange the peppermint discs on a parchment-lined baking sheet.
Refrigerate for 30–60 minutes, or place them in the freezer for 15–20 minutes, until firm enough to dip.
This step is important because chilled centers are easier to handle and help create a smooth chocolate coating.
Step 5: Melt the Chocolate Coating
Chop the chocolate almond bark into smaller pieces and place them in a microwave-safe bowl.
Microwave in 30-second intervals, stirring thoroughly after each interval, until completely melted and smooth.
You can also melt the chocolate using a double boiler.
If the chocolate seems too thick for dipping, stir in a tablespoon of shortening or coconut oil to create a thinner, smoother consistency.
Step 6: Dip the Peppermint Patties
Using a fork, carefully lower one chilled peppermint disc into the melted chocolate.
Turn it gently to coat all sides, then lift it out and tap the fork against the edge of the bowl to remove excess chocolate.
Place the coated patty onto a clean sheet of parchment paper. Repeat with the remaining peppermint discs.
Step 7: Add Toppings
If desired, sprinkle the wet chocolate coating with crushed candy canes, flaky sea salt, or another favorite topping.
Make sure to add toppings before the chocolate sets so they stick properly.
Step 8: Let the Chocolate Set
Place the finished peppermint patties in the refrigerator for 15–20 minutes, or until the chocolate coating becomes firm.
Once set, they’re ready to enjoy!
Tips for the Best Homemade Peppermint Patties
- Sift the powdered sugar: This helps prevent lumps and creates a smoother peppermint filling.
- Add sugar gradually: Mixing in the powdered sugar a little at a time makes the dough easier to combine.
- Use pure peppermint extract: It gives the filling a clean, refreshing mint flavor. Avoid substituting peppermint oil without adjusting the amount because it is much more concentrated.
- Chill before dipping: Firm peppermint centers are easier to coat and less likely to fall apart in the melted chocolate.
- Keep everything dry: Even a small amount of water or steam can cause melted chocolate coating to become thick and grainy.
- Melt chocolate slowly: Use short microwave intervals and stir frequently to avoid overheating.
- Use a dipping fork: A fork makes it easier to remove excess chocolate and create a smooth finish.
- Work in batches: Keep the remaining peppermint centers refrigerated while dipping so they stay firm.
Delicious Variations to Try
Green Peppermint Patties
Add one drop of green food coloring to the peppermint filling before mixing in the powdered sugar completely. This creates a festive pale green center.
Candy Cane Peppermint Patties
Sprinkle crushed candy canes over the freshly dipped chocolate. The crunchy peppermint topping adds a festive holiday touch.
Chocolate Peppermint Patties with Sea Salt
Add a tiny pinch of flaky sea salt to each patty before the chocolate sets. The contrast between sweet chocolate and salt makes a delicious combination.
Mini Peppermint Patties
Use a smaller cookie cutter or shape smaller dough balls to create bite-sized candies. They’re perfect for party platters and holiday dessert trays.
Chocolate Drizzle Peppermint Patties
After the chocolate coating has completely set, drizzle a little extra melted chocolate over the top for a decorative finish.
How to Store Homemade Peppermint Patties
In the Refrigerator: Store the finished peppermint patties in an airtight container, separating the layers with parchment paper. Keep refrigerated for up to 2 weeks.
In the Freezer: Arrange the patties in a freezer-safe container with parchment paper between the layers. Freeze for 2–3 months for the best quality.
Before Serving: If frozen, thaw the patties in the refrigerator before serving.
Because the filling contains sweetened condensed milk, keep these candies refrigerated or frozen rather than leaving them at room temperature for extended periods.
Frequently Asked Questions
How many peppermint patties does this recipe make?
This recipe makes approximately 24–30 peppermint patties, depending on the size of your cutter and how thick you roll the filling.
Why is my peppermint filling too sticky?
The dough may need a little more powdered sugar. Knead in additional powdered sugar, one tablespoon at a time, until the mixture becomes firm enough to shape. Chilling it for 10–15 minutes can also make it easier to handle.
Can I use chocolate chips instead of almond bark?
Yes! You can use chocolate chips instead. Melt them with a tablespoon of shortening or coconut oil to help create a smoother coating. Keep in mind that chocolate chips may produce a softer shell than almond bark.
Do I need to use a cookie cutter?
No. A cookie cutter creates evenly shaped patties, but you can also roll the peppermint dough into small balls and flatten them by hand.
Why did my melted chocolate become thick and clumpy?
This can happen if water or steam gets into the chocolate or if it becomes overheated. Always use a completely dry bowl and melt the coating slowly in short intervals. A little shortening or coconut oil can help loosen a coating that’s simply too thick.
Can I make peppermint patties ahead of time?
Absolutely! These candies are great for preparing ahead. Make them, allow the chocolate coating to set, and store them in an airtight container in the refrigerator until you’re ready to serve or package them.
Do homemade peppermint patties need refrigeration?
Yes. Since the peppermint filling contains sweetened condensed milk, store the finished candies in the refrigerator or freezer.
When to Serve Homemade Peppermint Patties
These chocolate-covered mint candies are perfect for almost any occasion. Serve them:
- On a Christmas dessert table alongside cookies and fudge.
- In small gift boxes or tins for friends and family.
- At holiday parties and cookie exchanges.
- As a sweet after-dinner treat with coffee.
- On Valentine’s Day or at winter celebrations.
- In a homemade candy assortment for special occasions.
Final Thoughts
These Homemade Peppermint Patties are an easy, delicious way to enjoy the classic combination of chocolate and mint. With their smooth, creamy centers and crisp chocolate coating, they’re a wonderful homemade candy that looks beautiful and tastes even better.
You only need four main ingredients, a little chilling time, and a simple chocolate dip to create a batch of irresistible treats. Make them for your next holiday gathering, package them as homemade gifts, or keep a few in the refrigerator whenever you’re craving something sweet and refreshing.
Once you try these easy no-bake peppermint patties, you’ll want to make them again and again!