

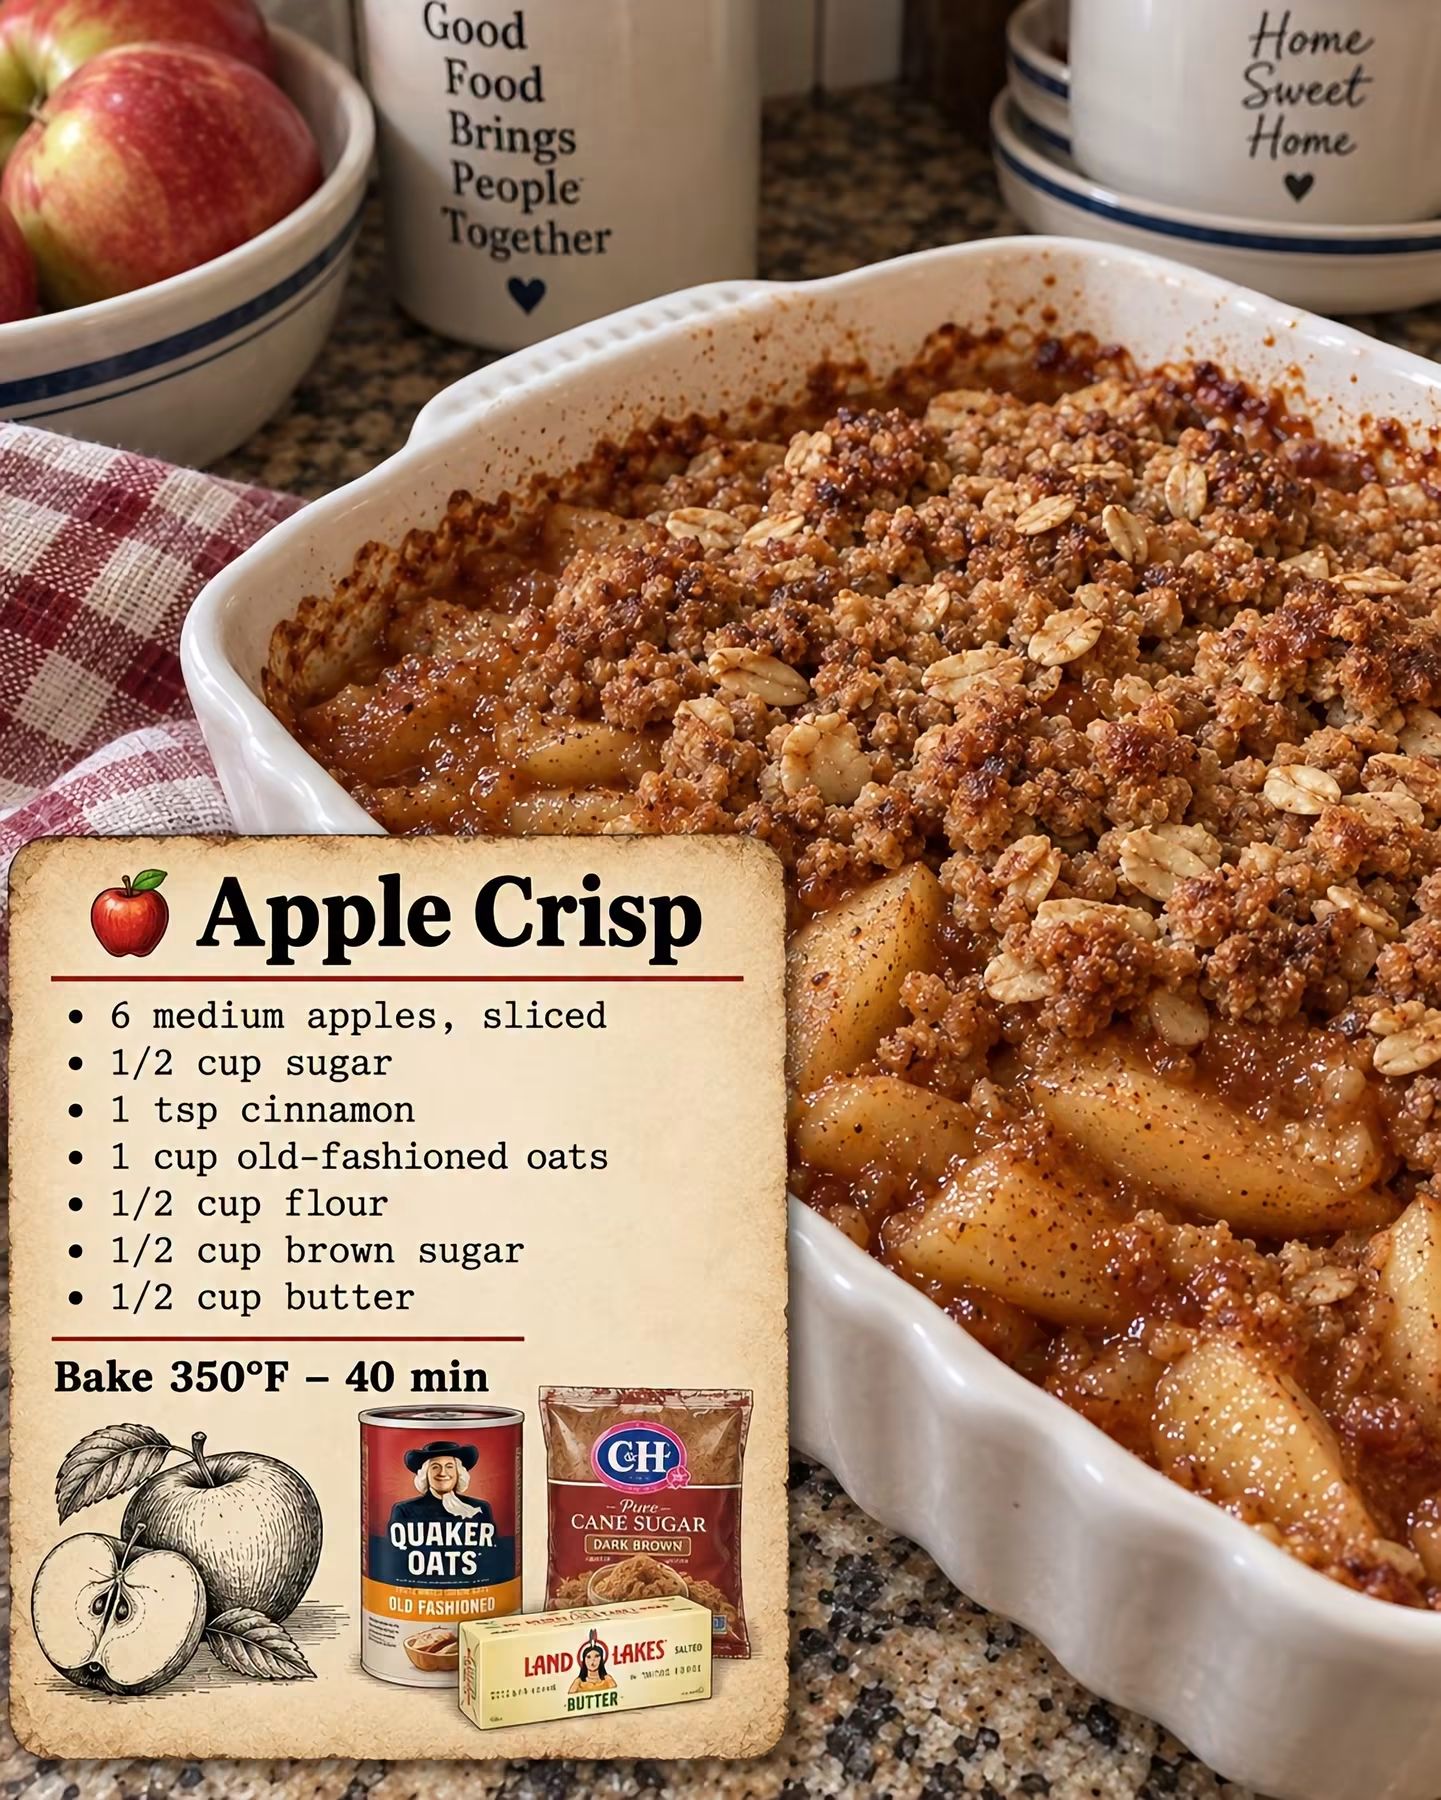
There is nothing quite like the smell of warm apples and cinnamon baking in the oven. This Easy Homemade Apple Crisp is a classic dessert featuring tender, sweet apples topped with a golden, buttery oat crumble. Every bite combines soft cinnamon-spiced apples with a deliciously crisp topping that makes this dessert absolutely irresistible.
Made with simple pantry ingredients like apples, oats, flour, brown sugar, and butter, this recipe is easy to prepare and perfect for cozy evenings, family gatherings, or holiday celebrations. No complicated techniques are needed, and in just a few simple steps, you’ll have a comforting homemade dessert ready to enjoy.
Serve it warm straight from the oven, or add a scoop of vanilla ice cream for an extra-special treat!
Why You’ll Love This Apple Crisp Recipe
- Simple ingredients: Made with everyday ingredients you may already have in your kitchen.
- Easy preparation: Just slice the apples, mix the topping, assemble, and bake.
- Perfect texture: Soft, tender apples are covered with a buttery, crunchy oat topping.
- Warm cinnamon flavor: Cinnamon brings out the natural sweetness of the apples.
- Great for sharing: A wonderful dessert for family dinners, potlucks, and holiday gatherings.
- Delicious served warm: Especially tasty with a scoop of vanilla ice cream.
Ingredients You’ll Need
You only need seven simple ingredients to make this delicious homemade apple crisp.
- 6 medium apples, sliced: The star of the recipe. Choose apples that hold their shape during baking and provide a nice balance of sweetness and tartness.
- 1/2 cup sugar: Adds sweetness to the apples and helps create a delicious fruit filling.
- 1 teaspoon cinnamon: Gives the apples their warm, comforting flavor.
- 1 cup old-fashioned oats: Adds texture and creates a hearty, crisp topping.
- 1/2 cup flour: Helps bind the topping ingredients together.
- 1/2 cup brown sugar: Provides a rich sweetness and helps the topping become golden during baking.
- 1/2 cup butter: Gives the oat topping its rich flavor and crumbly texture.
How to Make Apple Crisp
Step 1: Preheat the Oven
Preheat your oven to 350°F (175°C). Lightly grease a baking dish with butter or cooking spray to prevent the apples and topping from sticking.
Step 2: Prepare the Apples
Wash, peel if desired, and slice the six medium apples.
Arrange the sliced apples evenly in the prepared baking dish. Try to distribute them in a relatively even layer so they cook consistently.
Step 3: Add Sugar and Cinnamon
Sprinkle the sugar and cinnamon evenly over the sliced apples.
Gently toss the apples if needed to help distribute the cinnamon and sugar. The mixture will create a naturally sweet, fragrant apple filling as it bakes.
Step 4: Make the Oat Topping
In a medium mixing bowl, combine the old-fashioned oats, flour, and brown sugar.
Add the butter and mix everything together until the mixture becomes crumbly. You can use a fork or your fingertips to work the butter into the dry ingredients.
The topping should have a coarse, crumbly texture rather than looking like a smooth dough.
Step 5: Assemble the Apple Crisp
Spread the oat mixture evenly over the apples.
Make sure the topping covers most of the surface so every serving has a delicious combination of tender apples and buttery crumble.
Step 6: Bake Until Golden
Place the baking dish in the preheated oven and bake for approximately 40 minutes.
The apple crisp is ready when the apples are tender and the oat topping is golden brown. If the apples need a little more time, continue baking until they reach your preferred tenderness.
Step 7: Cool and Serve
Remove the dish from the oven and let it cool slightly before serving.
This gives the apple filling a little time to settle. Serve warm on its own or with vanilla ice cream for a classic homemade dessert.
Tips for the Best Homemade Apple Crisp
- Choose the right apples: Granny Smith, Honeycrisp, and Braeburn apples are excellent choices because they hold their shape well when baked.
- Slice apples evenly: Try to keep the slices similar in thickness so they cook at the same rate.
- Use old-fashioned oats: They provide a heartier texture than quick oats and help create a satisfying crumble.
- Keep the topping crumbly: Mix the butter into the dry ingredients until coarse crumbs form. Avoid overmixing.
- Spread the topping evenly: This helps the entire dessert develop a beautiful golden crust.
- Let it cool slightly: Allowing the crisp to rest after baking makes it easier to serve.
- Watch the topping: If it becomes golden before the apples are tender, loosely cover the dish with foil for the remaining baking time.
Best Apples to Use for Apple Crisp
The type of apples you choose can make a difference in the final flavor and texture.
Here are some excellent options:
- Granny Smith: Tart and firm, providing a delicious contrast to the sweet topping.
- Honeycrisp: Naturally sweet with a crisp texture that holds up well during baking.
- Braeburn: Offers a balanced sweet-tart flavor and a firm texture.
- Fuji: Sweet and juicy, making a flavorful filling.
- Golden Delicious: Mildly sweet and tender when baked.
You can also combine two varieties to create a more interesting balance of sweet and tart flavors.
Delicious Ways to Serve Apple Crisp
Apple Crisp tastes wonderful on its own, but there are several easy ways to make it even more special.
Vanilla Ice Cream: A scoop of cold vanilla ice cream melting over warm apple crisp is a classic combination.
Whipped Cream: Add a generous spoonful of whipped cream for a light, creamy finish.
Caramel Sauce: Drizzle caramel sauce over each serving for an extra layer of sweetness.
Greek Yogurt: Serve with a little plain or vanilla Greek yogurt for a creamy contrast.
Chopped Nuts: Sprinkle chopped pecans or walnuts over the top for extra crunch.
Easy Apple Crisp Variations
Once you’ve tried the classic recipe, you can experiment with a few simple additions.
Add Nutmeg
A small pinch of ground nutmeg can complement the cinnamon and give the apples a deeper, warmer flavor.
Mix Different Apples
Combine tart Granny Smith apples with sweeter varieties like Honeycrisp or Fuji for a balanced filling.
Add Chopped Pecans
Mix chopped pecans or walnuts into the oat topping for additional crunch and a nutty flavor.
Make It Extra Sweet
For a sweeter dessert, serve each portion with caramel sauce or a little extra brown sugar sprinkled over the top.
Add a Little Vanilla
A small splash of vanilla extract in the apple mixture can add another layer of flavor.
Make-Ahead and Storage Instructions
Make Ahead: You can prepare the apple filling and oat topping separately in advance. Store them covered in the refrigerator and assemble just before baking. This helps keep the topping from becoming soggy before it goes into the oven.
Refrigeration: Allow leftover apple crisp to cool completely, then cover the baking dish or transfer the leftovers to an airtight container. Refrigerate for up to 4 days.
Freezing: Apple crisp can be frozen after baking. Let it cool completely, wrap it tightly, and freeze for up to 3 months. Thaw overnight in the refrigerator before reheating.
Reheating: Warm individual portions in the microwave until heated through. To bring back some of the topping’s crispness, reheat larger portions in an oven at 325°F until warm.
Frequently Asked Questions
What are the best apples for apple crisp?
Granny Smith, Honeycrisp, Braeburn, and Fuji are all excellent choices. Granny Smith apples provide a tart flavor, while Honeycrisp and Fuji create a sweeter filling.
Do I need to peel the apples?
Peeling is optional. Peeled apples create a softer, more traditional filling, while leaving the skins on adds a little texture and saves preparation time.
Can I use quick oats instead of old-fashioned oats?
Yes, quick oats can be used if necessary, but the topping may have a softer texture. Old-fashioned oats are recommended for a heartier crumble.
How do I know when apple crisp is done?
The topping should be golden brown, and the apples should be tender when pierced with a fork. The recipe typically takes about 40 minutes at 350°F.
Why is my apple crisp topping not crunchy?
The topping may have too much moisture or may not have baked long enough. Make sure the butter is mixed into the dry ingredients until crumbly, and allow the topping to become golden in the oven.
Can I make apple crisp ahead of time?
Yes! You can prepare the components ahead of time and refrigerate them separately. Assemble and bake when you’re ready. You can also bake the entire dessert in advance and reheat it before serving.
Can I freeze homemade apple crisp?
Yes. Once completely cooled, wrap it tightly or place it in a freezer-safe container. Freeze for up to 3 months and thaw in the refrigerator before reheating.
Final Thoughts
This Easy Homemade Apple Crisp is proof that simple ingredients can create an unforgettable dessert. With sweet cinnamon apples underneath a golden, buttery oat topping, it delivers all the comforting flavors of homemade fall baking.
Whether you’re making it for a family dinner, a holiday celebration, or simply because you have fresh apples waiting in the kitchen, this recipe is an easy choice everyone will enjoy.
Serve it warm with vanilla ice cream, whipped cream, or a drizzle of caramel sauce, and enjoy every delicious bite!
Easy Homemade Apple Crisp Recipe
Prep Time: 15 minutes
Cook Time: 40 minutes
Total Time: 55 minutes
Ingredients
- 6 medium apples, sliced
- 1/2 cup sugar
- 1 teaspoon cinnamon
- 1 cup old-fashioned oats
- 1/2 cup flour
- 1/2 cup brown sugar
- 1/2 cup butter
Instructions
- Preheat the oven to 350°F (175°C).
- Grease a baking dish.
- Arrange the sliced apples evenly in the prepared dish.
- Sprinkle the apples with sugar and cinnamon.
- In a bowl, combine the old-fashioned oats, flour, brown sugar, and butter until the mixture becomes crumbly.
- Spread the oat topping evenly over the apples.
- Bake for approximately 40 minutes, until the apples are tender and the topping is golden brown.
- Let cool slightly before serving.
Enjoy your homemade Apple Crisp!