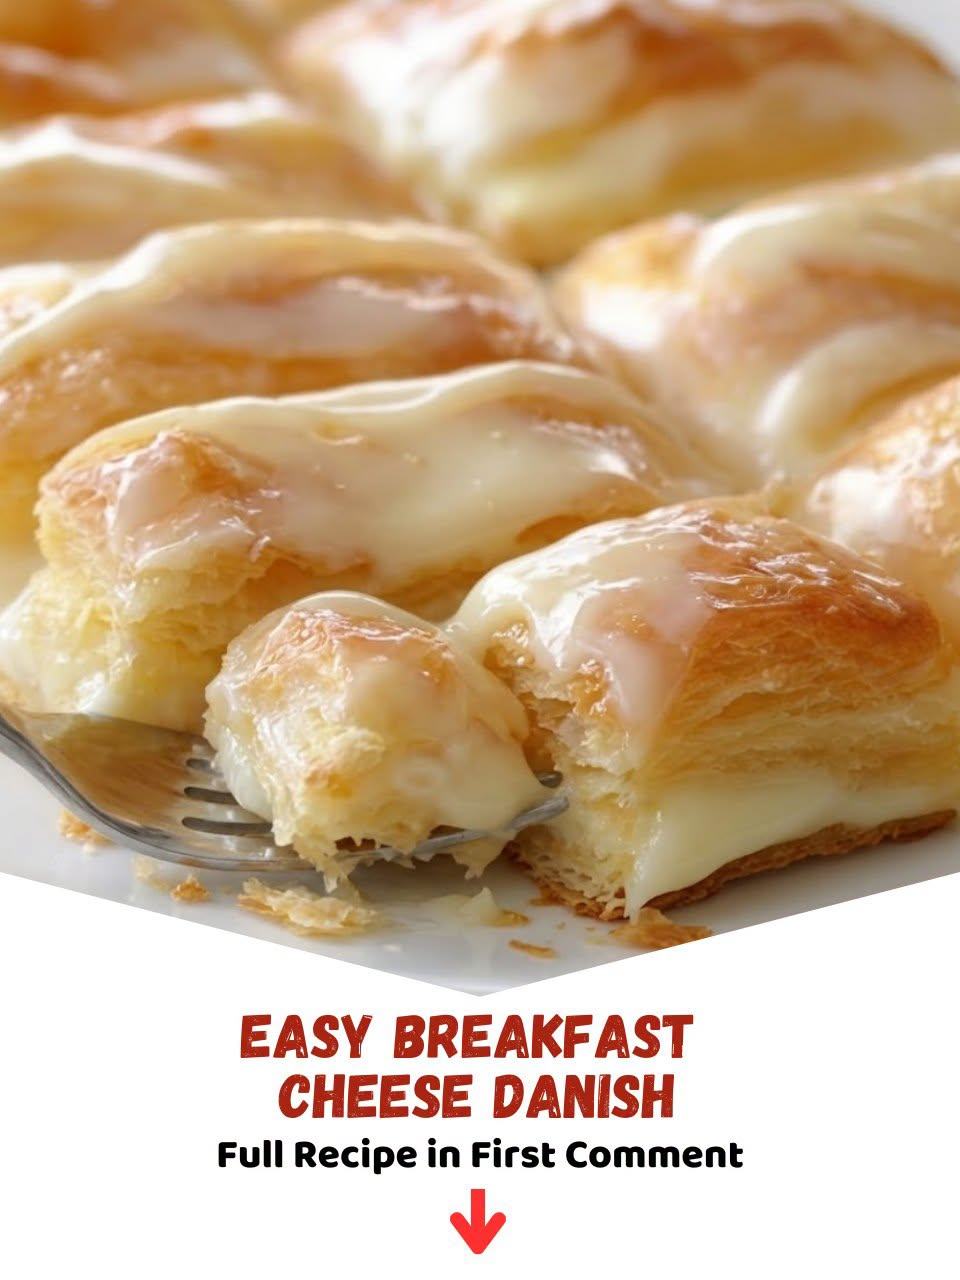
Nothing beats the taste of a freshly baked Cheese Danish. With its flaky golden layers, creamy sweet cheese filling, and delicate vanilla glaze, this classic pastry feels like something straight from a bakery. The best part? You don’t need professional baking skills to make it.
This easy Cheese Danish recipe uses store-bought puff pastry, making it simple enough for beginners while still delivering impressive results. Whether you’re preparing a weekend brunch, holiday breakfast, afternoon snack, or quick dessert, these pastries are guaranteed to become a family favorite.
The creamy filling pairs perfectly with the buttery pastry, creating a dessert that’s rich without being overly sweet. Once you make these homemade Cheese Danishes, you’ll find yourself keeping the ingredients on hand at all times.
Why You’ll Love This Cheese Danish Recipe
There are plenty of reasons why this recipe stands out:
- Ready in about 25 minutes
- Uses simple ingredients
- Perfect for breakfast or dessert
- Light, flaky, and buttery texture
- Easy to customize with fruit toppings
- Great for parties, potlucks, and brunch gatherings
- Freezer-friendly for make-ahead convenience
The combination of cream cheese filling and crisp puff pastry creates a delicious contrast that everyone loves.
Ingredients
For the Cheese Filling
- 8 ounces cream cheese, softened
- ⅓ cup powdered sugar
- 1 teaspoon vanilla extract
- 1 egg yolk
- Pinch of salt
For the Pastry
- 1 sheet puff pastry, thawed
- 1 egg white
For the Vanilla Glaze
- ½ cup powdered sugar
- ¼ teaspoon vanilla extract
- 2 tablespoons milk
Optional Toppings
- Strawberry jam
- Raspberry preserves
- Lemon zest
- Orange zest
- Fresh berries
How to Make Cheese Danish
Prepare the Oven
Preheat your oven to 400°F (200°C).
Line a baking sheet with parchment paper and place the oven rack in the center position.
Make the Cream Cheese Filling
In a medium mixing bowl, combine:
- Cream cheese
- Powdered sugar
- Vanilla extract
- Egg yolk
- Salt
Using a hand mixer or whisk, beat until smooth, creamy, and fluffy.
The filling should be completely lump-free for the best texture.
Prepare the Puff Pastry
Place the thawed puff pastry sheet on a lightly floured surface.
Carefully unfold it and remove excess flour.
Cut along the fold lines to create three strips.
Then cut each strip in half to create six equal rectangles.
Arrange the rectangles on the prepared baking sheet.
Create the Borders
Using a fork, gently prick the center area of each pastry rectangle.
Leave about a half-inch border around the edges.
This step prevents the center from puffing too much during baking while allowing the edges to rise beautifully.
Add the Filling
Place about two heaping tablespoons of cream cheese filling in the center of each pastry rectangle.
Spread evenly while keeping the border clean.
The clean border helps create the classic bakery-style appearance.
Apply the Egg Wash
Lightly beat the egg white until frothy.
Using a pastry brush, brush the exposed pastry borders.
This gives the pastries their beautiful golden-brown color and shiny finish.
Bake
Bake for 10 minutes.
Rotate the baking sheet from front to back.
Continue baking for another 5 to 10 minutes or until the pastry edges become puffed and golden brown.
Total baking time is typically 15 to 20 minutes.
Cool the Pastries
Remove from the oven.
Transfer the pastries to a cooling rack using a spatula.
Allow them to cool completely before glazing.
Make the Vanilla Glaze
In a small bowl, combine:
- Powdered sugar
- Vanilla extract
- Milk
Whisk until smooth.
If needed, add a few extra drops of milk for a thinner consistency.
Finish and Serve
Drizzle the glaze over the cooled pastries.
For extra flavor, drizzle with a little strawberry jam thinned with water.
Serve immediately and enjoy.
Why Puff Pastry Works So Well
Puff pastry is the secret to making Cheese Danish quickly and easily.
Its hundreds of delicate layers create:
- Crisp texture
- Buttery flavor
- Light, airy structure
- Beautiful golden appearance
Using store-bought puff pastry eliminates hours of preparation while delivering bakery-quality results.
Delicious Flavor Variations
Strawberry Cheese Danish
Add a teaspoon of strawberry jam on top of the cream cheese filling before baking.
Blueberry Cheese Danish
Spoon a few fresh blueberries over the filling.
Lemon Cheese Danish
Mix one teaspoon of lemon zest into the filling.
Orange Cream Cheese Danish
Add fresh orange zest for a bright citrus flavor.
Cherry Danish
Top each pastry with cherry pie filling before baking.
Mixed Berry Danish
Combine raspberries, blueberries, and strawberries for a colorful twist.
Tips for Perfect Cheese Danish Every Time
Thaw Puff Pastry Properly
Always thaw puff pastry in the refrigerator.
Room-temperature thawing can cause the butter layers to melt and reduce flakiness.
Use Softened Cream Cheese
Soft cream cheese blends more easily and creates a silky filling.
Don’t Overfill
Too much filling may spill over during baking.
Stick to about two tablespoons per pastry.
Keep Borders Clean
Leaving a clean border helps the pastry rise properly and creates a professional appearance.
Cool Before Glazing
Adding glaze to hot pastries causes it to melt and disappear.
Wait until completely cooled.
Rotate the Baking Sheet
Ovens often have hot spots.
Rotating ensures even baking and browning.
Add Citrus Zest
A little lemon or orange zest dramatically enhances flavor.
Serving Suggestions
These Cheese Danishes pair beautifully with:
- Coffee
- Tea
- Hot chocolate
- Fresh fruit
- Yogurt
- Brunch spreads
- Holiday breakfasts
They’re equally delicious served warm or at room temperature.
Storage Instructions
Refrigerator
Store cooled pastries in an airtight container.
Place parchment paper between layers.
They will stay fresh for up to 7 days.
Freezer
Freeze completely cooled pastries for up to 2 months.
Wrap individually for best results.
Reheating
Warm in a 350°F oven for about 5 minutes.
This restores the flaky texture much better than microwaving.
Nutritional Information
Approximate values per serving:
- Calories: 438
- Carbohydrates: 38g
- Protein: 6g
- Fat: 29g
- Fiber: 1g
- Sodium: 240mg
Values may vary depending on ingredients used.
Common Mistakes to Avoid
Using Warm Puff Pastry
Warm pastry becomes difficult to work with and may not rise properly.
Overmixing the Filling
Mix only until smooth.
Skipping the Egg Wash
The egg wash creates that beautiful golden bakery finish.
Baking on a Warm Pan
Always use a cool baking sheet to preserve the pastry layers.
Applying Glaze Too Early
Wait until pastries cool completely.
Frequently Asked Questions
Can I make Cheese Danish ahead of time?
Yes. You can bake them a day ahead and add the glaze just before serving.
Can I use homemade puff pastry?
Absolutely. Homemade puff pastry works wonderfully if you have the time.
Can I freeze Cheese Danish?
Yes. Freeze baked and cooled pastries for up to two months.
Why did my puff pastry not rise?
The pastry may have become too warm before baking or was not baked at a high enough temperature.
Can I add fruit to the filling?
Yes. Fresh berries, jam, or pie filling work very well.
Can I use low-fat cream cheese?
You can, but full-fat cream cheese provides the richest texture and flavor.
How do I know when the Danish is done?
The pastry edges should be puffed, crisp, and deep golden brown.
Can I make these for brunch?
Definitely. They are one of the most popular pastries for brunch tables and holiday breakfasts.
Final Thoughts
This Easy Cheese Danish recipe proves that bakery-quality pastries don’t have to be complicated. With flaky puff pastry, creamy sweetened cream cheese filling, and a simple vanilla glaze, these pastries come together quickly while delivering incredible flavor.
Whether you’re serving them for breakfast, brunch, dessert, or a special occasion, these homemade Cheese Danishes are guaranteed to impress. Once you experience their buttery layers and rich filling, you’ll understand why this recipe becomes a favorite in so many kitchens.

Freshly Baked Cheese Danish
Description
A simple and delicious Cheese Danish made with creamy cheese filling and flaky puff pastry, drizzled with vanilla glaze. Perfect for breakfast, brunch, or dessert.
Ingredients
Instructions
- Preheat your oven to 400°F (200°C). Line a baking sheet with parchment paper and place the oven rack in the center position.
- In a medium mixing bowl, combine cream cheese, powdered sugar, vanilla extract, egg yolk, and salt. Using a hand mixer or whisk, beat until smooth, creamy, and fluffy.
- Place the thawed puff pastry sheet on a lightly floured surface. Carefully unfold it and remove excess flour. Cut along the fold lines to create three strips, then cut each strip in half to create six equal rectangles. Arrange the rectangles on the prepared baking sheet.
- Using a fork, gently prick the center area of each pastry rectangle, leaving about a half-inch border around the edges to prevent puffing.
- Place about two heaping tablespoons of cream cheese filling in the center of each pastry rectangle. Spread evenly while keeping the border clean.
- Lightly beat the egg white until frothy. Using a pastry brush, brush the exposed pastry borders for a golden brown color.
- Bake for 10 minutes, then rotate the baking sheet and continue baking for another 5 to 10 minutes until the pastry edges are puffed and golden brown. Total baking time is typically 15 to 20 minutes.
- Remove from the oven and transfer the pastries to a cooling rack to cool completely before glazing.
- In a small bowl, combine powdered sugar, vanilla extract, and milk. Whisk until smooth; add a few drops of milk if needed for a thinner consistency.
- Drizzle the glaze over the cooled pastries. Optionally, drizzle with thinned strawberry jam for extra flavor. Serve immediately.