

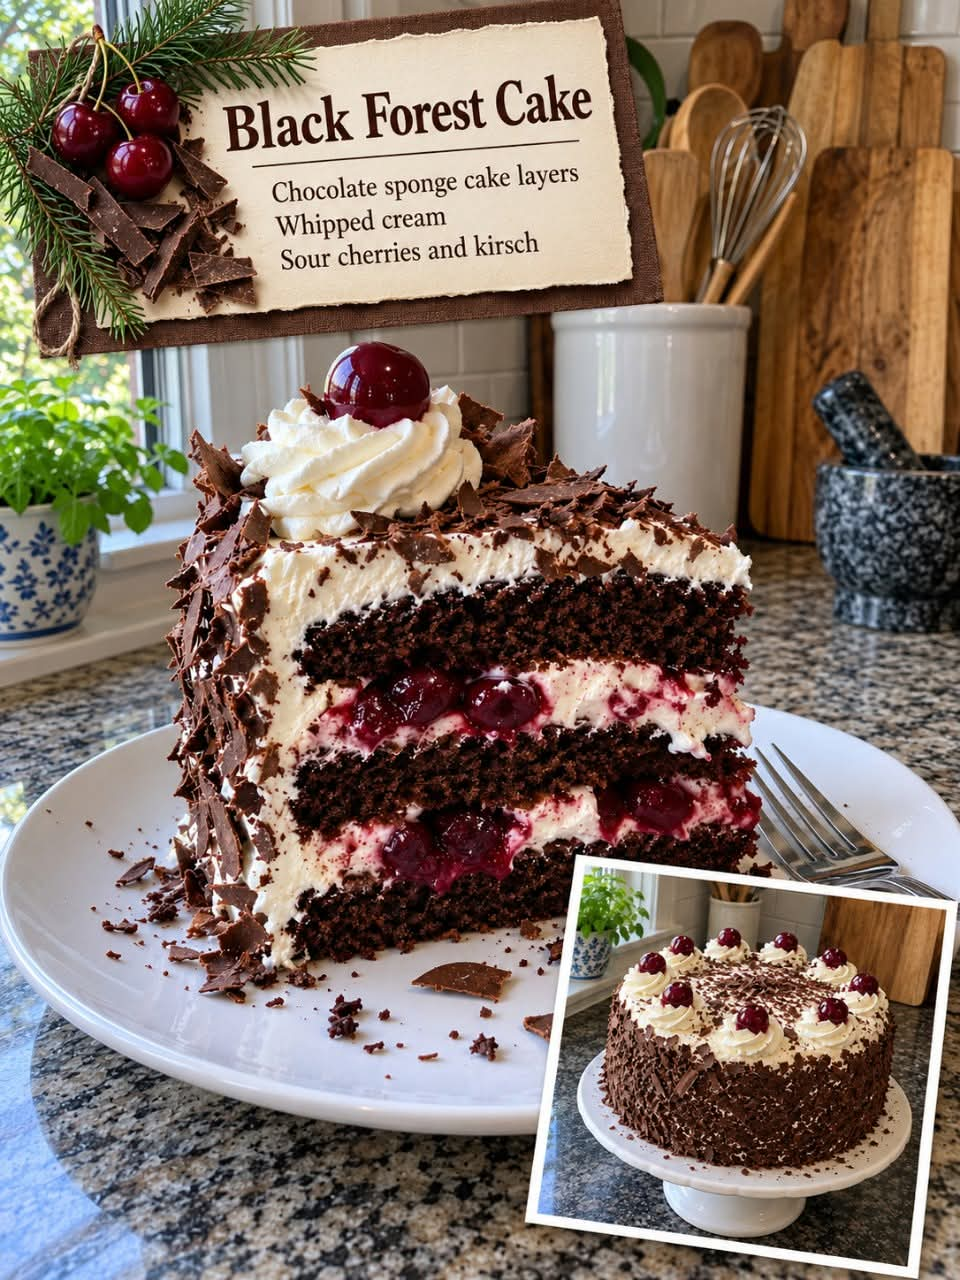
I couldn’t access the exact recipe on the linked website, so I can’t confirm its original ingredients. Here’s a complete homemade Black Forest Cake recipe with rich chocolate cake, sweet cherries, fluffy whipped cream, and chocolate shavings.
A beautiful, rich chocolate cake layered with juicy cherries and fluffy whipped cream, then finished with chocolate shavings and cherries on top. This classic Black Forest Cake is perfect for birthdays, holidays, and special occasions.
Ingredients
For the Chocolate Cake
- 2 cups all-purpose flour
- ¾ cup unsweetened cocoa powder
- 1½ cups granulated sugar
- 1½ teaspoons baking powder
- 1 teaspoon baking soda
- ½ teaspoon salt
- 3 large eggs
- 1 cup whole milk
- ½ cup vegetable oil
- 2 teaspoons vanilla extract
- 1 cup hot water or hot coffee
For the Cherry Filling
- 2 cups pitted cherries, fresh, frozen, or canned
- ½ cup granulated sugar
- ½ cup cherry juice or water
- 1 tablespoon cornstarch
- 1 tablespoon water, for mixing with the cornstarch
- 1 teaspoon lemon juice, optional
For the Whipped Cream
- 3 cups cold heavy whipping cream
- ⅓ cup powdered sugar
- 1 teaspoon vanilla extract
For Decoration
- ½ cup chocolate shavings or grated dark chocolate
- Fresh or maraschino cherries, as desired
Instructions
Step 1: Prepare the Cake Pans
Preheat the oven to 350°F (175°C). Grease and line two 8-inch round cake pans with parchment paper.
Step 2: Mix the Dry Ingredients
In a large bowl, whisk together the flour, cocoa powder, sugar, baking powder, baking soda, and salt until evenly combined.
Step 3: Add the Wet Ingredients
Add the eggs, milk, vegetable oil, and vanilla extract. Mix until the batter is smooth. Gradually stir in the hot water or coffee. The batter will be thin, which helps create a moist chocolate cake.
Step 4: Bake the Cakes
Divide the batter evenly between the prepared pans. Bake for 25–32 minutes, or until a toothpick inserted into the center comes out clean or with a few moist crumbs.
Allow the cakes to cool in their pans for about 10 minutes, then turn them onto wire racks and cool completely.
Step 5: Make the Cherry Filling
Place the cherries, sugar, cherry juice, and lemon juice in a saucepan over medium heat. Cook for about 5–8 minutes, stirring occasionally, until the cherries soften and release their juices.
Mix the cornstarch with 1 tablespoon of water in a small bowl. Stir this mixture into the cherries and cook for another 1–2 minutes, until thickened.
Remove from the heat and let the filling cool completely before assembling the cake.
Step 6: Whip the Cream
Pour the cold heavy cream into a chilled mixing bowl. Add the powdered sugar and vanilla extract.
Beat with an electric mixer until stiff peaks form. Stop mixing once the cream holds its shape so it doesn’t become grainy.
Step 7: Slice the Cake Layers
Once the cakes are completely cool, use a serrated knife to carefully slice each cake horizontally into two layers, creating four thin layers.
If you prefer a simpler cake, keep the cakes whole and make just two cake layers.
Step 8: Assemble the Cake
Place the first cake layer on a serving plate. If desired, lightly brush it with a little cherry juice.
Spread a layer of whipped cream over the cake, then spoon some cooled cherry filling on top, leaving a small border around the edge.
Add the second cake layer and repeat the cream and cherry filling. Continue until all the cake layers are stacked, finishing with the final cake layer on top.
Step 9: Frost the Cake
Spread the remaining whipped cream over the top and sides of the cake. Smooth it with a spatula, or use a piping bag to create decorative swirls.
Step 10: Decorate
Press chocolate shavings or grated dark chocolate onto the sides of the cake. Sprinkle additional chocolate over the top and finish with fresh or maraschino cherries.
Step 11: Chill and Serve
Refrigerate the cake for at least 1–2 hours before serving. This helps the layers settle and makes slicing easier.
Cut into slices and enjoy your homemade Black Forest Cake!
Helpful Tips
- Cool everything completely: Warm cake or cherry filling can melt the whipped cream.
- Use cold cream: Cold heavy cream whips faster and holds its shape better.
- Make the layers moist: Brush the cake lightly with cherry juice before adding the filling.
- Choose your cherries: Tart cherries give a traditional flavor, while sweet cherries create a sweeter cake.
- For extra chocolate flavor: Use hot coffee instead of water in the cake batter.
- For an alcohol-free cake: Use cherry juice instead of kirsch.
Storage
Store the cake covered in the refrigerator for up to 3 days. Because it contains whipped cream, keep it chilled until serving. Freezing the fully assembled cake is not ideal, as the whipped cream may change texture.
Frequently Asked Questions
Can I make Black Forest Cake a day ahead?
Yes. Bake the cake layers and prepare the cherry filling a day ahead. Store them separately, then whip the cream and assemble the cake when convenient.
Can I use canned cherry pie filling?
Yes. You can substitute approximately 2 cups of canned cherry pie filling for the homemade cherry filling.
Can I make this recipe without coffee?
Absolutely. Use hot water instead. Coffee simply deepens the chocolate flavor without making the cake taste strongly of coffee.
How do I keep the whipped cream firm?
Use very cold heavy cream and chill your mixing bowl if possible. For extra stability, you can use a whipped-cream stabilizer according to its package directions.
Enjoy!
This homemade Black Forest Cake combines moist chocolate layers, luscious cherries, and light whipped cream for a delicious dessert that’s sure to impress family and friends.