This Marshmallow Whip Cheesecake Heaven is everything a dessert lover dreams of—rich, creamy, perfectly sweet, and topped with a cloud-like layer of marshmallow fluff. With a buttery graham cracker crust, a smooth cream cheese filling, and that irresistible whipped topping, this cheesecake delivers layer upon layer of indulgent texture and flavor. Whether you’re planning a holiday gathering, birthday treat, or just a self-care dessert night, this recipe hits all the right notes. Even better, it can be adjusted to accommodate gluten-free, dairy-free, and even vegan diets, so no one has to miss out on the bliss.
Ingredients
Crust
- 1 ½ cups graham cracker crumbs
- ¼ cup melted butter
Cheesecake Filling
- 3 packages (8 oz each) cream cheese, softened
- 1 cup granulated sugar
- 1 teaspoon vanilla extract
- 3 eggs
Topping
- 1 cup marshmallow fluff
Ingredient Substitution Options
Gluten-Free Option:
Use certified gluten-free graham cracker crumbs for the crust. Several brands now offer gluten-free versions that taste just as good.
Dairy-Free Option:
Swap out regular cream cheese with a dairy-free cream cheese alternative. Coconut or almond-based versions work especially well.
Vegan Option:
- Use plant-based cream cheese (cashew or soy-based are good picks).
- Replace each egg with ¼ cup unsweetened applesauce or 1 tablespoon ground flaxseed mixed with 3 tablespoons water (let sit for 5 minutes to gel).
- Ensure the marshmallow fluff used is egg-free and gelatin-free (vegan versions are available in health food stores).
Step-by-Step Instructions
Prepare the Crust
- In a mixing bowl, combine the graham cracker crumbs with melted butter.
- Mix thoroughly until the crumbs are moist and evenly coated.
- Press the crumb mixture firmly into the base of a 9-inch springform pan, using the back of a spoon or the bottom of a flat glass to ensure even layering.
- Set the crust aside while you make the filling.
Make the Cheesecake Filling
- In a large mixing bowl, use a hand or stand mixer to beat the softened cream cheese until smooth.
- Add the granulated sugar and vanilla extract. Continue to beat until the mixture is fluffy and lump-free.
- Add the eggs one at a time, mixing on low speed. Scrape down the sides of the bowl after each addition to keep the texture smooth.
- Once all eggs are incorporated and the batter is velvety, pour it over the prepared crust in the springform pan.
Bake the Cheesecake
- Preheat your oven to 325°F (160°C).
- Bake the cheesecake for 45 to 50 minutes. The edges should be firm while the center remains slightly jiggly (this ensures a creamy center).
- Turn off the oven, crack the door open slightly, and allow the cheesecake to rest inside for 30 minutes. This gradual cooling helps prevent cracks.
- Remove from the oven and let it cool completely at room temperature.
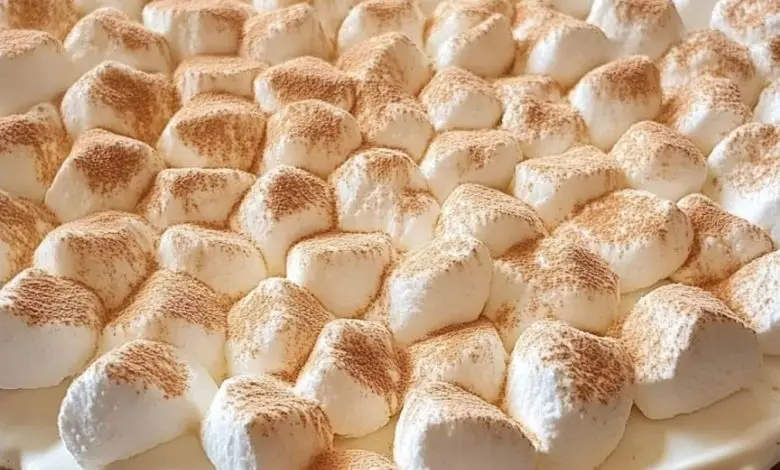
Add the Marshmallow Topping
- Once the cheesecake has cooled, spread the marshmallow fluff gently over the surface using a spatula or the back of a spoon.
- Make sure the layer is even, covering the entire top surface of the cheesecake.
Chill and Serve
- Place the cheesecake in the refrigerator and let it chill for at least 4 hours. Overnight chilling is ideal, allowing all the flavors to fully set and deepen.
- When ready to serve, gently release the sides of the springform pan and slice the cheesecake with a sharp knife. For cleaner cuts, dip the knife in warm water and wipe between slices.
Tips for Success
- Use room temperature ingredients. This prevents lumps in the batter and results in a smoother texture.
- Don’t overbeat the batter after adding the eggs. Overmixing can incorporate too much air, which may lead to cracks.
- Avoid overbaking. A slightly jiggly center means your cheesecake will be perfectly creamy after chilling.
- For a firmer crust, pre-bake it. Bake the crust for 8 minutes at 325°F before adding the filling. This step is optional but adds more crunch.
- Use a water bath if you want an extra-smooth cheesecake. Wrap the pan in foil and place it in a larger baking dish filled with hot water to reduce cracking.
Flavor Variations
- Chocolate Swirl: Add melted chocolate to part of the batter and swirl it in before baking.
- Lemon Zest: Add 1 tablespoon lemon zest to the filling for a tangy twist.
- Fruit Layer: Top the marshmallow fluff with fresh raspberries, blueberries, or sliced strawberries for a fresh and colorful finish.
- Toasted Marshmallow: Briefly torch the marshmallow fluff topping for a campfire effect (if using a culinary torch).
Frequently Asked Questions
Can I make this cheesecake in advance?
Absolutely. This dessert tastes even better the next day. You can prepare it up to 2 days in advance and store it in the fridge until serving.
How long will leftovers last?
Store leftovers in an airtight container in the refrigerator for up to 5 days.
Can I freeze this cheesecake?
Yes. Wrap it tightly in plastic wrap and foil, then freeze for up to 2 months. Thaw in the refrigerator overnight before serving. For best texture, add the marshmallow topping after thawing.
What’s the best way to spread marshmallow fluff?
It helps to warm the fluff slightly in the microwave (10-15 seconds) or stir it vigorously with a spoon to soften before spreading.
Why did my cheesecake crack?
Cracking can result from overbaking or rapid cooling. To avoid it, don’t overmix, use a water bath, and cool gradually with the oven door ajar.
Is marshmallow fluff the same as marshmallow cream?
Yes, they are essentially the same and can be used interchangeably in this recipe. Just make sure your chosen product is suitable for your dietary needs if you’re using vegan or allergy-friendly substitutes.
Final Thoughts
This Marshmallow Whip Cheesecake Heaven lives up to its name with each forkful. It’s creamy, dreamy, and satisfying without being overly fussy. With simple steps, customizable ingredients, and make-ahead convenience, this dessert is a go-to for any cheesecake lover looking for something both classic and whimsical. Serve it chilled and prepare for rave reviews—it truly is a slice of heaven.