Why You’ll Love These Homemade Biscuits
There’s a lot to love about this biscuit recipe. Whether you’re a seasoned baker or a beginner in the kitchen, this recipe will help you make the fluffiest, most buttery biscuits in no time. Here’s why this recipe is a must-try:
Fluffy and Flaky Biscuits
The secret to achieving flaky, light biscuits lies in the use of cold butter. As the butter melts during baking, it creates pockets of steam that lift the dough, resulting in airy, tender layers. The end result is a biscuit that’s light and perfect with every bite.
Buttery Goodness
Loaded with cold unsalted butter, these biscuits are rich in flavor and have a melt-in-your-mouth texture. The butter is worked into the dough to form flaky layers that provide maximum flavor and tenderness.
Quick and Easy to Make
No yeast or rising time is required for this recipe, making it a great option when you’re short on time but craving a comforting treat. You’ll have freshly baked biscuits ready in under 30 minutes.
Versatile for Any Meal
These biscuits are incredibly versatile and can be served in many ways. Whether you’re making them as a side dish for dinner, topping them with jam or honey for breakfast, or enjoying them with a little gravy, they’re guaranteed to impress.
Kid-Friendly
Biscuits are perfect for little ones to help make. They can assist with cutting and shaping the dough, making this a fun recipe to enjoy together as a family.
Ingredients You’ll Need
To make these delicious homemade biscuits, you’ll need the following ingredients. Keep in mind that using cold ingredients is key to achieving the perfect biscuit texture.
For the Biscuits:
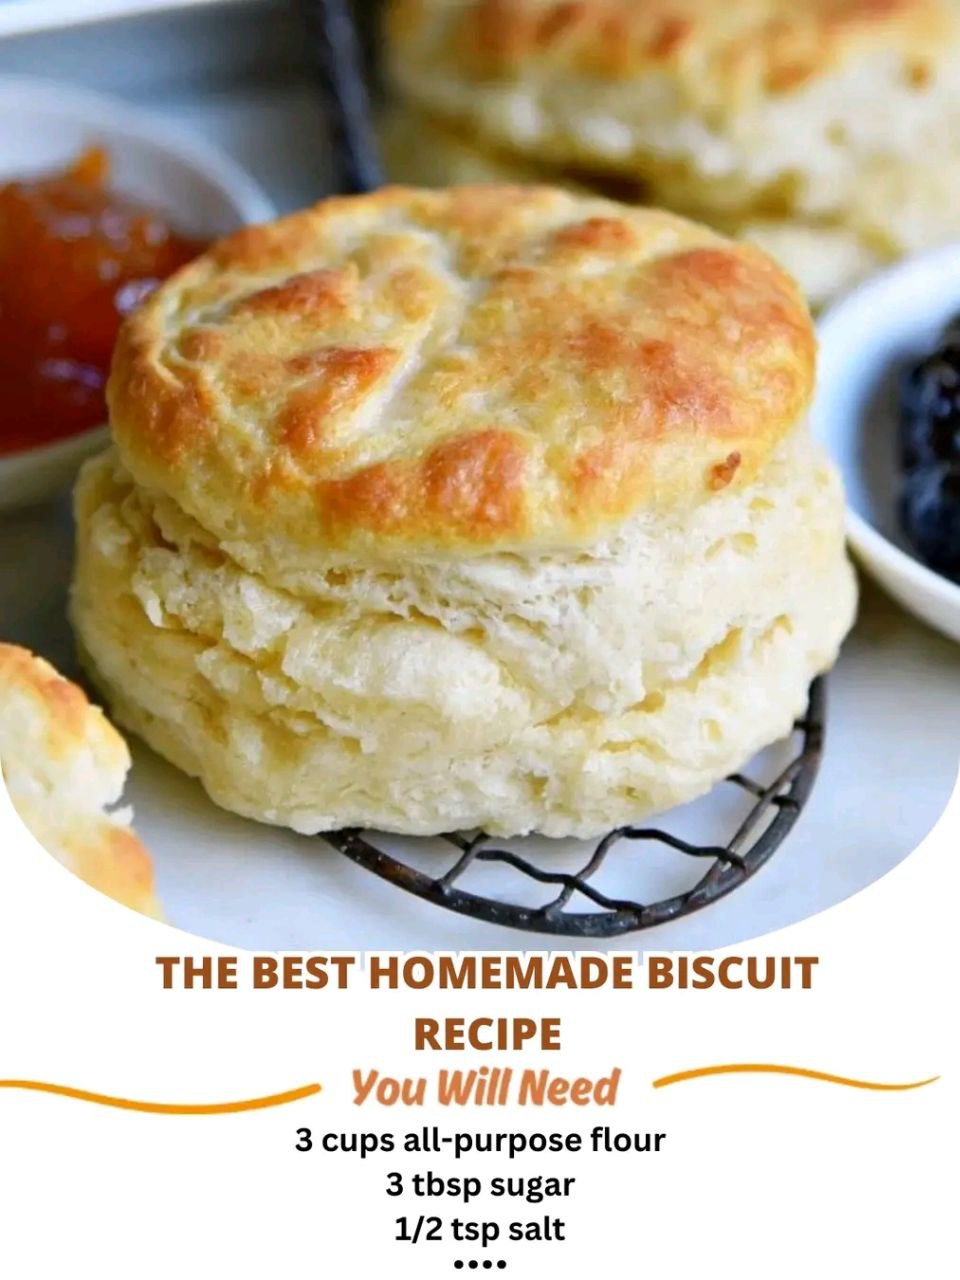
- 2 ½ cups all-purpose flour (plus extra for dusting)
- 1 tablespoon baking powder
- ½ teaspoon baking soda
- 1 teaspoon salt
- 1 cup cold unsalted butter, cubed (keep it chilled!)
- 1 ¼ cups cold buttermilk (or substitute with milk + 1 tablespoon lemon juice)
Optional Add-Ins:
- ¼ cup shredded cheddar cheese
- 1 tablespoon fresh herbs (chives, rosemary, or thyme)
- 1 teaspoon honey (for a touch of sweetness)
Step-by-Step Instructions
Ready to create the fluffiest biscuits you’ve ever tasted? Follow these simple instructions, and you’ll have perfect biscuits in no time.
Step 1: Preheat and Prep
Preheat your oven to 450°F (230°C). Line a baking sheet with parchment paper or lightly grease it. This will prevent the biscuits from sticking and ensure a golden, crisp bottom.
Step 2: Mix Dry Ingredients
In a large mixing bowl, whisk together the all-purpose flour, baking powder, baking soda, and salt. These dry ingredients will help the biscuits rise and create that light, airy texture.
Step 3: Cut in the Butter
Add the cold, cubed butter to the dry ingredients. Using a pastry cutter, fork, or your fingertips, work the butter into the flour until the mixture resembles coarse crumbs. The butter should be the size of small peas—this is what creates the flaky layers in your biscuits.
Step 4: Add Buttermilk
Pour the cold buttermilk into the bowl. Using a wooden spoon or spatula, stir gently until the dough just comes together. Be careful not to overmix—the dough should be shaggy and slightly sticky. Overworking the dough can result in tough biscuits, so handle it with care.
Step 5: Shape the Biscuits
Turn the dough out onto a lightly floured surface. Gently pat it into a 1-inch-thick rectangle. Fold the dough in half twice to create layers—this step is key for making your biscuits extra flaky.
Next, use a round biscuit cutter or the rim of a glass to cut out biscuits. Press straight down without twisting to ensure they rise evenly and have a nice, tall shape.
Step 6: Bake to Golden Perfection
Place the biscuits onto the prepared baking sheet, leaving 1–2 inches between each one. Brush the tops with a little melted butter or buttermilk for a golden, glossy finish.
Bake in the preheated oven for 12–15 minutes, or until the tops are golden brown and the edges are crisp. You’ll know they’re done when they have risen beautifully and the smell of warm, buttery biscuits fills your kitchen.
Step 7: Serve Warm
Remove the biscuits from the oven and let them cool for 5 minutes. Then, split them open and serve with butter, jam, honey, or gravy—whatever suits your craving! Enjoy the warm, comforting flavors of homemade biscuits.
Why This Recipe Works So Well
The key to these biscuits is cold butter and gentle handling. The cold butter creates steam pockets while baking, lifting the dough into flaky layers. The addition of buttermilk helps with tenderness and adds a slight tang that enhances the flavor of the biscuits. Baking powder and baking soda work together to provide maximum rise, resulting in fluffy, airy biscuits that are hard to resist.
Variations to Try
While the classic biscuit recipe is delicious on its own, there are several variations you can try to switch things up:
Cheesy Herb Biscuits
For an added burst of flavor, stir in ¼ cup of shredded cheddar cheese and 1 tablespoon of fresh herbs (such as chives, rosemary, or thyme). These biscuits are perfect for serving alongside soups or stews.
Sweet Breakfast Biscuits
If you prefer a sweeter biscuit, add 1–2 tablespoons of sugar to the dough. You can also make cinnamon butter to serve with them for a delicious breakfast treat.
Gluten-Free Option
For those who need a gluten-free option, simply substitute a gluten-free flour blend in place of the all-purpose flour. You may also need to add xanthan gum to give the dough structure and help it rise.
Vegan Version
For a vegan version of these biscuits, use plant-based butter and dairy-free buttermilk (such as almond milk with lemon juice) instead of the traditional ingredients.
Drop Biscuits
If you’re in a rush or prefer a more rustic look, you can skip the shaping step altogether. Simply drop spoonfuls of dough onto the baking sheet to make drop biscuits. They’ll be just as delicious!
Tips for Success
To ensure your biscuits turn out perfect every time, follow these helpful tips:
Keep Ingredients Cold
Cold butter and buttermilk are essential for creating flaky layers. Make sure your butter is chilled and your buttermilk is cold before adding it to the dough.
Don’t Overwork the Dough
Mix the dough until it just comes together. Overmixing can cause the biscuits to become tough, so it’s important to handle the dough as gently as possible.
Use a Sharp Cutter
When cutting out your biscuits, use a sharp cutter to make a clean cut. A dull cutter can compress the dough and prevent it from rising properly.
Leftover Hack
If you have leftovers, store cooled biscuits in an airtight container for up to 2 days. To restore freshness, reheat them in the oven at 350°F (175°C) for 5–10 minutes.
Freeze for Later
Want to prep ahead? Freeze unbaked biscuits on a baking sheet, then transfer them to a freezer bag. When you’re ready to bake, just pop them directly into the oven, adding 2–3 extra minutes to the cook time.
Serving Suggestions
These homemade biscuits are perfect for a variety of occasions. Here are some ideas for serving them:
Southern Comfort Meals
Serve these biscuits with fried chicken, sausage gravy, or collard greens for a traditional Southern comfort meal.
Brunch Spreads
Pair the biscuits with scrambled eggs, bacon, and fresh fruit for a hearty brunch spread that everyone will love.
Holiday Tables
Add these biscuits to your Thanksgiving or Easter spread for a buttery side dish that will complement any main course.
Sweet Treats
For a sweet twist, split the biscuits and top them with whipped cream, fresh berries, or honey for a delightful dessert.
Gift Idea
Wrap the biscuits in parchment paper and tie them with twine for a charming homemade gift that’s perfect for any occasion.
Final Thoughts
These homemade biscuits are the epitome of comfort food. Their golden tops, buttery flavor, and cloud-like texture make them a recipe you’ll want to bake over and over again. Whether you’re preparing a family meal, a holiday feast, or just treating yourself to something special, these biscuits are always a hit.
The next time you’re in the mood for biscuits that are crisp on the outside and tender on the inside, give this recipe a try. It’s quick, easy, and absolutely delicious!
Tips
- Keep your butter and buttermilk cold for the best results.
- Don’t overwork the dough to maintain that fluffy texture.
- A sharp biscuit cutter ensures a clean rise.
- Leftovers can be stored for up to 2 days or frozen for future use.
FAQs
Can I make these biscuits ahead of time?
Yes! You can prepare the dough ahead of time and refrigerate it for up to 24 hours before baking. Alternatively, you can freeze unbaked biscuits and bake them directly from the freezer.
Can I use regular milk instead of buttermilk?
If you don’t have buttermilk, you can substitute it with regular milk and add 1 tablespoon of lemon juice or vinegar to mimic the tangy flavor of buttermilk.
What’s the best way to store leftovers?
Store cooled biscuits in an airtight container for up to 2 days. To restore their freshness, reheat them in the oven at 350°F (175°C) for 5–10 minutes.
Can I freeze these biscuits?
Yes! Freeze unbaked biscuits on a baking sheet and then transfer them to a freezer bag. Bake them directly from frozen, adding a few extra minutes to the cooking time.