Rice Krispie Cheesecake Recipe
This Rice Krispie Cheesecake is a delightful twist on the classic cheesecake, combining the creamy and rich texture of a no-bake cheesecake with the fun crunch of a Rice Krispie treat. Whether you’re looking for a dessert that will stand out at a party or just want to satisfy your sweet tooth in a unique way, this recipe will not disappoint. The Rice Krispie crust adds a light and crispy base, while the smooth, velvety cheesecake filling complements it perfectly. This dessert is not only delicious but also easy to make, with no baking required!
Ingredients
For the Rice Krispie Crust:
- 4 cups Rice Krispies cereal
- ¼ cup unsalted butter
- 1 bag (10 oz) mini marshmallows
- 1 teaspoon vanilla extract
For the Cheesecake Filling:
- 16 oz cream cheese, softened
- ½ cup granulated sugar
- 1 teaspoon vanilla extract
- 1 ½ cups heavy cream
- 1 package (3.4 oz) instant vanilla pudding mix
- 1 tablespoon lemon juice (optional, for a slight tang)
For the Topping (Optional):
- ½ cup Rice Krispies, for garnish
- Chocolate or caramel drizzle
- Fresh berries or whipped cream
Directions
Prepare the Rice Krispie Crust
- Melt the butter and marshmallows: In a large pot over medium heat, melt the unsalted butter. Once the butter is melted, add the mini marshmallows and stir constantly until they are completely melted and the mixture is smooth.
- Add vanilla extract: Remove the pot from the heat and stir in the vanilla extract to enhance the flavor.
- Combine with Rice Krispies: Fold the Rice Krispies cereal into the melted marshmallow mixture, ensuring that all the cereal is evenly coated.
- Form the crust: Press the Rice Krispie mixture firmly into the bottom of a 9-inch springform pan. Make sure to create an even layer that will act as the crust for your cheesecake. Set the crust aside and allow it to cool completely while you prepare the cheesecake filling.
Prepare the Cheesecake Filling
- Beat the cream cheese and sugar: In a large mixing bowl, beat the softened cream cheese with the granulated sugar until the mixture is smooth and creamy. This will take about 2-3 minutes.
- Add vanilla and lemon juice: Mix in the vanilla extract and, if desired, the lemon juice. The lemon juice adds a slight tang that balances the sweetness, but it’s optional depending on your taste preferences.
- Whip the heavy cream and pudding mix: In a separate bowl, whisk together the instant vanilla pudding mix with the heavy cream. This mixture should thicken after about 2 minutes of whisking.
- Combine mixtures: Gently fold the whipped pudding mixture into the cream cheese mixture. Be sure to fold it in carefully to keep the filling light and airy. Once fully incorporated, the cheesecake filling will be smooth and creamy.
Assemble the Cheesecake
- Fill the crust: Spoon the cheesecake filling into the prepared Rice Krispie crust. Use a spatula to smooth the top, making sure it is evenly spread.
- Chill the cheesecake: Cover the cheesecake with plastic wrap and refrigerate it for at least 4 hours, or overnight, to allow it to set properly.
Serve
- Garnish: Before serving, you can garnish the cheesecake with additional Rice Krispies for extra crunch. You can also drizzle chocolate or caramel sauce over the top for added sweetness, or serve it with fresh berries and whipped cream for a refreshing touch.
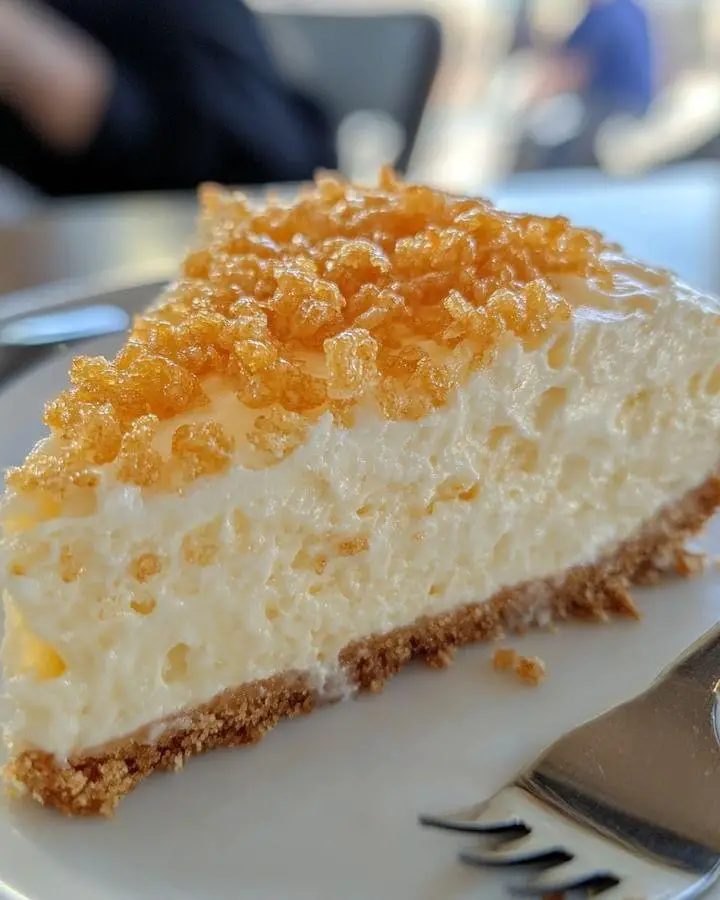
- Slice and enjoy: Once garnished, slice the cheesecake into 10-12 slices and enjoy! The combination of the creamy filling and the crunchy Rice Krispie crust creates a unique and delicious dessert that’s sure to be a hit.
Tips for the Perfect Rice Krispie Cheesecake
- Use fresh marshmallows: Make sure your marshmallows are fresh for the best texture in your Rice Krispie crust. Older marshmallows may not melt as smoothly, which can result in a sticky or lumpy crust.
- Press the crust firmly: When forming the Rice Krispie crust, press the mixture firmly into the springform pan to ensure it holds together well once the cheesecake is set. You can use a flat-bottomed glass or measuring cup to press it down evenly.
- Soften the cream cheese: Let the cream cheese soften to room temperature before beating it with the sugar. This will ensure a smooth, lump-free cheesecake filling.
- Chill the cheesecake thoroughly: To achieve the best texture, make sure to refrigerate the cheesecake for at least 4 hours or overnight. This allows the filling to set properly and ensures clean slices when serving.
- Customize the topping: While Rice Krispies and chocolate drizzle are delicious, feel free to get creative with the toppings. Try adding crushed cookies, caramelized nuts, or even a fruit compote for added flavor.
FAQs
1. Can I make this cheesecake ahead of time?
Yes! This Rice Krispie Cheesecake is a great make-ahead dessert. You can prepare it the day before and let it chill overnight, making it perfect for gatherings or parties.
2. Can I use a different type of cereal for the crust?
Absolutely. While Rice Krispies give the crust a light and crispy texture, you can experiment with other cereals like Cocoa Krispies for a chocolate twist or Fruity Pebbles for a colorful variation.
3. How long will this cheesecake last in the refrigerator?
Once assembled, the cheesecake will last for up to 3-4 days in the refrigerator when stored in an airtight container. For best results, keep it covered to prevent it from drying out.
4. Can I freeze Rice Krispie Cheesecake?
Yes, you can freeze it! Wrap the cheesecake tightly in plastic wrap and then in aluminum foil to prevent freezer burn. When you’re ready to serve it, allow the cheesecake to thaw in the refrigerator for several hours or overnight.
5. Can I add chocolate to the cheesecake filling?
Yes, you can easily add melted chocolate or chocolate chips to the cheesecake filling for a richer flavor. Just fold in the melted chocolate after mixing the cream cheese and sugar.
6. Can I omit the pudding mix?
The instant vanilla pudding mix helps stabilize the cheesecake and gives it a light, fluffy texture. If you prefer not to use it, you can substitute it with an equal amount of powdered sugar, but note that the texture may be slightly different.
7. What is the purpose of lemon juice in this recipe?
The lemon juice adds a subtle tang that balances the sweetness of the cheesecake filling. It’s optional, so if you prefer a purely sweet cheesecake, feel free to omit it.
8. Do I have to use a springform pan?
A springform pan is ideal for cheesecakes as it makes it easier to remove the dessert without damaging it. However, you can also use a regular cake pan, though removing the cheesecake may be a bit trickier.
With its unique Rice Krispie crust and creamy cheesecake filling, this Rice Krispie Cheesecake is sure to become a favorite treat for all ages. Whether you’re making it for a party or just as a fun dessert at home, this recipe is easy to follow and will impress everyone with its flavor and texture!