Learn How to Make Cheese at Home the Old-Fashioned Way with Grandma’s Three-Ingredient Recipe
Making cheese at home can be a rewarding experience that saves money and allows you to control exactly what goes into your food. Homemade cheese often has a freshness and flavor that store-bought varieties can’t match, and it’s a great way to connect with traditional methods passed down through generations.
Grandma’s Simple Three-Ingredient Cheese Recipe
This recipe uses just three basic ingredients: milk, lemon juice, and salt. It’s a straightforward process that results in a delicious homemade cheese perfect for enjoying on its own or adding to various dishes.
Ingredients:
- 1 gallon of whole milk (preferably as fresh as possible)
- 1/3 cup of freshly squeezed lemon juice
- Salt to taste
Instructions:
1. Heat the Milk:
- Pour the gallon of milk into a large, heavy-bottomed saucepan.
- Heat the milk over medium heat, stirring continuously to prevent it from scorching or boiling over.
- Bring the milk to a temperature of around 185°F (85°C). It should be hot but not boiling.
2. Add Lemon Juice:
- Once the milk reaches the right temperature, remove the saucepan from the heat.
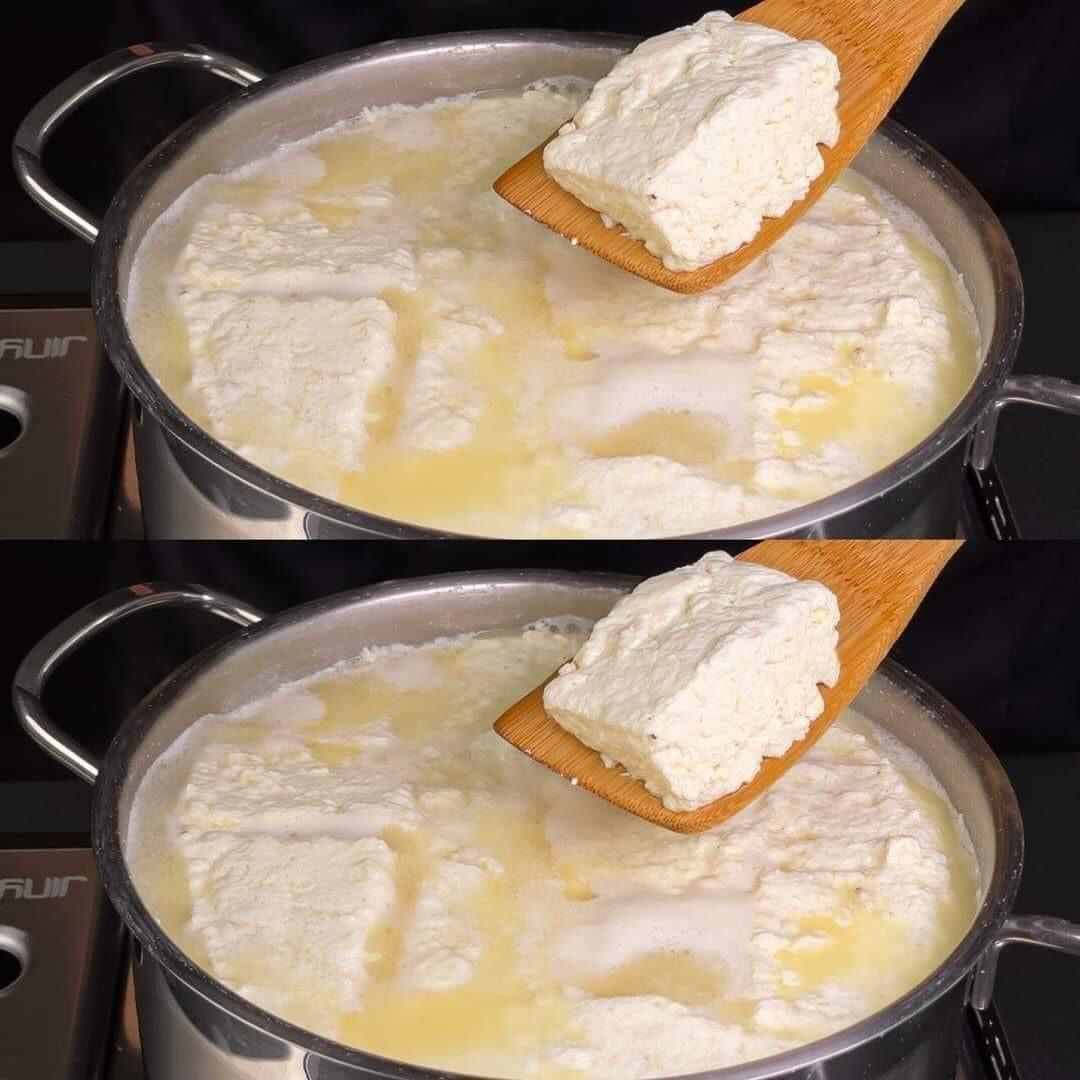
- Slowly stir in the freshly squeezed lemon juice. As you stir, you’ll notice the milk beginning to curdle. The lemon juice’s acidity causes the milk to separate into curds (solids) and whey (liquid).
3. Let the Mixture Sit:
- Allow the mixture to sit undisturbed for about 10 minutes. This resting period helps the curds and whey separate completely.
4. Strain the Curds:
- Place a colander lined with cheesecloth over a large bowl.
- Carefully pour the curdled milk into the colander, allowing the whey to drain through the cheesecloth while the curds remain.
- Gather the corners of the cheesecloth and gently squeeze out any excess whey from the curds.
5. Season the Cheese:
- Transfer the curds into a bowl and add salt to taste. Mix gently to distribute the salt evenly.
- At this point, you can also add any additional herbs or spices if you want to flavor your cheese.
6. Press the Cheese:
- To make the cheese firmer, place the cheesecloth-wrapped curds back into the colander or a cheese mold.
- Place a weight (such as a can or a small, heavy object) on top of the cheese and leave it in the refrigerator for a few hours or overnight. This step helps to press out any remaining whey and solidify the cheese.
7. Enjoy:
- Once the cheese has firmed up, unwrap it from the cheesecloth and enjoy it fresh.
- You can serve it spread on toast, crumbled over salads, or as part of your favorite savory dishes.
In Summary:
This three-ingredient cheese recipe is not only simple but also evokes a sense of nostalgia and tradition. Whether you enjoy it with fruit, spread it on toast, or incorporate it into your cooking, this homemade cheese brings a warm, comforting taste of the past to your table.
FAQs and Tips for Making Grandma’s Three-Ingredient Cheese
FAQs:
1. Can I use low-fat or non-dairy milk for this recipe?
- Traditional cheese-making works best with whole milk due to its higher fat content, which helps create a richer, creamier cheese. Low-fat milk might yield a less creamy cheese, and non-dairy milk won’t curdle the same way, so it’s not recommended for this recipe.
2. What can I do with the leftover whey?
- Whey is a nutrient-rich byproduct that can be used in various ways. You can add it to smoothies, use it in baking as a substitute for water or milk, or even use it to cook grains like rice or quinoa for added flavor and nutrition.
3. How long will the homemade cheese last?
- This fresh cheese is best consumed within a week. Store it in an airtight container in the refrigerator to keep it fresh. If it starts to develop an off smell or taste, it’s time to discard it.
4. Can I add flavors or herbs to the cheese?
- Absolutely! You can mix in chopped herbs like chives, rosemary, or dill for added flavor. Garlic, cracked pepper, or even a touch of honey can also enhance the cheese. Add these ingredients during the seasoning step after the curds have been strained.
5. My cheese didn’t firm up—what went wrong?
- If the cheese is too soft, it could be due to insufficient pressing time. Ensure you apply enough weight and let it press for several hours. Additionally, make sure you’re using the correct amount of lemon juice to fully curdle the milk.
6. Can I use vinegar instead of lemon juice?
- Yes, you can substitute lemon juice with white vinegar, which will also cause the milk to curdle. The flavor might be slightly different, but it will still produce a good cheese.
Tips:
1. Use Fresh Milk:
- The fresher the milk, the better the flavor of your cheese. Try to source high-quality, whole milk for the best results.
2. Control the Temperature:
- It’s crucial to heat the milk slowly and keep it just below boiling. Overheating can cause the milk to scorch, affecting the flavor of your cheese.
3. Experiment with Textures:
- For a softer cheese, reduce the pressing time or use less weight. For a firmer cheese, press it longer and under heavier weight.
4. Don’t Waste the Whey:
- Whey can be used in a variety of ways, such as in baking, smoothies, soups, or even as a base for fermenting vegetables.
5. Customize Your Cheese:
- Feel free to experiment with flavors. Adding ingredients like herbs, spices, or even dried fruit can create a unique cheese tailored to your taste.
6. Serve It Creatively:
- This cheese is versatile—use it in salads, sandwiches, or as a spread. It pairs well with fresh fruit, nuts, and honey for a sweet-savory treat.
7. Practice Patience:
- Cheese-making can take some practice. If your first batch isn’t perfect, try again with slight adjustments. It’s a rewarding process that gets better with time.
This recipe and the accompanying tips should set you on the path to mastering the art of homemade cheese. Enjoy the process and the delicious results!