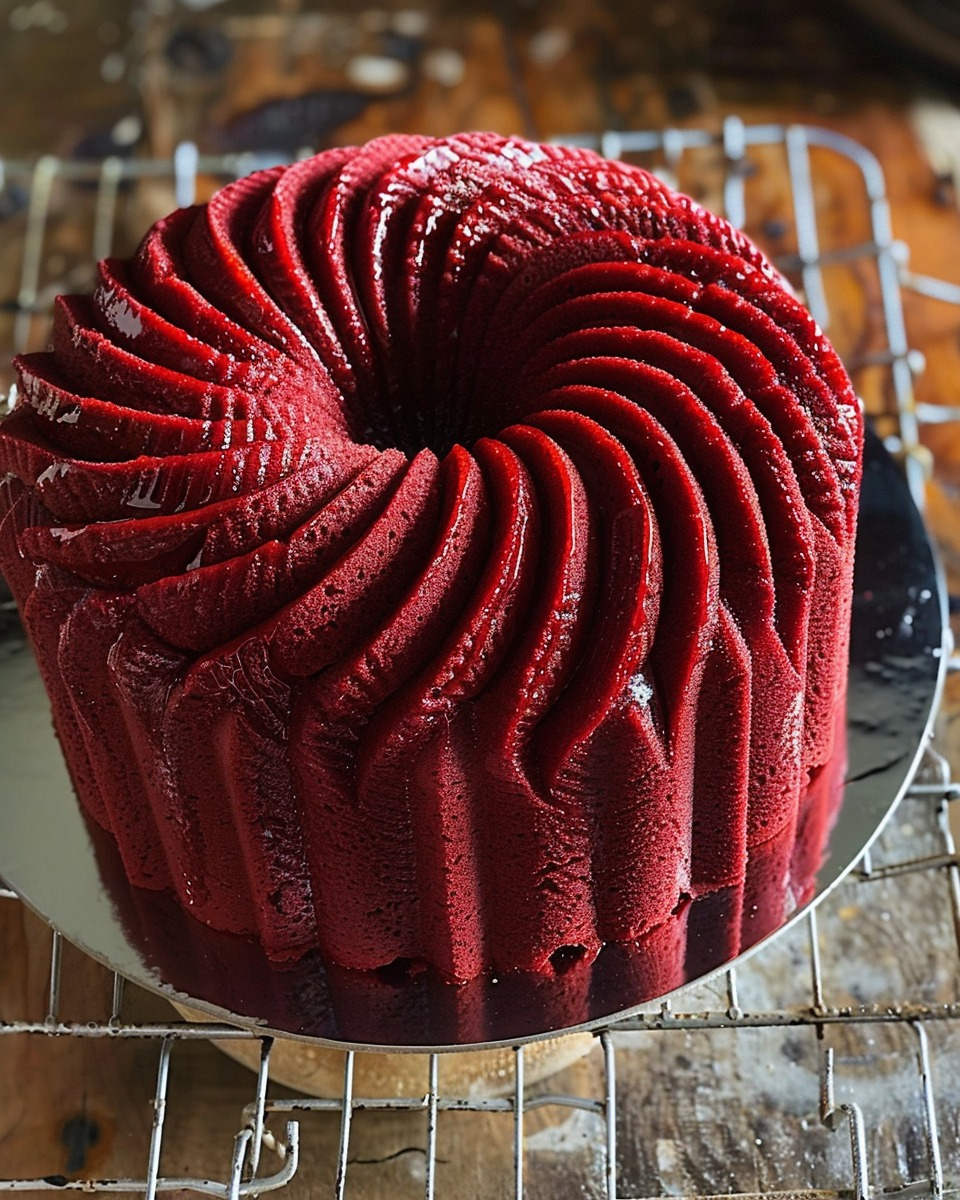
When it comes to timeless desserts that combine elegance with indulgence, few can rival the charm of a Red Velvet Pound Cake. With its velvety red hue, rich cocoa flavor, and buttery texture, this cake is a true showstopper — perfect for holidays, birthdays, or simply whenever you crave a slice of something decadent.
Unlike the traditional red velvet layer cake, this pound cake version brings a denser, richer crumb while keeping that signature tangy flavor from buttermilk and vinegar. Topped with a silky glaze or cream cheese drizzle, every bite melts in your mouth, making it a dessert that’s as beautiful as it is delicious.
Ingredients
For the Cake
- 3 cups all-purpose flour
- ½ cup unsweetened cocoa powder
- 1 teaspoon baking powder
- ½ teaspoon baking soda
- ½ teaspoon salt
- 1 cup (2 sticks) unsalted butter, softened
- 2 ½ cups granulated sugar
- 5 large eggs, room temperature
- 1 cup buttermilk, room temperature
- ½ cup sour cream
- 1 tablespoon vanilla extract
- 2 tablespoons red food coloring (liquid or gel)
- 1 teaspoon white vinegar
For the Glaze (Optional)
- 2 cups powdered sugar
- 2–3 tablespoons milk or heavy cream
- 1 teaspoon vanilla extract
Optional Cream Cheese Glaze: Substitute 2 oz cream cheese (softened) + 1 tablespoon butter for a richer, tangy flavor.
Step-by-Step Instructions
Step 1: Prepare the Pan and Oven
Preheat your oven to 325°F (160°C). Grease and flour a bundt or tube pan, making sure to cover all corners and edges so the cake releases easily. If you prefer, you can also line the bottom with parchment paper.
Step 2: Combine the Dry Ingredients
In a medium bowl, whisk together the flour, cocoa powder, baking powder, baking soda, and salt. This ensures the leavening agents are evenly distributed and the cocoa is well mixed with the flour.
Step 3: Cream the Butter and Sugar
In a large mixing bowl, beat together the butter and sugar using an electric mixer on medium speed for about 3–4 minutes, or until light and fluffy. This step is crucial — properly creamed butter creates the foundation for a soft, tender crumb.
Step 4: Add the Eggs
Add the eggs one at a time, beating well after each addition. Each egg helps build structure while keeping the cake moist and rich.
Step 5: Mix the Wet Ingredients
In another bowl, whisk together the buttermilk, sour cream, vanilla extract, red food coloring, and vinegar. The vinegar reacts with the cocoa to deepen the red color and add a subtle tang that defines red velvet flavor.
Step 6: Combine the Batter
Gradually add the dry ingredients to the butter mixture in three additions, alternating with the buttermilk mixture. Begin and end with the dry ingredients, mixing only until combined after each addition. Avoid overmixing to maintain a soft, velvety texture.
Step 7: Bake the Cake
Pour the batter evenly into the prepared pan, smoothing the top with a spatula. Bake for 60–70 minutes, or until a toothpick inserted into the center comes out clean.
If the top begins to brown too quickly, tent it lightly with foil during the last 15 minutes of baking.
Step 8: Cool the Cake
Remove the cake from the oven and allow it to cool in the pan for 10 minutes. Carefully turn it out onto a wire rack and let it cool completely before glazing or slicing.
Step 9: Prepare the Glaze
In a small bowl, whisk together powdered sugar, milk (or cream), and vanilla extract until smooth. For a thicker glaze, add more sugar; for a thinner one, add a few extra drops of milk.
If you prefer a richer glaze, beat in cream cheese and butter before adding the milk and sugar — this variation adds a luscious, slightly tangy flavor that perfectly complements the red velvet cake.
Step 10: Glaze and Serve
Once the cake has cooled, drizzle the glaze generously over the top, letting it cascade down the sides. Let it set for about 10 minutes before slicing. The shiny glaze not only enhances the cake’s flavor but also makes it visually stunning.
Variations
Classic Cream Cheese Frosting
If you prefer a thicker topping, skip the glaze and frost the cake with a traditional cream cheese frosting. It adds that signature red velvet tang and a creamy contrast to the dense crumb.
Red Velvet Marble Pound Cake
For a fun twist, divide the batter and mix one part with a bit of melted dark chocolate. Swirl the two batters together before baking for a beautiful marble effect.
Mini Red Velvet Loaves
Turn this recipe into small loaves or cupcakes for portioned desserts. Reduce baking time to 25–35 minutes, depending on size.
Holiday Version
Add white chocolate chips or a handful of festive sprinkles into the batter for a beautiful seasonal treat.
Serving Suggestions
- Serve slices with fresh berries and a dusting of powdered sugar for a fresh contrast.
- Pair with coffee or hot cocoa for a comforting afternoon treat.
- For an indulgent dessert, top with a scoop of vanilla ice cream or a dollop of whipped cream.
- Garnish with mint leaves or edible flowers for an elegant presentation.
Storage Instructions
- Store the cake in an airtight container at room temperature for up to 3 days.
- Refrigerate for up to 1 week, especially if using a cream cheese glaze.
- For longer storage, wrap the cake tightly in plastic wrap and freeze for up to 3 months. Thaw overnight in the refrigerator before serving.
Tips for the Perfect Red Velvet Pound Cake
- Use room-temperature ingredients: This helps create a smooth, evenly mixed batter.
- Measure accurately: Scoop flour with a spoon and level it off to prevent a dense cake.
- Don’t overmix: Mix just until the ingredients are combined to keep the crumb tender.
- Check early: Ovens vary, so start checking for doneness at 60 minutes.
- For extra moisture, brush the warm cake with a little buttermilk before glazing.
- Enhance color: Gel food coloring gives a deeper, more vibrant red than liquid food dye.
- Add texture: Sprinkle crushed pecans or coconut flakes on top of the glaze for a southern-inspired touch.
Nutritional Information (Per Serving)
- Calories: 430
- Protein: 6g
- Carbohydrates: 55g
- Fat: 21g
- Sodium: 190mg
- Fiber: 1g
- Sugar: 37g
FAQs
Can I use natural food coloring instead of artificial?
Yes, you can use beetroot powder or beet juice for a more natural red hue. Keep in mind the color may be slightly muted but still beautiful.
Why do I need vinegar in red velvet cake?
The vinegar reacts with cocoa powder and baking soda, giving the cake its distinctive color and a subtle tang that enhances the flavor.
Can I use Greek yogurt instead of sour cream?
Absolutely! Greek yogurt works well as a substitute and adds a similar creamy texture.
How do I prevent my cake from sticking to the pan?
Generously grease and flour the pan, or use a non-stick baking spray with flour included. Allow the cake to cool slightly before turning it out.
Can I make this cake ahead of time?
Yes, it actually tastes even better the next day as the flavors deepen. Store it wrapped tightly, and glaze before serving.
What if my cake turns out dry?
You may have overbaked it. Next time, start checking for doneness earlier. You can also brush a simple syrup or buttermilk glaze over the cake to add moisture.
Conclusion
The Red Velvet Pound Cake is more than just a dessert — it’s a celebration of flavor, color, and comfort. With its buttery crumb, rich cocoa undertones, and signature velvety texture, it strikes the perfect balance between indulgence and elegance.
Whether served with a glossy glaze, classic cream cheese frosting, or simply dusted with powdered sugar, this cake is guaranteed to impress. Perfect for holidays, romantic dinners, or everyday indulgence, it’s a recipe you’ll turn to again and again.