Few desserts capture the taste of summer as perfectly as raspberry ice cream. Bursting with fruity sweetness, balanced by a hint of tartness, and made luxuriously creamy with fresh cream, this treat is a favorite for kids and adults alike. Unlike store-bought versions that are often packed with artificial flavors and preservatives, homemade raspberry ice cream allows you to savor the pure, natural essence of raspberries in every bite.
What makes this recipe so wonderful is that it’s surprisingly simple to prepare, requiring just a handful of ingredients. With the right balance of cream, fruit, and sweetness, you’ll end up with a silky-smooth dessert that’s as beautiful as it is delicious. Whether you’re preparing it for a family gathering, summer barbecue, or simply indulging yourself on a hot afternoon, raspberry ice cream is sure to be the star of the table.
Ingredients You’ll Need
- 2 cups fresh or frozen raspberries
- 1 cup sugar (divided: ½ for berries, ½ for cream)
- 2 cups heavy cream (cold)
- 1 cup whole milk (cold)
- 1 tsp vanilla extract
- A few drops of pink/red food coloring (optional)
This recipe makes about one quart of ice cream, enough to serve 6–8 people.
Step-by-Step Instructions
Step 1: Prepare Raspberry Purée
Start by placing your raspberries in a saucepan along with ½ cup of sugar. Cook over medium heat for about 5–7 minutes, stirring occasionally, until the berries begin to soften and release their juices.
Once they’ve cooked down, use a spoon or potato masher to crush them into a rough purée. To ensure a smooth ice cream without seeds, strain the mixture through a fine-mesh sieve into a bowl. Press firmly with the back of a spoon to extract as much liquid as possible. Discard the seeds, then let the purée cool completely.
Step 2: Make the Ice Cream Base
In a large mixing bowl, whisk together the cold heavy cream, milk, the remaining ½ cup sugar, and vanilla extract until the sugar dissolves.
Once the raspberry purée has cooled, stir it into the cream mixture. If you want a more vibrant pink hue, add a few drops of food coloring at this stage. The natural color of raspberries is already gorgeous, but a little boost can make it pop.
Step 3: Chill the Mixture
Cover the bowl with plastic wrap and refrigerate the mixture for at least 2 hours. For the best flavor and texture, let it chill overnight. This step ensures the base is very cold before churning, which is key to achieving smooth and creamy ice cream.
Step 4: Churn the Ice Cream
Pour the chilled mixture into your ice cream maker and churn according to the manufacturer’s instructions, usually about 20–25 minutes, until the texture resembles soft serve.
If you don’t have an ice cream maker, you can pour the mixture into a freezer-safe container and whisk it every 30 minutes for 3–4 hours. This breaks up ice crystals and helps mimic the churned effect.
Step 5: Freeze Until Firm
Transfer the churned ice cream into a freezer-safe container. For a pretty presentation, swirl in a little extra raspberry purée before freezing. Smooth the top with a spatula, cover, and freeze for at least 4 hours or until firm.
Step 6: Serve and Enjoy
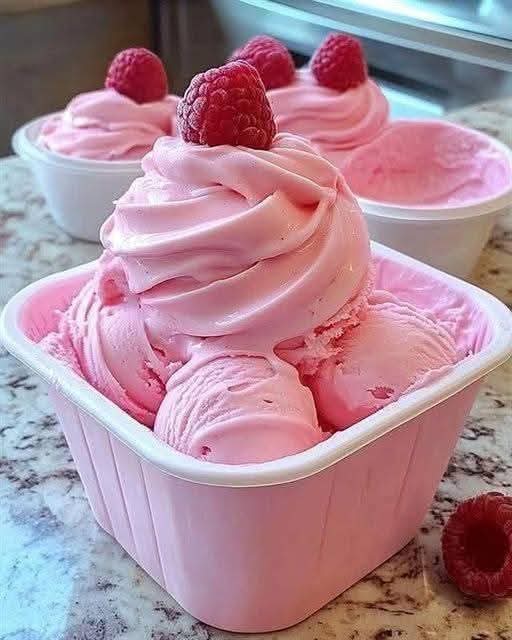
Scoop into bowls or cones, top with extra raspberries, or pipe some softened ice cream for a fun swirl effect. The bright flavor and silky texture make this dessert irresistible.
Variations and Add-Ins
One of the joys of making homemade ice cream is experimenting with flavors. Here are some fun ways to customize your raspberry ice cream:
- Chocolate Chip Raspberry Ice Cream: Fold in mini chocolate chips or chopped dark chocolate during the last few minutes of churning.
- Raspberry Cheesecake Ice Cream: Add small chunks of cream cheese and crushed graham crackers for a tangy twist.
- White Chocolate Raspberry: Swirl in melted white chocolate before freezing.
- Raspberry Swirl: Reserve some purée and ripple it through the churned ice cream for a marbled effect.
Tips for Success
- Use cold ingredients: Starting with very cold cream and milk ensures a smoother texture.
- Don’t skip straining: Removing raspberry seeds is crucial for a silky base.
- Chill before churning: A cold base freezes faster, preventing large ice crystals.
- Store properly: Keep the ice cream in an airtight container in the coldest part of the freezer. Place plastic wrap directly on the surface to prevent ice crystals from forming.
Storage
- In the Freezer: Store in an airtight container for up to 2 weeks.
- Soften before serving: Let it sit at room temperature for 5 minutes before scooping.
FAQs
1. Can I use frozen raspberries?
Yes! Just thaw them before cooking and proceed with the recipe as written.
2. Do I need an ice cream maker?
No. While an ice cream maker makes the process easier, you can use the no-churn method by freezing the mixture and whisking it every 30 minutes until set.
3. Can I reduce the sugar?
Yes, but keep in mind that sugar not only sweetens but also helps keep the texture creamy. Reducing too much may make the ice cream icy.
4. How do I make it dairy-free?
Substitute coconut cream for heavy cream and almond or oat milk for whole milk. The flavor will be slightly different but still delicious.
5. Can I mix other fruits with raspberries?
Absolutely. Try combining raspberries with strawberries, blueberries, or mango for a fun twist.
6. How long does homemade ice cream last?
For best flavor and texture, enjoy it within 1–2 weeks.
Conclusion
Homemade raspberry ice cream is the perfect balance of fruity sweetness and creamy indulgence. It’s a dessert that not only tastes incredible but also looks stunning with its soft pink hue and fresh raspberry garnish. By following these steps, you’ll have a refreshing treat ready for any summer occasion—or any time you’re craving something sweet and satisfying.
Once you try making raspberry ice cream at home, you may never want to go back to store-bought versions again. It’s fresher, creamier, and endlessly customizable. So grab some raspberries, whip up a batch, and enjoy the pure taste of summer in a bowl.