The Magic of Homemade Mozzarella Cheese
There’s something deeply satisfying about making your own cheese at home. It’s a magical process of transformation, where simple ingredients come together to create something delicious. And what if I told you that you could make your own mozzarella cheese in just 15 minutes? Yes, you heard that right! This quick and easy recipe will have you saying goodbye to store-bought cheese and hello to fresh, homemade mozzarella that’s perfect for your salads, pizzas, and sandwiches. Let’s dive into the delightful world of cheese-making.
The Joy of Homemade Mozzarella
Making mozzarella at home is not just about the end product; it’s about the joy of creating something from scratch, the pleasure of tasting cheese that’s fresh off the press, and the pride in sharing your homemade delicacies with friends and family. Plus, this quick recipe means you can have fresh mozzarella anytime you crave it.
Benefits of Homemade Cheese
- Freshness: Homemade cheese is fresher than store-bought, with no preservatives or artificial additives.
- Control: You have complete control over the ingredients and the process, ensuring a high-quality product.
- Satisfaction: The process is rewarding and educational, perfect for food enthusiasts and DIY lovers.
Ingredients You’ll Need
- 1 gallon of whole milk (the fresher, the better)
- 1/2 teaspoon of citric acid
- 1/4 teaspoon of liquid rennet
- 1 teaspoon of kosher salt (or to taste)
- 1 cup of water (divided into two halves)
Step-by-Step Guide to Making Mozzarella
Prepare the Milk
- Dissolve the Citric Acid: In a small bowl, dissolve the citric acid in 1/2 cup of water.
- Add to Milk: Pour the citric acid mixture into a large pot with the milk. Heat slowly on medium, stirring gently until the milk reaches 90°F.
Add the Rennet
- Dissolve the Rennet: Dissolve the liquid rennet in the remaining 1/2 cup of water.
- Combine: Add the rennet solution to the milk, stirring gently for about 30 seconds. Then, stop stirring and let the milk sit for 5 minutes. You’ll notice the milk starting to curdle.
Cut the Curd
- Check the Curd: Once the milk has set, it should look like custard with a clear separation between the curd and whey.
- Cut: Using a knife, cut the curd into cubes, making a grid pattern.
Cook the Curd
- Heat: Slowly heat the curds to 105°F, gently moving them around with a slotted spoon or your hand. The curds will start to come together and separate from the whey.
- Drain: Once they reach the temperature, turn off the heat and continue stirring gently for another 5 minutes.
Shape the Mozzarella
- Transfer: Using a slotted spoon, transfer the curds to a bowl, letting the whey drain off.
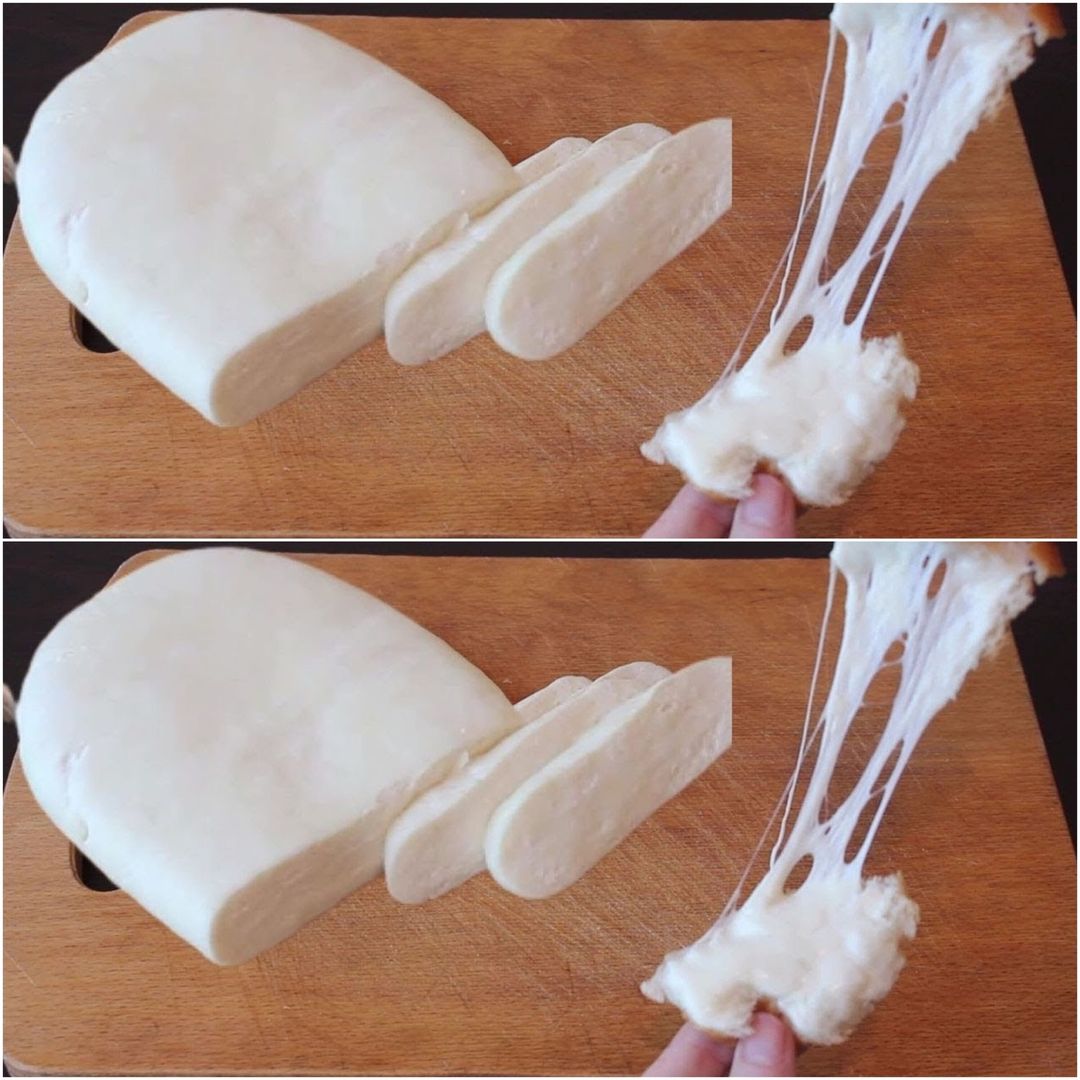
- Salt and Knead: Sprinkle the curds with salt and start folding and stretching them. Continue to fold and stretch until the curds become smooth and elastic, forming a ball of mozzarella.
Cool Down
- Ice Bath: Place your fresh mozzarella in a bowl of ice water to set its shape and cool it down.
Enjoy Your Creation
Your homemade mozzarella is now ready to be enjoyed! Slice it over a fresh tomato and basil salad, melt it on your favorite pizza, or enjoy it as is with a sprinkle of salt and a drizzle of olive oil. Making your own cheese is not only a fun and rewarding experience, but it also adds a personal touch to your meals that can’t be bought. So, roll up your sleeves and get ready to make some delicious mozzarella cheese right in your kitchen.
Tips for Perfect Mozzarella
- Use Fresh Milk: The fresher the milk, the better the cheese. Avoid ultra-pasteurized milk as it won’t curdle properly.
- Temperature Control: Keep an eye on the temperature at all times. Use a reliable food thermometer for accuracy.
- Gentle Stirring: Be gentle when stirring the milk and curds to prevent breaking them up too much.
- Clean Equipment: Ensure all your utensils and pots are clean to avoid any contamination.
FAQ
Can I Use Low-Fat Milk for This Recipe?
It’s best to use whole milk for a richer and creamier mozzarella. Low-fat milk can work, but the texture and flavor might not be as good.
What Can I Do with the Leftover Whey?
Whey is a byproduct of cheese-making that is full of protein. You can use it in baking, smoothies, soups, or even as a fertilizer for plants.
How Long Does Homemade Mozzarella Last?
Homemade mozzarella is best eaten fresh but can be stored in the refrigerator for up to a week. Keep it in a brine solution or wrapped in plastic to maintain moisture.
Can I Add Flavors to My Mozzarella?
Yes, you can! Adding herbs like basil or oregano during the stretching process can infuse your cheese with additional flavors.
What If My Cheese Doesn’t Stretch?
If your cheese doesn’t stretch, it may not have reached the right temperature, or the curds might have been handled too roughly. Ensure your temperatures are accurate and handle the curds gently.
Is It Safe to Eat Raw Milk Cheese?
Using pasteurized milk is recommended for safety, especially for beginners. If you choose to use raw milk, make sure it’s from a reputable source and handle it with care.
Making homemade mozzarella cheese is a rewarding endeavor that brings a sense of accomplishment and joy. With these tips and a bit of practice, you’ll be able to create delicious, fresh mozzarella that rivals any store-bought variety. Enjoy the process and the wonderful taste of your homemade cheese!