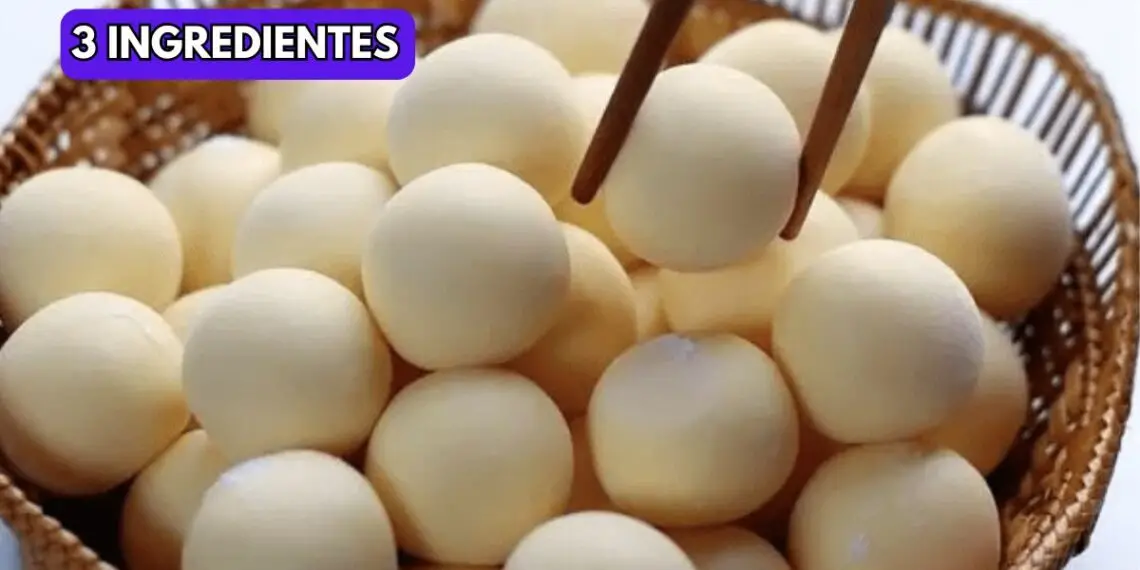
If you’re looking for a dessert that is simple, delicious, and always a crowd-pleaser, powdered milk balls are the answer. Made with only three basic ingredients, this recipe is proof that you don’t need a long shopping list to create something extraordinary. These little treats are soft, slightly chewy, and carry a creamy flavor that makes them perfect for any occasion—whether it’s an afternoon snack, a party dessert, or even a quick sweet bite after a meal.
Every time I prepare these powdered milk balls, they disappear quickly. They are the kind of dessert that feels nostalgic, comforting, and satisfying all at once. Best of all, you don’t need to attend a culinary class or buy fancy ingredients. With items you probably already have at home, you can whip up a batch of these in less than 30 minutes.
Why You’ll Love Powdered Milk Balls
There are countless desserts in the world, but this one stands out for a few key reasons:
- Minimal Ingredients: Only three main ingredients are needed.
- Quick to Prepare: From start to finish, you’ll be done in about 30 minutes.
- Beginner-Friendly: Perfect for those new to baking or cooking.
- Meal Prep Friendly: They can be stored and enjoyed later, making them great for planning ahead.
- Versatile: You can enjoy them plain or roll them in toppings like powdered milk, cocoa powder, or shredded coconut.
These little bites of sweetness are proof that simplicity is often the secret to perfection.
Ingredients for Powdered Milk Balls
You’ll be amazed at how such a small list of ingredients can create such delicious results.
Main Ingredients
- 1 ½ cups of cornstarch (180 grams)
- 7 ounces of sweetened condensed milk (200 grams)
- 2 tablespoons of powdered milk
Additional Ingredients (If Needed)
- A little extra cornstarch (to adjust texture)
- Extra sweetened condensed milk (if dough is too dry)
Optional Topping
- Extra powdered milk for sprinkling over the finished balls
Step-by-Step Instructions
Step 1: Toast the Cornstarch
Begin by lightly toasting the cornstarch in a pan over low heat. Stir constantly to prevent burning. Toast until it reaches about 194°F (90°C). This step removes the raw taste of cornstarch and gives the milk balls a better texture and flavor.
Step 2: Mix Dry Ingredients
Once toasted, transfer the cornstarch to a mixing bowl. Add the powdered milk and mix well until combined.
Step 3: Add the Condensed Milk
Gradually pour in the sweetened condensed milk, mixing until a soft, pliable dough forms. If the dough feels too dry, add a little more condensed milk. If it feels too sticky or soft, sprinkle in extra cornstarch until it reaches the right consistency.
Step 4: Shape the Balls
Take small portions of the dough (about 10 grams each) and roll them into smooth balls with your hands. Lightly dust them with the toasted cornstarch for easier rolling and a cleaner finish.
Step 5: Bake the Milk Balls
Preheat your oven to 356°F (180°C). Place the shaped balls on a baking sheet lined with parchment paper and bake for about 10 minutes. They should hold their shape but remain soft on the inside.
Step 6: Add the Finishing Touch
Once baked, let the balls cool slightly. Sprinkle extra powdered milk over them for a delicate finish before serving.
Tips for the Perfect Powdered Milk Balls
- Constant stirring when toasting: Cornstarch burns easily, so keep the heat low and stir non-stop.
- Check dough consistency: The dough should not stick too much to your hands, but it should still be soft and pliable.
- Uniform size: Rolling the balls evenly helps them bake consistently. Aim for bite-sized portions.
- Avoid overbaking: Since these are delicate, 10 minutes is enough. Overbaking can make them dry.
- Storage tip: Store in an airtight container at room temperature for up to 3 days, or refrigerate for up to a week.
Variations to Try
Although the traditional recipe is simple, you can add your own twist:
- Cocoa Powder: Roll the balls in cocoa for a chocolatey version.
- Coconut Flakes: Coat them in shredded coconut for extra texture and flavor.
- Nutty Delight: Add finely crushed nuts like almonds, cashews, or pistachios to the dough.
- Spiced Version: A pinch of cinnamon or cardamom can elevate the flavor profile.
These variations make the recipe more versatile and suitable for different tastes.
Serving Suggestions
Powdered milk balls are versatile and can be enjoyed in many ways:
- As a dessert: Serve with coffee or tea for a light after-meal treat.
- At parties: Present them on a platter as bite-sized sweets for guests.
- As gifts: Pack them in jars or boxes for a thoughtful homemade gift.
- For kids: These make fun snacks for lunchboxes or after-school treats.
Nutritional Value
While these milk balls are indulgent, they also provide energy and a small amount of protein from the milk content. Each ball (about 10 grams) offers approximately:
- Calories: 50–60
- Carbohydrates: 8–9 g
- Protein: 1 g
- Fat: 1 g
They’re small enough to enjoy in moderation without guilt.
Frequently Asked Questions
Can I make powdered milk balls without baking them?
Yes. Some versions skip the baking step and serve them directly after shaping. However, baking helps the balls hold their shape and enhances flavor.
Can I use full cream milk powder instead of regular powdered milk?
Absolutely. Full cream milk powder will give the balls a richer and creamier taste.
How do I prevent the dough from sticking to my hands?
Lightly dust your hands with cornstarch while rolling the balls to prevent sticking.
Can I double the recipe?
Yes, simply double all the ingredients. Just remember to bake them in batches for even cooking.
Are these milk balls gluten-free?
Yes, since they’re made with cornstarch instead of wheat flour, they are naturally gluten-free.
Final Thoughts
Powdered Milk Balls with 3 Ingredients are the perfect dessert for anyone who loves simple, quick, and delicious recipes. They’re versatile, beginner-friendly, and ideal for sharing with family and friends. Whether you enjoy them plain or add your own creative twist, these treats prove that you don’t need a long ingredient list to make something truly delightful.