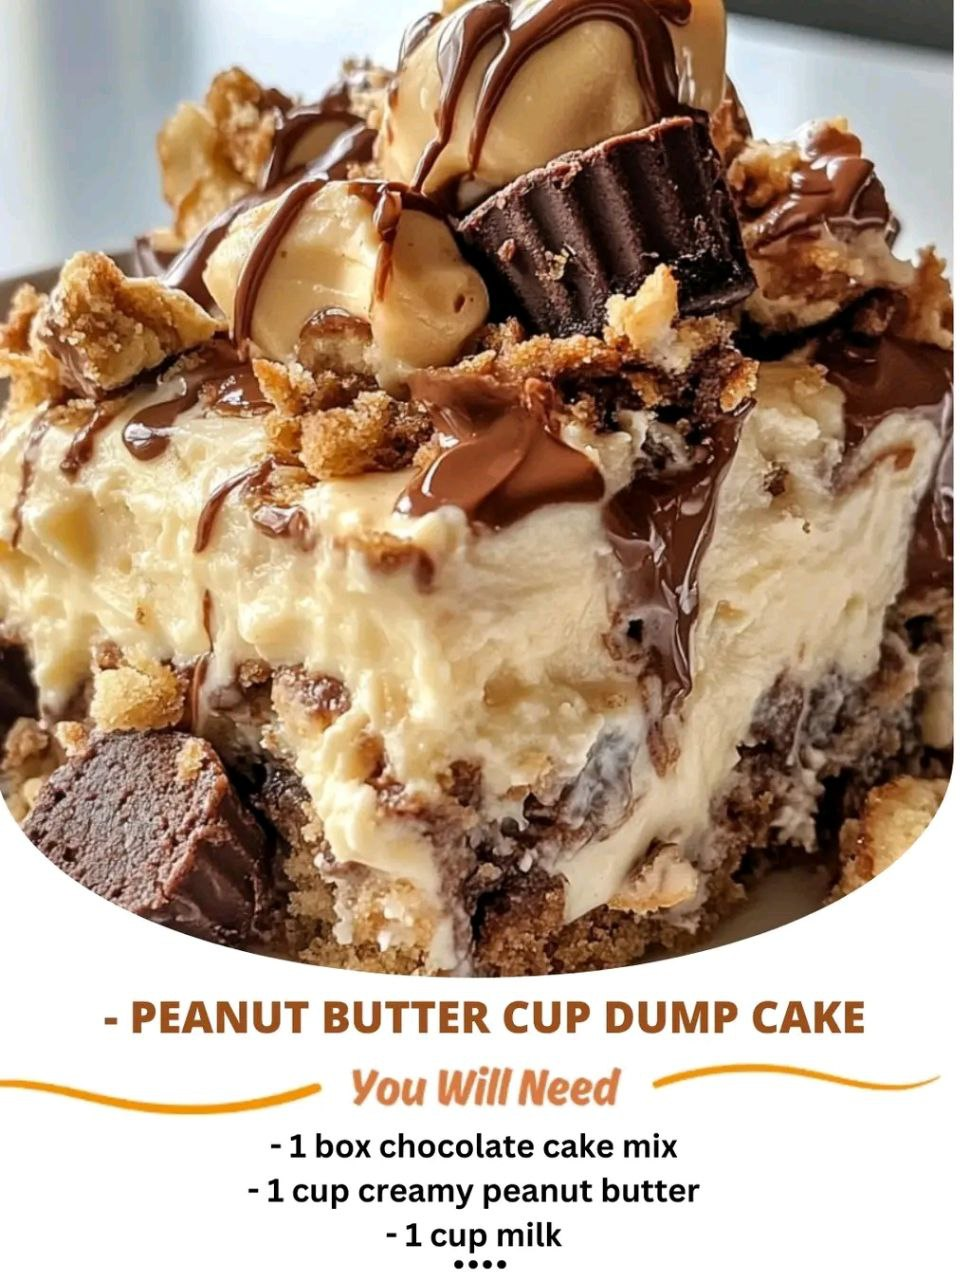
If you love decadent, rich desserts that are easy to make and always a crowd-pleaser, then this Peanut Butter Cup Dump Cake is the perfect treat for you. With just a few simple ingredients and no need for mixing, this recipe creates a gooey, indulgent dessert that combines the irresistible flavors of peanut butter and chocolate in every bite.
Why You’ll Love This Recipe
No Mixing Required
This recipe is incredibly easy to prepare. All you need to do is layer the ingredients, bake, and voilà! There’s no need for fancy techniques or complicated equipment.
Decadent & Rich
If you’re a fan of peanut butter and chocolate, this cake is a dream come true. It combines these two ingredients in the most delicious way possible.
Customizable
Want to get creative? Feel free to add your favorite mix-ins like chopped nuts, extra candy, or even a layer of caramel for an extra touch of sweetness.
Crowd-Pleasing
This dessert is always a hit at parties, potlucks, or family gatherings. It’s the kind of treat that will make everyone ask for seconds.
Minimal Cleanup
Made in one pan, this cake ensures that cleaning up is a breeze—no piles of dishes to deal with afterward.
Ingredients You’ll Need
This recipe serves 8-10 people, and you’ll need the following ingredients:
For the Cake:
- 1 box of yellow or devil’s food cake mix (plus ingredients listed on the box, such as eggs, oil, and water)
- 1 cup creamy peanut butter
- 1 can (14 oz) sweetened condensed milk
- 1 cup semi-sweet chocolate chips
- 1/2 cup chopped peanut butter cups (like Reese’s)
- Optional: 1/2 cup chopped peanuts for added crunch
Step-by-Step Instructions
Follow these simple steps to create the ultimate peanut butter cup dump cake!
Step 1: Preheat & Prep
Preheat your oven to 350°F (175°C). Grease a 9×13-inch baking pan or line it with parchment paper for easy removal after baking.
Step 2: Layer the Base
Spread the creamy peanut butter evenly across the bottom of the prepared pan. Use a spatula to smooth it into an even layer.
Step 3: Add Sweetened Condensed Milk
Pour the sweetened condensed milk over the peanut butter layer. Spread it gently to ensure it covers the peanut butter as evenly as possible.
Step 4: Sprinkle Chocolate Chips and Candy
Sprinkle the chocolate chips and chopped peanut butter cups evenly over the condensed milk. For a little added texture and crunch, sprinkle chopped peanuts on top as well.
Step 5: Prepare the Cake Mix
Prepare the cake mix according to the package instructions (typically mixing with eggs, oil, and water). Once ready, pour the batter evenly over the top of the layered ingredients in the pan.
Step 6: Bake
Bake in the preheated oven for 35–40 minutes, or until the cake is golden brown. Check the center with a toothpick; if it comes out clean, the cake is done.
Step 7: Cool & Serve
Allow the cake to cool slightly before slicing. It can be served warm for that gooey, molten texture, or at room temperature for a more set dessert.
Why This Recipe Works
Layered Magic
The combination of peanut butter, sweetened condensed milk, and chocolate chips creates a rich, molten base beneath the cake. The cake layer, while fluffy and soft, provides the perfect contrast to the gooey layers underneath.
Cake Mix Shortcut
Using a boxed cake mix saves time while ensuring a consistent, fluffy topping. This simple shortcut gives you a flawless cake every time without the hassle of making batter from scratch.
Melt-In-Your-Mouth Texture
The warm, gooey layers of peanut butter and chocolate blend seamlessly with the fluffy cake topping, giving you a melt-in-your-mouth experience.
Variations to Try
If you’re looking to switch things up a bit, here are a few fun variations you can try:
Double Chocolate
For chocolate lovers, swap out the yellow cake mix for a chocolate cake mix and add some cocoa powder to the batter for an extra chocolatey twist.
Nutty Crunch
If you enjoy some crunch in your desserts, try adding a layer of chopped peanuts, pecans, or even almonds for added texture.
White Chocolate Drizzle
For a decorative touch, melt some white chocolate and drizzle it over the baked cake for a beautiful finish.
Gluten-Free Option
If you follow a gluten-free diet, simply swap the regular cake mix for a gluten-free version and make sure all other ingredients are GF-friendly.
Holiday Twist
For a festive seasonal treat, you can add sprinkles or seasonal candy like peppermint pieces or colorful candy corn.
Tips for Success
- Spread Evenly: Make sure to spread the peanut butter and sweetened condensed milk evenly for consistent layers and flavor in each bite.
- Don’t Overbake: The cake is done when the top is golden brown and set. Remember, the gooey layers underneath will remain soft, so keep an eye on the oven.
- Storage: Store leftovers in an airtight container at room temperature for up to 2 days. For longer storage, keep them in the fridge.
Serving Suggestions
This Peanut Butter Cup Dump Cake is delicious on its own, but here are some fun ideas to elevate it even more:
Romantic Touch
Serve a warm slice with a scoop of vanilla ice cream and a drizzle of chocolate syrup for an elegant dessert.
Party Platter
Cut the cake into small squares and arrange them on a dessert table with other treats like brownies or cookies. This is a great way to offer guests a variety of sweet options.
Brunch Staple
Pair a slice of this indulgent cake with a cup of coffee or hot cocoa for a decadent breakfast or brunch treat.
Final Thoughts
This Peanut Butter Cup Dump Cake is the ultimate dessert for anyone with a sweet tooth. With its gooey layers of peanut butter, chocolate, and candy, all topped with a fluffy cake, it’s sure to be a hit wherever you serve it. Whether you’re baking for a crowd, a family dinner, or just a treat for yourself, this recipe is simple, delicious, and always a winner.
FAQs
Can I use a different type of cake mix? Absolutely! While yellow or devil’s food cake mixes are recommended for this recipe, you can experiment with other flavors such as chocolate or even spice cake for a unique twist.
Can I make this dessert ahead of time? Yes, you can make this dump cake ahead of time. Store it in the fridge after it cools and then warm it up in the oven or microwave before serving.
Is this recipe easy to double? Yes, you can easily double the ingredients and bake in two pans for larger gatherings. Just make sure to adjust the baking time accordingly, as a larger amount of batter might need a bit more time in the oven.
Can I freeze this dessert? Yes! If you want to freeze the cake, let it cool completely, then cover it tightly with plastic wrap and aluminum foil. It can be frozen for up to 3 months. To serve, thaw in the refrigerator overnight and warm it up before serving.