Why You’ll Love This Cake
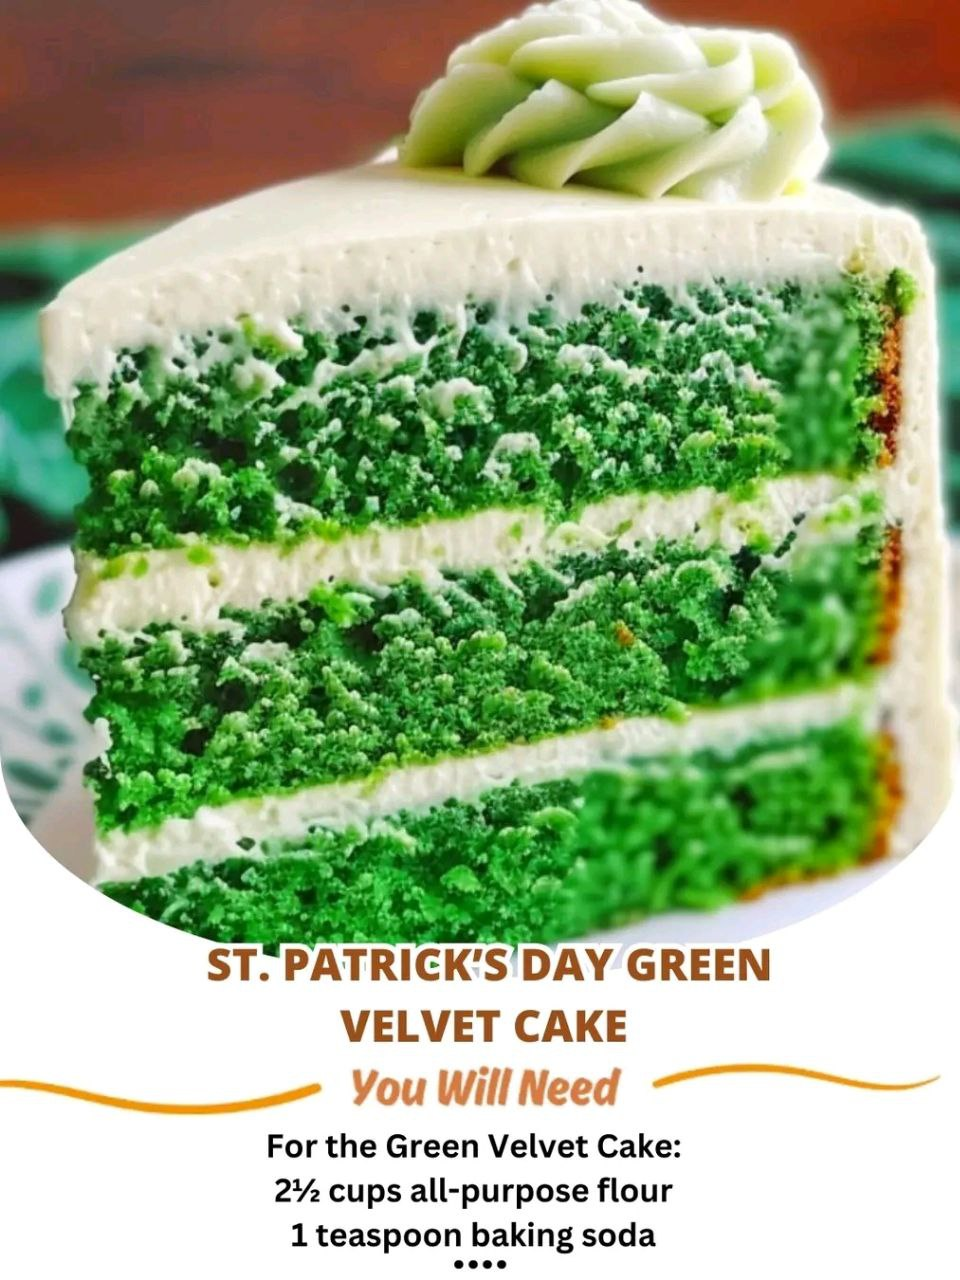
St. Patrick’s Day isn’t complete without a festive treat, and this St. Patrick’s Day Green Velvet Cake takes the beloved red velvet cake to a whole new level! Its vibrant green color is perfect for the holiday, and the moist, flavorful cake paired with the creamy, tangy frosting will make it a hit at any celebration. Whether you’re hosting a party, attending a potluck, or simply treating yourself to something special, this cake is a guaranteed crowd-pleaser. Here’s everything you need to know to make this stunning dessert!
Ingredients You’ll Need
To make this St. Patrick’s Day Green Velvet Cake, gather the following ingredients:
For the Cake:
- 2 1/2 cups all-purpose flour
- 1 1/2 cups granulated sugar
- 1 teaspoon baking powder
- 1/2 teaspoon baking soda
- 1 teaspoon salt
- 1 tablespoon cocoa powder (just a hint of chocolate flavor)
- 1 1/2 cups vegetable oil
- 1 cup buttermilk, at room temperature
- 2 large eggs
- 2 teaspoons vanilla extract
- 1 1/2 teaspoons white vinegar
- 2 tablespoons green food coloring (gel or liquid)
For the Cream Cheese Frosting:
- 8 oz cream cheese, softened
- 1/2 cup unsalted butter, softened
- 4 cups powdered sugar
- 1 teaspoon vanilla extract
- Pinch of salt
Step-by-Step Instructions
Making this Green Velvet Cake is easier than you might think, and the results are truly show-stopping. Here’s how you can bring this festive treat to life:
Step 1: Preheat the Oven
Start by preheating your oven to 350°F (175°C). Grease and flour two 9-inch round cake pans, or line them with parchment paper to prevent the cake from sticking. This ensures that your cake layers come out easily after baking.
Step 2: Prepare the Dry Ingredients
In a large bowl, sift together the dry ingredients: flour, sugar, baking powder, baking soda, salt, and cocoa powder. Sifting these ingredients ensures that there are no lumps and that everything is evenly distributed, which will help the cake rise beautifully.
Step 3: Combine the Wet Ingredients
In another bowl, whisk together the vegetable oil, buttermilk, eggs, vanilla extract, and white vinegar. The combination of buttermilk and vinegar gives the cake its signature soft texture and slight tanginess. Add 2 tablespoons of green food coloring to the wet ingredients and mix well until the color is evenly distributed. You can use either liquid or gel food coloring, but gel provides a more vibrant hue and is easier to control.
Step 4: Combine Wet and Dry Ingredients
Now it’s time to bring everything together. Gradually add the dry ingredients to the wet ingredients. Mix gently using a spatula or an electric mixer on low speed until the batter is just combined. Be careful not to overmix, as this can result in a dense cake. The batter should be smooth and thick, with a beautiful green color.
Step 5: Bake the Cake
Divide the batter evenly between the two prepared cake pans. Use a spatula to smooth the tops so they bake evenly. Place the pans in the oven and bake for 25-30 minutes, or until a toothpick inserted into the center of the cakes comes out clean. Every oven is different, so be sure to check for doneness by inserting a toothpick or cake tester.
Once the cakes are done, allow them to cool in the pans for 10 minutes. Then, carefully transfer them to a wire rack to cool completely before frosting. Cooling is crucial to prevent the frosting from melting when applied.
Step 6: Prepare the Cream Cheese Frosting
While the cakes are cooling, make the cream cheese frosting. In a large bowl, beat the cream cheese and unsalted butter together until smooth and creamy. Gradually add powdered sugar, 1 cup at a time, mixing well after each addition. Continue beating until the frosting is light, fluffy, and fully combined. Add the vanilla extract and a pinch of salt, and mix until smooth.
Step 7: Assemble the Cake
Once your cakes have completely cooled, it’s time to assemble! Place the first layer of cake on a serving plate or cake stand. Spread a generous amount of cream cheese frosting over the top of the first layer. Then, carefully place the second layer of cake on top, pressing gently to ensure it sticks.
Frost the entire cake with the remaining cream cheese frosting, smoothing it out with a spatula. Be generous with the frosting—this cake is all about that rich, creamy topping!
Step 8: Decorate (Optional)
For a festive St. Patrick’s Day touch, you can decorate the cake with green sprinkles, gold-colored candy, or even shamrock decorations. If you’re feeling extra creative, pipe some additional frosting on top to create decorative patterns or rosettes.
Step 9: Serve
Once your cake is beautifully decorated, it’s ready to serve. Slice and enjoy this deliciously moist, festive cake with friends and family. It’s sure to be the star of your St. Patrick’s Day celebration!
Tips for the Perfect Green Velvet Cake
Here are some extra tips to ensure your Green Velvet Cake turns out perfectly every time:
Use High-Quality Food Coloring
For the most vibrant green color, gel food coloring works best. It provides a rich hue without thinning out the batter like liquid food coloring can. If you use liquid food coloring, you may need to add more to achieve the desired color.
Don’t Overmix the Batter
When combining the wet and dry ingredients, mix just until incorporated. Overmixing the batter can cause the cake to become dense and dry. A few lumps are okay!
Let the Cakes Cool Completely
It’s essential to let the cakes cool completely before frosting. If the cakes are still warm, the cream cheese frosting may melt, ruining the texture and appearance of your cake.
Adjust the Frosting Consistency
If your frosting is too thick, add a teaspoon of milk at a time until it reaches the desired consistency. If it’s too thin, add a little more powdered sugar to thicken it up.
Frequently Asked Questions (FAQs)
1. Can I use a different frosting instead of cream cheese frosting?
Yes! While cream cheese frosting is traditional for velvet cakes, you can use buttercream frosting or even a whipped cream frosting if you prefer something lighter. However, keep in mind that cream cheese frosting complements the tangy flavor of the cake.
2. Can I make this cake in advance?
Absolutely! You can bake the cake layers a day ahead and store them in an airtight container at room temperature. Frost the cake just before serving to keep the frosting fresh.
3. How do I store leftovers?
Store any leftover cake in the refrigerator due to the cream cheese frosting. Cover it with plastic wrap or place it in an airtight container to keep it fresh. The cake will last for up to 3 days in the refrigerator.
4. Can I freeze this cake?
Yes, you can freeze the cake layers. Wrap them tightly in plastic wrap and aluminum foil before freezing. When you’re ready to use them, let them thaw in the refrigerator, then frost as usual. However, freezing may slightly alter the texture of the frosting, so it’s best to freeze only the cake layers.
5. Can I use a different color for the cake?
While green is perfect for St. Patrick’s Day, you can customize the color of the cake by using a different food coloring. Red velvet, for instance, is traditionally made with red food coloring, but you could experiment with other colors to suit different holidays or events.
Final Thoughts
This St. Patrick’s Day Green Velvet Cake is not only delicious, but it’s also a fun, festive dessert that will impress guests at any St. Patrick’s Day celebration. With its moist texture, vibrant green color, and tangy cream cheese frosting, this cake is the ultimate way to celebrate the holiday.
Whether you’re baking it for a party or as a special treat for family, this cake is sure to add a magical touch to your celebration. So gather your ingredients, follow these simple steps, and enjoy the deliciousness of this green velvet cake! Happy St. Patrick’s Day! 🍀
Des réponses plus intelligentes, le chargement de fichiers et d’images, et bien plus encore.