There is something special about a dessert that feels luxurious yet requires almost no effort. No-bake cheesecake is exactly that kind of treat. It delivers a rich, creamy texture with a buttery base, all without turning on the oven. This makes it perfect for warm days, busy schedules, or whenever you want a reliable dessert that always impresses.
Unlike traditional baked versions, this cheesecake sets in the refrigerator. The result is lighter, silkier, and incredibly smooth. Each bite melts gently, offering a balance of sweetness and subtle tang from the cream cheese. Whether you are making it for a family gathering, a celebration, or just a quiet weekend treat, this recipe fits every occasion.
The beauty of this dessert lies in its simplicity. With a handful of ingredients and a few easy steps, you can create something that looks elegant and tastes like it came from a professional kitchen. Once you master the base, you can customize it endlessly with different toppings and flavors.
Why You Will Love This Recipe
No oven required
You do not need baking skills or special equipment. The refrigerator does all the work.
Smooth and creamy texture
The filling is light yet rich, giving you a perfect balance in every bite.
Beginner-friendly
Even if you are new to making desserts, this recipe is easy to follow and forgiving.
Perfect for any occasion
Serve it at parties, holidays, or as a simple family dessert.
Endless variations
You can easily change flavors, toppings, or crusts to match your taste.
Ingredients
For the crust
- 200g digestive biscuits or graham crackers
- 100g unsalted butter, melted
For the filling
- 400g cream cheese, softened
- 200ml heavy cream, cold
- 100g powdered sugar
- 1 teaspoon vanilla extract
- 1 tablespoon lemon juice (optional)
Optional toppings
- Fresh berries
- Fruit compote or jam
- Chocolate sauce
- Caramel drizzle
Instructions
Prepare the crust
Crush the biscuits into fine crumbs. You can use a food processor or place them in a sealed bag and crush with a rolling pin.
Transfer the crumbs to a bowl and mix with melted butter until the texture resembles wet sand. Press the mixture firmly into the base of a pan. Use the back of a spoon or a flat glass to smooth it evenly.
Place the crust in the refrigerator for 20 to 30 minutes to firm up.
Whip the cream
Pour the cold heavy cream into a bowl and whip it until soft peaks form. This step is essential because it creates the light texture of the cheesecake.
Set the whipped cream aside.
Make the filling
In another bowl, beat the softened cream cheese until completely smooth. Add powdered sugar, vanilla extract, and lemon juice if using. Mix until creamy and well combined.
Combine the mixtures
Gently fold the whipped cream into the cream cheese mixture. Use a spatula and slow movements to keep the mixture light and airy. Avoid overmixing.
Assemble the cheesecake
Remove the crust from the refrigerator. Pour the filling over the base and spread it evenly.
Smooth the top carefully for a clean finish.
Chill until set
Place the cheesecake in the refrigerator for at least 4 to 6 hours. For best results, leave it overnight. This allows it to fully set and develop flavor.
Add toppings and serve
Once set, remove the cheesecake from the pan. Add your favorite toppings just before serving.
Slice and serve chilled.
Flavor Variations
Chocolate version
Add melted chocolate to the filling for a rich twist.
Fruit version
Mix in fruit puree or top with fresh seasonal fruits.
Coffee version
Add a teaspoon of instant coffee dissolved in a little warm water.
Citrus version
Increase lemon juice or add orange zest for a fresh flavor.
Serving Suggestions
Serve this cheesecake cold for the best texture. It pairs well with coffee, tea, or a light fruit drink. You can also decorate it with whipped cream or crushed cookies for extra texture.
For special occasions, serve individual portions in small cups for a more elegant presentation.
Storage
Refrigerator
Store the cheesecake in an airtight container for up to 4 days.
Freezer
You can freeze it for up to 1 month. Thaw in the refrigerator before serving.
Tips for Perfect No-Bake Cheesecake
Use softened cream cheese
Cold cream cheese can create lumps. Let it sit at room temperature before mixing.
Keep cream cold
Cold cream whips better and gives a stable texture.
Do not rush chilling
Proper chilling time ensures the cheesecake sets firmly and slices cleanly.
Press the crust firmly
A well-packed crust holds together better when slicing.
Fold gently
Mix slowly when combining whipped cream to keep the texture light.
Use a lined pan
Lining the base with parchment paper makes removal easier.
Clean slices
Dip your knife in warm water and wipe it clean between cuts.
Frequently Asked Questions
How long does no-bake cheesecake need to set?
It usually needs at least 4 to 6 hours, but overnight chilling gives the best results.
Can I make it without heavy cream?
Heavy cream is important for structure and texture. Substitutes may not set as well.
Why is my cheesecake too soft?
It may not have chilled long enough or the cream was not whipped properly.
Can I use a different type of biscuit?
Yes, you can use any dry cookie like graham crackers or even chocolate biscuits.
Can I make it ahead of time?
Yes, this dessert is perfect for making a day in advance.
How do I know it is fully set?
The center should feel firm when gently touched and hold its shape when sliced.
Conclusion
No-bake cheesecake proves that simple recipes can deliver impressive results. With minimal effort, you get a creamy, elegant dessert that suits any occasion. Once you try it, it will likely become a go-to recipe in your kitchen.
The best part is how easy it is to customize. From fruity toppings to chocolate variations, you can create a new version every time. Keep this recipe handy, and you will always have a reliable dessert ready whenever you need it.
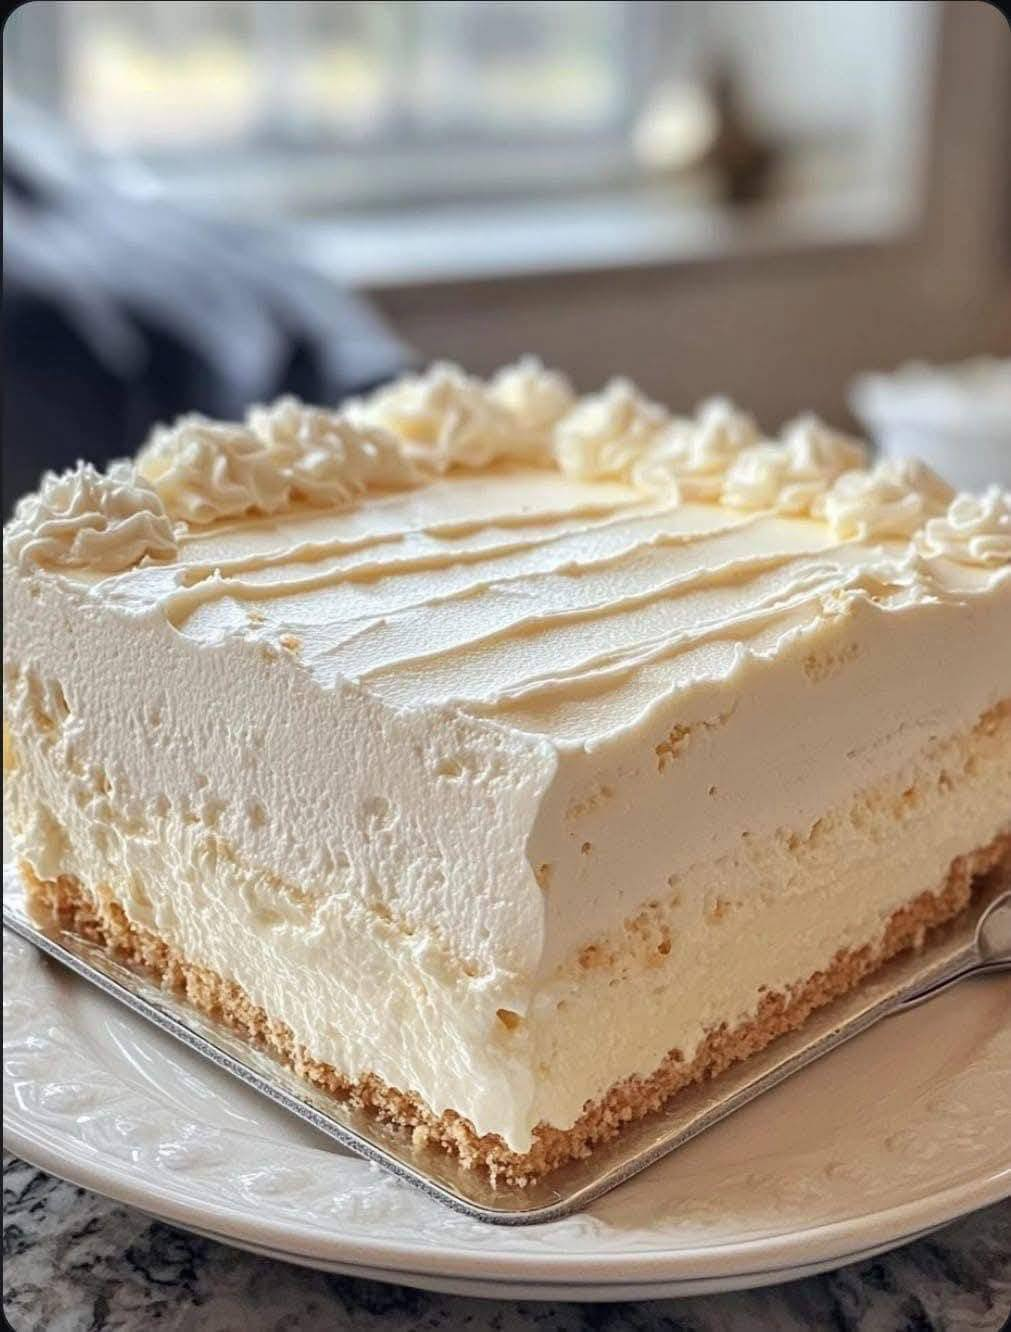

An elegant, no-bake dessert for any occasion.
Description
This no-bake cheesecake offers a rich, creamy texture with a buttery base, perfect for warm days and busy schedules. Its simplicity and ease make it a go-to dessert that can be customized endlessly.
Ingredients
Instructions
- Crush the biscuits into fine crumbs. You can use a food processor or place them in a sealed bag and crush with a rolling pin.
- Transfer the crumbs to a bowl and mix with melted butter until the texture resembles wet sand. Press the mixture firmly into the base of a pan. Use the back of a spoon or a flat glass to smooth it evenly.
- Place the crust in the refrigerator for 20 to 30 minutes to firm up.
- Pour the cold heavy cream into a bowl and whip it until soft peaks form. This step is essential because it creates the light texture of the cheesecake.
- In another bowl, beat the softened cream cheese until completely smooth. Add powdered sugar, vanilla extract, and lemon juice if using. Mix until creamy and well combined.
- Gently fold the whipped cream into the cream cheese mixture. Use a spatula and slow movements to keep the mixture light and airy. Avoid overmixing.
- Remove the crust from the refrigerator. Pour the filling over the base and spread it evenly. Smooth the top carefully for a clean finish.
- Place the cheesecake in the refrigerator for at least 4 to 6 hours. For best results, leave it overnight to fully set and develop flavor.
- Once set, remove the cheesecake from the pan. Add your favorite toppings just before serving. Slice and serve chilled.
Notes
- For a richer cheesecake, you can add melted chocolate or fruit puree for flavor variations.