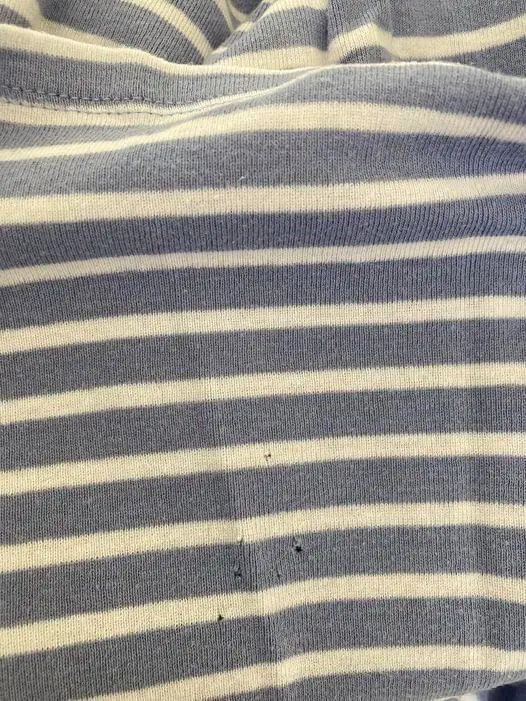
Repairing Clothing Holes Without Sewing: A Simple Guide
Introduction
Don’t panic when a hole appears in your favorite clothing items. You don’t need advanced sewing skills to rescue them! This method is perfect for small holes, ensuring discreet repairs without noticeable stitches. With a little practice, you can fix these pesky pinpricks in just a few minutes.
Understanding the Causes of Holes in Clothing
Moths often receive the blame for those tiny holes, but they’re not the sole culprits. Regular wear and tear, along with snags from everyday items and accessories, can also lead to these annoying holes. Here are some common causes:
- Zippers
- Bras
- Belts
- Your washing machine
- Chlorine bleach
- Snags on rough surfaces
Tips to Prevent Holes
The location of the holes might offer clues about their causes. For instance, holes at the bottom of shirts could result from belt buckles rubbing against the fabric. Here are some preventive measures:
- Zip It Up: Ensure to zip up garments like jeans and hoodies before washing to prevent damage.
- Secure Bras: Close bras before washing to avoid metal clasps snagging onto other clothing. Consider using washing bags for added protection.
- Mindful Washing: Avoid overloading the washing machine and turn items with decorations inside out. Keep delicate materials separate and use a low spin cycle for them.
- Watch Out for Bleach: Be cautious with chlorine bleach, as it can cause holes. Consider using eco-friendly alternatives like vinegar or baking soda.
- Combat Moths: Use pheromone traps or natural repellents like dried lavender to deter moths. In case of severe infestation, wash clothes in warm water and clean closets with vinegar.
- Protect from Rough Surfaces: Smooth or cover rough surfaces to prevent accidental tearing of clothing.
Repairing Clothes Without Sewing: Step-by-Step Guide
Before starting, gather these items:
- Clothes with holes measuring 5 mm or less
- An Iron
- Fusible bonding web
- A large piece of wax paper
Follow these directions:
- Prepare the Clothing: Turn the damaged clothing inside out and place it on the ironing board, with the hole facing outwards.
- Cut the Bonding Web: Cut a small piece of fusible bonding web, slightly larger than the hole you’re repairing.
- Align and Bond: Gently push both sides of the hole together to make it disappear. Place the fusible bonding web over the hole, then cover it with wax paper.
- Apply Heat: Set your iron to the “wool” setting and place it on top of the wax paper. Hold it in place for about 10 seconds without moving or pressing.
- Inspect and Repeat: Turn the clothing right-side-in to examine the repaired hole. If needed, use your fingers to close the hole further. Repeat steps 3 and 4 until the repair is seamless.
It might take a few tries to master the method, but you’ll soon notice that the hole is no longer visible.
Conclusion
Now you can confidently repair those annoying clothing holes without the need for sewing expertise. With these simple steps and preventive tips, you can extend the life of your favorite garments and keep them looking good as new.
FAQs
Q: Can this method be used for larger holes?
A: This method works best for holes measuring 5 mm or less. For larger holes, consider consulting a professional tailor for repairs.
Q: Is fusible bonding web readily available?
A: Yes, fusible bonding web can be found at Walmart, fabric or craft stores, and online retailers like Amazon.

