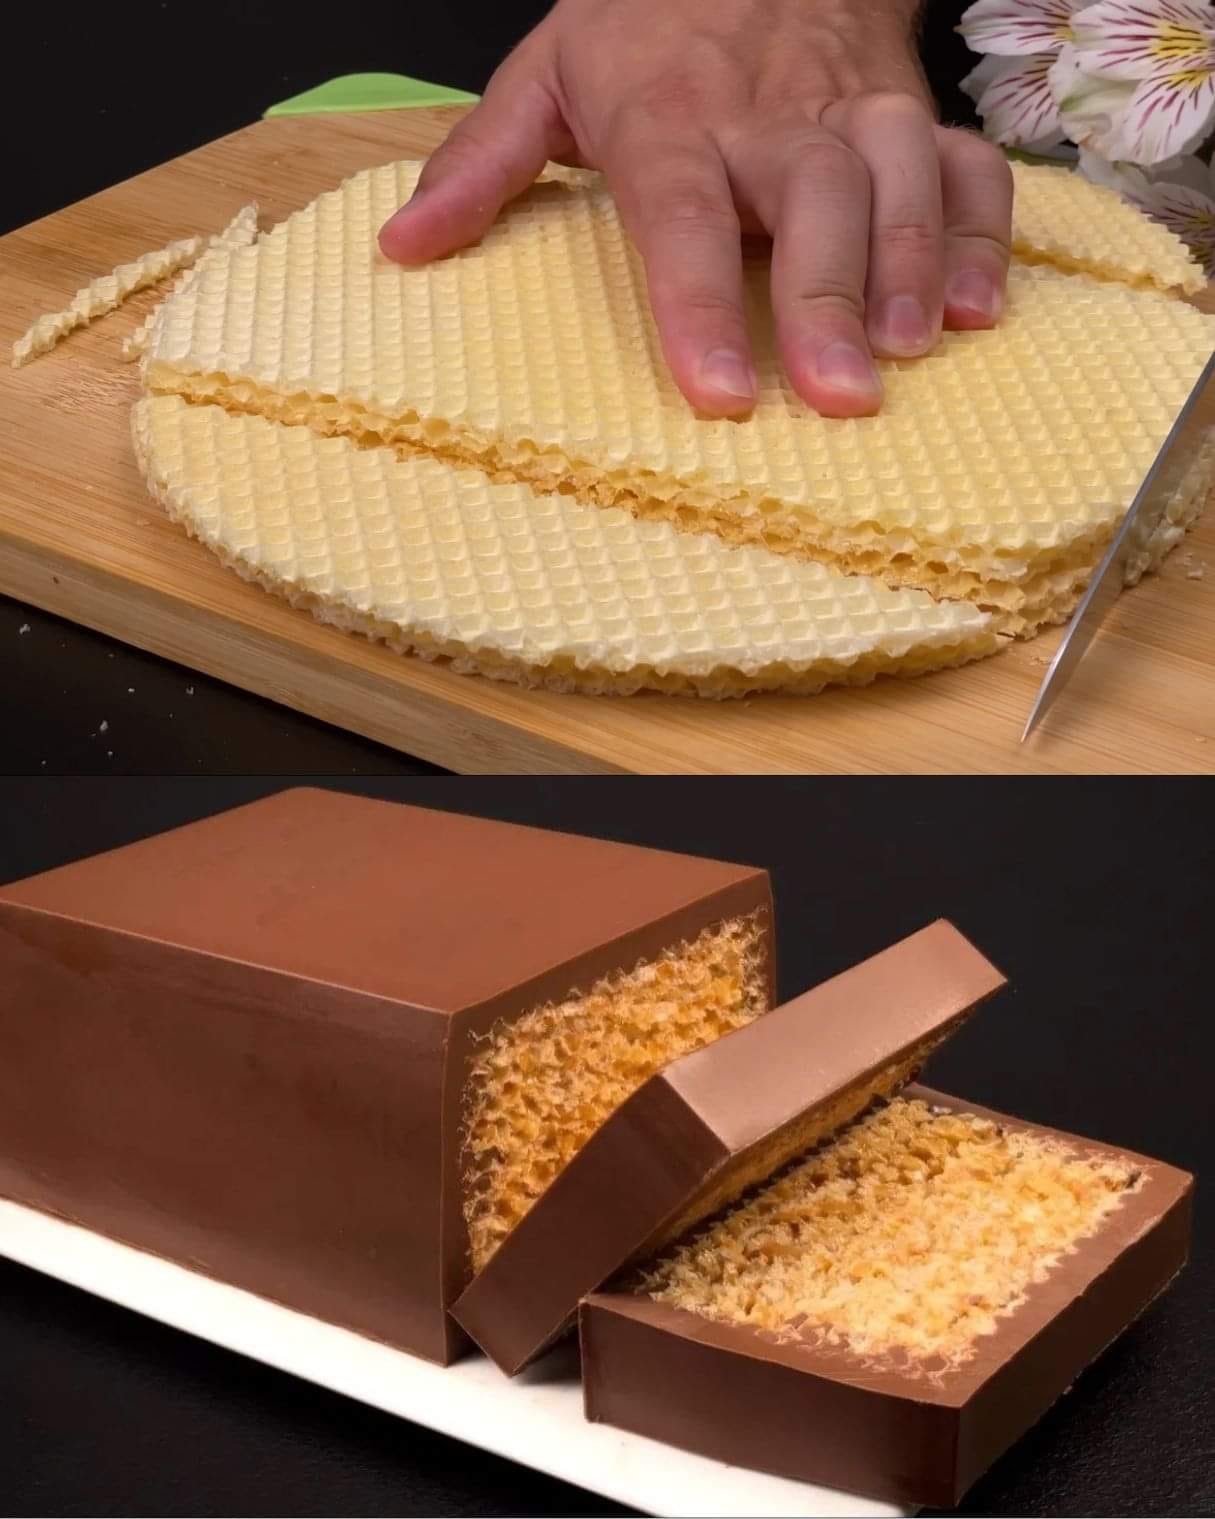
This KitKat-inspired chocolate waffle cake is a decadent, no-bake dessert that layers crispy waffles with a rich, creamy filling and finishes with a smooth, chocolatey shell. Perfect for parties or family gatherings, this dessert brings the iconic crunch of KitKat bars into a homemade treat that’s surprisingly simple to make. Whether you’re a seasoned baker or a dessert enthusiast, this recipe is sure to delight your taste buds and impress your guests.
Ingredients
For the Cake:
- Waffles: 10 pieces (store-bought or homemade, plain or chocolate-flavored)
For the Filling:
- Milk chocolate: 300 grams (for melting into the filling)
- Boiled condensed milk (dulce de leche): 380 grams
- Condensed milk: 100 grams (adds creaminess)
- Peanut butter: 50 grams (smooth or crunchy)
- Butter: 30 grams (unsalted, for richness)
For the Coating:
- Milk chocolate: 300 grams (for the outer shell)
Directions
Step 1: Prepare the Filling
- Melt the chocolate: Break 300 grams of milk chocolate into small pieces. Melt it using a double boiler or microwave in 30-second intervals, stirring between intervals until smooth and glossy.
- Mix the ingredients: In a large mixing bowl, combine the melted chocolate with 380 grams of boiled condensed milk, 100 grams of regular condensed milk, 50 grams of peanut butter, and 30 grams of softened butter. Stir thoroughly until the mixture is smooth, creamy, and well-combined. Set aside.
Step 2: Assemble the Cake
- Layer the waffles: Place one waffle on a serving plate or cake tray. Spread a generous layer of the prepared chocolate filling on top of the waffle using a spatula.
- Build the layers: Add another waffle on top of the filling and press down gently to ensure an even spread. Continue layering waffles and filling until all 10 waffles are used. Make sure the top layer is a waffle without filling.
Step 3: Prepare the Coating
- Melt the remaining chocolate: Break the remaining 300 grams of milk chocolate into small pieces and melt it using the same method as before. Once melted, let it cool slightly to avoid making the coating too runny.
- Coat the cake: Pour the melted chocolate over the entire waffle cake, starting from the top and letting it drip down the sides. Use a spatula or spoon to spread the chocolate evenly over the surface, ensuring the entire cake is covered.
Step 4: Chill and Serve
- Chill the cake: Place the coated cake in the refrigerator for 1-2 hours or until the chocolate shell has fully hardened. This step is essential for the cake to firm up and hold its shape.
- Slice and enjoy: Remove the cake from the refrigerator, slice it into portions, and serve. Relish the layers of crispy waffles, creamy filling, and the smooth chocolate shell.
Cooking Tips
- Choosing the Waffles: Thin, crispy waffles work best for this recipe as they mimic the lightness of KitKat wafers. If thick waffles are all you have, trim them down or substitute with store-bought wafer sheets.
- Melting Chocolate: When using a microwave, always melt chocolate in short intervals to prevent overheating or burning. Stir frequently for a smooth consistency.
- Customizable Fillings: Feel free to experiment with the filling. Add chopped nuts like hazelnuts or almonds for a nutty crunch, shredded coconut for a tropical twist, or mini marshmallows for a gooey texture.
- Decorating the Cake: For an extra visual appeal, decorate the top of the cake with crushed KitKat bars, chocolate curls, or sprinkles. This not only enhances the appearance but also adds flavor and texture.
- Storage Tips: Store the cake in an airtight container in the refrigerator for up to 5 days. If you’d like to make it in advance, the cake freezes well for up to 3 months.
Variations and Substitutions
- Dark Chocolate Option: Replace milk chocolate with dark chocolate for a richer, less sweet version of the cake.
- Caramel Delight: Swap the peanut butter with caramel sauce for an extra indulgent caramel-chocolate filling.
- Nutty Layers: Incorporate finely chopped nuts, such as almonds, pecans, or hazelnuts, into the filling for added crunch.
- Fruit Twist: Add a layer of thinly sliced bananas or strawberries between the waffles for a fruity contrast.
- Vegan Alternative: Use plant-based waffles, dairy-free chocolate, and vegan butter to create a vegan-friendly version of the cake.
FAQs
Can I use homemade waffles for this recipe?
Absolutely! Homemade waffles, whether plain or chocolate-flavored, work perfectly. Just ensure they’re thin and crispy for the best texture.
Can I skip the peanut butter?
Yes, the peanut butter adds a slight nuttiness, but you can skip it or replace it with another spread, such as almond butter, Nutella, or caramel.
How do I prevent the coating from cracking?
Allow the melted chocolate to cool slightly before pouring it over the cake. This prevents the coating from becoming too brittle when it sets.
Can I make this cake in advance?
Yes, this cake is a great make-ahead dessert. Prepare and chill it a day before serving to allow the flavors to meld together.
How do I cut the cake without breaking the shell?
Use a sharp knife and run it under warm water before slicing. Wipe the knife clean between cuts to maintain neat slices.
Nutritional Information (Per Serving, Based on 10 Servings)
- Calories: 430 kcal
- Protein: 6 g
- Carbohydrates: 48 g
- Fat: 24 g
- Fiber: 2 g
- Sugar: 38 g
- Sodium: 120 mg
Conclusion
The KitKat-inspired chocolate waffle cake is a fun and indulgent dessert that’s as easy to make as it is delicious to eat. With layers of crispy waffles, creamy chocolate filling, and a smooth chocolate shell, this cake perfectly replicates the iconic flavors and textures of a KitKat bar in cake form. Ideal for any occasion, this no-bake treat is a hit with kids and adults alike. Try it today for a unique dessert that’s sure to be the star of your next gathering!

