If you love yogurt but want a healthier, fresher, and more cost-effective option, making it at home is surprisingly easy. This method requires just two basic ingredients and no artificial additives, so you can enjoy a natural, creamy, and delicious yogurt every time. Not only is it satisfying to prepare, but it also gives you control over flavor, sweetness, and texture.
This recipe walks you through each step in detail, from heating the milk to fermenting it into rich yogurt, with tips for turning it into thick Greek yogurt.
Why Make Yogurt at Home?
- Healthier Choice – No preservatives, artificial flavors, or hidden sugars.
- Customizable – Adjust the tanginess, sweetness, and consistency to your liking.
- Economical – Making yogurt at home is often cheaper than buying premium brands.
- Sustainable – Reduce plastic waste by reusing containers and buying milk in bulk.
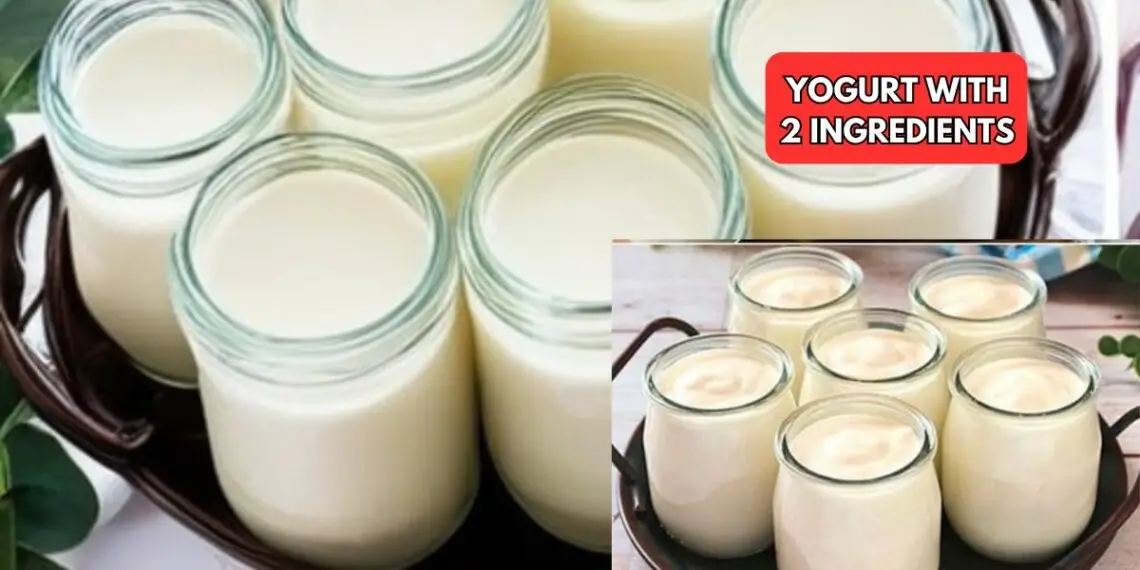
Ingredients You Will Need
- 2 quarts whole milk (You can also use low-fat or lactose-free milk depending on preference.)
- 2 containers of plain yogurt (6 oz each, total of 12 oz / 340 g, used as a starter culture.)
Essential Equipment
- Large pot
- Glass bowl or heatproof dish
- Spoon (wooden or silicone recommended)
- Dish towel or regular towel
- Plastic wrap or a lid
- Strainer and clean dish towel (for draining)
Step-by-Step Instructions
1. Heating the Milk
Pour 1 liter of milk into a large pot. Place it over medium-high heat and bring it to a gentle boil. Keep a close watch — milk can boil over quickly.
Heating the milk serves two purposes:
- It kills any unwanted bacteria.
- It alters the proteins so they set into a smooth texture when cooled.
2. Cooling and Adding the Yogurt Starter
Once boiled, remove the pot from the heat and carefully pour the milk into a glass or ceramic dish. Then, add another 1 liter of milk at room temperature to bring the temperature down.
When the milk mixture feels warm but not hot (you should be able to dip your finger in for about 5 seconds without discomfort), add the plain yogurt starter. Stir thoroughly until the mixture is smooth and fully combined.
This step introduces the live cultures from the yogurt into the warm milk, allowing fermentation to begin.
3. Fermentation Process
Cover the dish with plastic wrap or a lid, then wrap it with a kitchen towel to keep it insulated. The goal is to maintain a warm, stable environment for the cultures to work.
Place the dish in a quiet, draft-free place — such as inside an oven that’s turned off or a kitchen cabinet — and let it rest for about 12 hours.
During this time, the bacteria will convert lactose into lactic acid, giving the yogurt its tangy flavor and thick texture.
4. Transforming into Greek Yogurt (Optional)
If you prefer thick, creamy Greek-style yogurt, draining is key.
- Place a strainer over a tall pot.
- Line the strainer with a clean kitchen towel or cheesecloth.
- Gently pour the fermented yogurt into the lined strainer.
- Cover and refrigerate for about 12 hours to let the excess whey drain.
The result is a luxurious, rich yogurt with a velvety texture.
5. Storing and Serving
Once the yogurt has reached your desired thickness, transfer it into a clean glass container with a tight lid. Store it in the refrigerator for up to one week.
You can enjoy it plain, or personalize it with sweeteners, fruits, or savory toppings.
Serving Suggestions
- With Honey and Nuts – A drizzle of honey and a sprinkle of almonds or walnuts add natural sweetness and crunch.
- Fruit Mix – Top with fresh berries, banana slices, or mango chunks.
- Granola Bowl – Combine with granola for a wholesome breakfast.
- Savory Dip – Mix with herbs, garlic, and lemon for a refreshing dip or sauce.
Pro Tips for Perfect Homemade Yogurt
- Use Fresh Ingredients – The quality of your milk and starter yogurt directly impacts flavor and texture.
- Don’t Overheat the Milk – Boil gently to avoid scorching.
- Temperature Matters – The milk should be warm enough to activate the cultures, but not so hot that it kills them.
- Be Patient – Resist checking the yogurt during fermentation. Temperature fluctuations can affect consistency.
- Save Some for Next Time – Keep a small portion of your homemade yogurt to use as the starter for your next batch.
- For Extra Creaminess – Use whole milk or add a splash of cream before fermentation.
FAQs
1. Can I use flavored yogurt as a starter?
It’s best to use plain yogurt with live active cultures. Flavored yogurts may contain sugars or additives that can affect fermentation.
2. What if my yogurt is too runny?
You can drain it longer to remove more whey, or try using milk with higher fat content for a thicker result.
3. How do I know if my yogurt has gone bad?
If it smells unpleasant, develops mold, or has a strange texture, discard it immediately.
4. Can I make this recipe dairy-free?
Yes, you can use plant-based milk like soy or coconut, but you’ll need a dairy-free yogurt starter with live cultures. The texture may vary.
5. Why does homemade yogurt taste tangier than store-bought?
Homemade yogurt often ferments longer and more naturally, giving it a more pronounced tang. Shorten fermentation time if you prefer a milder flavor.
6. Can I reuse my homemade yogurt as a starter indefinitely?
Yes, but over time, the cultures may weaken. Refresh the starter by occasionally using store-bought plain yogurt with active cultures.