Growing ginger in containers is a smart and rewarding way to enjoy this aromatic root, especially if you’re working with limited outdoor space. Whether you’re on a balcony, a patio, or just prefer the flexibility of container gardening, you can easily create the tropical environment ginger needs to thrive.
This guide will walk you through every step of the process—from choosing containers and soil to harvesting and using your homegrown ginger. By the end, you’ll be equipped to grow healthy ginger plants and enjoy a fresh supply year-round.
Why Grow Ginger in Containers?
Container gardening offers many advantages when it comes to ginger:
- Environmental control: Containers let you fine-tune the temperature, sunlight, and moisture levels—key to ginger’s growth.
- Portability: Move your plant indoors during colder months to extend the growing season.
- Pest reduction: Growing in containers helps prevent soil-borne diseases and pests.
- Better space management: Ideal for small gardens, patios, or apartment balconies.
- Convenience: You can place containers closer to your kitchen or workspace for easy access.
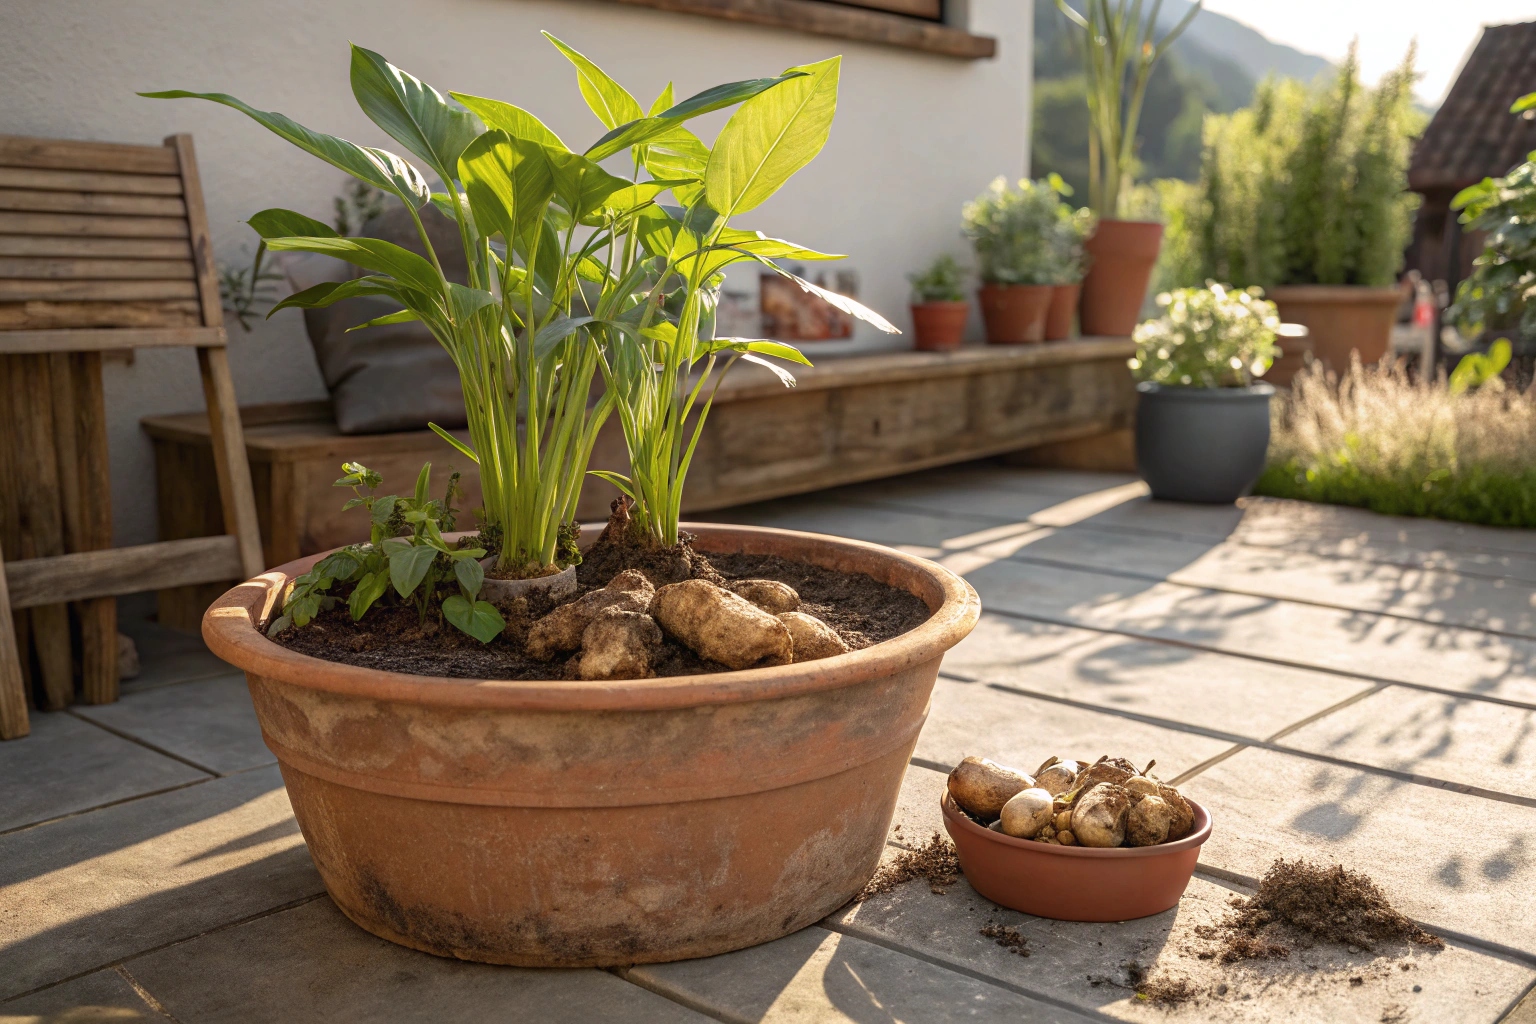
Choosing the Right Container
Your container needs to be spacious and moisture-retentive:
- Size: At least 12 inches deep and wide.
- Material: Plastic, ceramic, or terracotta works well.
- Drainage: Ensure proper drainage holes at the bottom to prevent root rot.
- Bonus tip: Use a saucer underneath to catch runoff and protect surfaces.
Wider containers allow more space for ginger rhizomes to expand horizontally, which means bigger harvests.
Best Ginger Varieties for Containers
While the standard ginger (Zingiber officinale) is most commonly grown, there are other varieties that thrive in containers:
- Baby Ginger: Has a milder flavor and smoother skin, great for eating fresh.
- Blue Hawaiian Ginger: Offers a unique color and zesty taste.
- Other ornamental gingers: While not always edible, they can add beauty and fragrance.
Choose certified disease-free ginger rhizomes from garden centers or organic markets. Avoid grocery store ginger unless it’s labeled untreated, as some are sprayed with growth inhibitors.
Preparing the Soil
Ginger needs loose, rich, and well-draining soil. Here’s how to mix the perfect potting soil:
- 1 part high-quality potting soil
- 1 part coconut coir (helps retain moisture)
- 1 part perlite or sand (improves drainage)
- Compost or aged manure (adds organic nutrients)
Target a pH between 5.5 and 6.5. Make sure the soil is soft and friable so that rhizomes can spread easily underground.
Planting Ginger Step-by-Step
- Pick your rhizomes: Choose plump pieces with visible “eyes” or buds.
- Soak overnight: This wakes up the buds and encourages faster sprouting.
- Fill the container: Leave about an inch from the top.
- Lay the rhizomes flat: Buds should face upwards.
- Cover lightly with soil: Just about 1 inch on top.
- Water gently: Moist, not soggy.
- Place in a warm, humid spot: Indirect sunlight is best to start.
Ginger grows slowly at first, so patience is key. Shoots usually appear after 2–3 weeks.
Watering and Feeding Your Ginger
Consistency is essential:
- Water when top inch of soil feels dry: Avoid waterlogging.
- Use mulch: Helps retain moisture and suppresses weeds.
- Feed every 4–6 weeks: Use a liquid fertilizer (balanced or nitrogen-rich early in growth).
Great organic options:
- Fish emulsion
- Seaweed extract
- Compost tea
Stop feeding and reduce watering once the plant starts to yellow—this signals that it’s getting ready for harvest.
Managing Pests and Diseases
Container-grown ginger is less vulnerable, but you still need to stay watchful:
- Pests to watch: Aphids, spider mites, mealybugs.
- Remedies: Neem oil, insecticidal soap, and manual removal.
- Fungal diseases: Root rot and leaf spot—usually from overwatering or poor airflow.
Tips for prevention:
- Don’t overcrowd your containers.
- Water in the morning so foliage dries during the day.
- Use clean tools and containers.
Harvesting Your Ginger
Ginger takes 8–10 months to mature. You’ll know it’s ready when:
- Leaves start turning yellow and die back.
- The plant looks like it’s “shutting down.”
To harvest:
- Loosen the soil gently with your hands or a small trowel.
- Lift the rhizomes carefully to avoid damaging them.
- Wash off the soil, then let them air dry in a cool, dry spot.
You can harvest the whole plant or break off sections and let the rest keep growing.
Storing and Using Your Ginger
Fresh ginger keeps for several weeks in the fridge. For longer storage:
- Freeze: Peel and cut into chunks, then store in a sealed container.
- Dry: Slice thin and air-dry or use a dehydrator. Grind to powder when dry.
Use your ginger in:
- Herbal teas
- Curries and stir-fries
- Baking
- Smoothies and tonics
There’s nothing quite like the flavor of homegrown ginger—spicy, earthy, and deeply aromatic.
Tips for Success
- Start planting in spring: Ginger loves warmth.
- Rotate containers outdoors and indoors to keep them in ideal temperature ranges (70–90°F).
- Mulch with straw or leaves to keep moisture levels stable.
- Don’t harvest too early: Wait at least 8 months for mature, flavorful rhizomes.
- Replant some rhizomes after each harvest to keep your ginger supply going.
Frequently Asked Questions
Can I grow ginger indoors year-round?
Yes, if you maintain warm temperatures and high humidity, ginger can thrive indoors all year.
How long does it take ginger to grow in containers?
Typically 8–10 months from planting to harvest.
Why are my ginger leaves turning yellow?
This is natural before harvest. But early yellowing could indicate overwatering or nutrient deficiencies.
Do I need to peel ginger before using it?
If it’s homegrown and clean, peeling is optional. Just scrub well.
Can I reuse the soil for another batch of ginger?
Yes, but refresh it with compost or new potting mix to replenish nutrients.
How much sunlight does ginger need?
Bright, indirect light is best. Avoid harsh direct sunlight that can scorch the leaves.