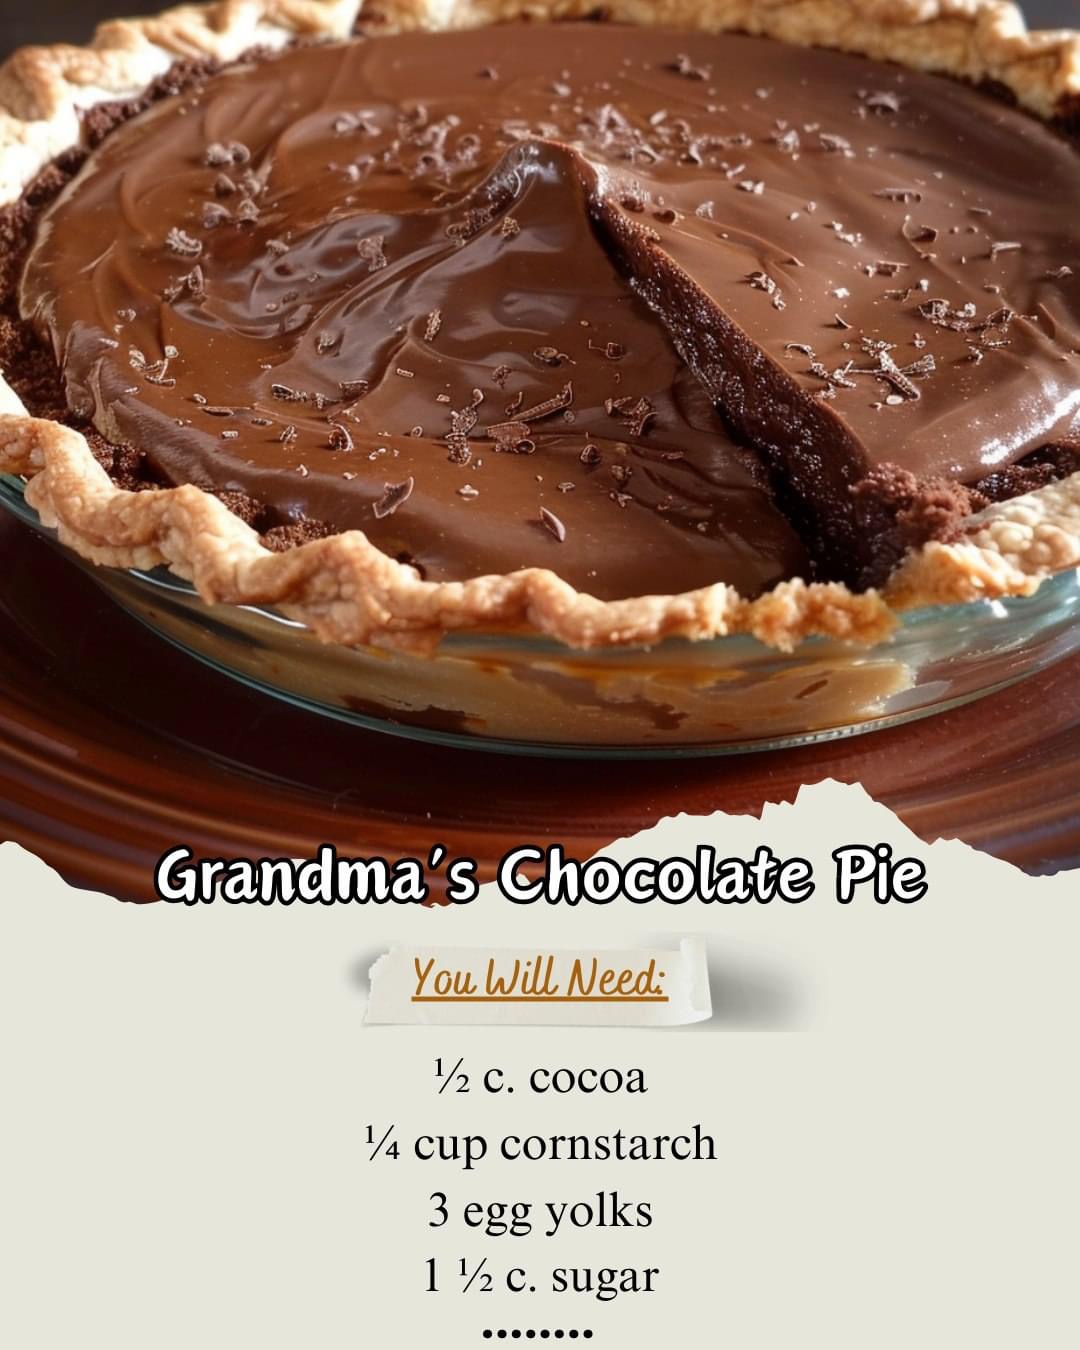
Grandma’s Chocolate Pie: A Classic Dessert Delight
There’s nothing quite like a slice of Grandma’s Chocolate Pie to bring back fond memories of family gatherings and warm, cozy kitchens. This timeless recipe has been passed down through generations, beloved for its rich chocolate flavor and creamy texture. Whether you’re making it for a special occasion or just to satisfy a chocolate craving, this pie is sure to be a hit.
In this detailed guide, we’ll walk you through the steps to create this delicious dessert. We’ll also provide tips to ensure your pie turns out perfectly every time and answer some frequently asked questions. Let’s get started!
Ingredients
To make Grandma’s Chocolate Pie, you’ll need the following ingredients:
- ½ cup cocoa: This gives the pie its rich chocolate flavor.
- ¼ cup cornstarch: Acts as a thickening agent for the filling.
- 3 egg yolks: Contributes to the custard-like texture.
- 1 ½ cups sugar: Adds sweetness.
- ¼ teaspoon salt: Enhances the overall flavor.
- 2 cups milk: Provides the liquid base for the filling.
- 1 teaspoon vanilla: Adds a touch of aromatic flavor.
Instructions
Step 1: Prepare the Ingredients
Before you begin, ensure you have all your ingredients measured and ready. This will make the cooking process smoother and more efficient.
Step 2: Mix the Dry Ingredients
In a medium-sized pot, combine the cocoa, cornstarch, sugar, and salt. Mixing the dry ingredients first helps distribute them evenly throughout the filling.
Step 3: Add the Wet Ingredients
Add the beaten egg yolks and vanilla to the dry mixture. Gradually pour in the milk, stirring constantly to ensure a smooth mixture. This gradual addition helps prevent lumps from forming.
Step 4: Cook the Filling
Place the pot over medium heat and cook the mixture, stirring continuously. The filling will gradually thicken as it heats. Be patient and keep stirring to avoid scorching the bottom of the pot. This step usually takes about 10-15 minutes.
Step 5: Assemble the Pie
Once the filling has thickened to a pudding-like consistency, remove it from the heat. Pour the hot filling into a pre-baked pie crust (homemade or store-bought). Smooth the top with a spatula.
Step 6: Chill the Pie
Allow the pie to cool to room temperature, then transfer it to the refrigerator. Chill for at least 2-3 hours, or until the filling is fully set. This step is crucial for achieving the perfect texture.
Step 7: Serve and Enjoy
Once the pie is set, it’s ready to be served. For an extra touch, top with whipped cream or a dusting of cocoa powder before serving. Enjoy a slice of this rich and creamy chocolate pie!
Tips for Perfect Chocolate Pie
- Use Quality Cocoa: The quality of the cocoa powder significantly impacts the flavor of the pie. Use a high-quality brand for the best results.
- Stir Constantly: While cooking the filling, make sure to stir constantly to prevent lumps and avoid burning the mixture.
- Gradual Milk Addition: Adding the milk gradually while stirring helps create a smooth, lump-free filling.
- Chill Thoroughly: Let the pie chill in the refrigerator until fully set. This helps the filling firm up properly and makes it easier to slice.
FAQs
Can I use a different type of milk?
Yes, you can substitute whole milk with 2%, skim, or even non-dairy milk like almond or soy. Keep in mind that the texture and flavor might vary slightly.
How long can I store the pie?
The pie can be stored in the refrigerator for up to 3-4 days. Make sure to cover it with plastic wrap or foil to prevent it from drying out.
Can I make this pie ahead of time?
Absolutely! This pie is perfect for making a day ahead. Just keep it refrigerated until you’re ready to serve.
Can I add a meringue topping?
Yes, you can add a meringue topping to this pie. Simply whip the egg whites leftover from the yolks with some sugar until stiff peaks form, spread over the filling, and bake until the meringue is golden brown.
What if my filling doesn’t thicken?
If your filling isn’t thickening, it might need more cooking time. Keep it on the heat, stirring continuously, until it reaches the desired consistency. If it still doesn’t thicken, you can try adding a bit more cornstarch mixed with cold milk.
Can I freeze the pie?
While you can freeze the pie, note that the texture might change slightly upon thawing. For best results, enjoy the pie fresh or refrigerated.
With this comprehensive guide, you’re now ready to create Grandma’s Chocolate Pie, a dessert that’s sure to delight your family and friends. Enjoy the process and savor every bite of this timeless treat!

