Sliced apples are one of the easiest, healthiest, and most kid-approved snacks around. They’re naturally sweet, packed with fiber, and incredibly portable. But buying those pre-packaged sliced apples from the grocery store can get expensive—and they often contain preservatives you might prefer to avoid.
The good news? You can easily make your own pre-sliced apples at home that stay fresh, don’t brown quickly, and taste just as good (if not better) than store-bought versions. This simple method uses an everyday ingredient—lemon-lime soda—to keep apple slices crisp and fresh for days in the fridge.
This guide walks you through the entire process step by step, offers useful tips, and answers common questions about keeping sliced apples from browning.
Why Make Your Own Pre-Sliced Apples?
Save Money
Buying whole apples and slicing them yourself is significantly cheaper than purchasing pre-cut versions. Over time, this small habit can lead to noticeable savings, especially for larger families or lunch-prepping households.
Keep It Natural
When you slice apples yourself, you control what goes on them. Store-bought apple slices often contain preservatives like calcium ascorbate or citric acid. By using lemon-lime soda, you can avoid artificial additives while still keeping your apples fresh and bright.
Convenient and Ready to Go
Prepping apple slices in advance means you’ll always have a ready-to-eat snack available. Whether you’re packing school lunches, prepping snacks for work, or planning a picnic, having grab-and-go portions of fresh fruit makes healthy eating easier.
What Causes Apples to Brown?
Apples brown due to oxidation, which happens when the fruit’s flesh is exposed to air. An enzyme called polyphenol oxidase reacts with oxygen, turning the cut surface brown. While this doesn’t make the apple unsafe to eat, it does affect its appearance and texture.
The solution? Soaking the slices in a mild acid like lemon juice, vinegar, or, in this case, lemon-lime soda, slows down this enzymatic reaction and helps the apples retain their fresh appearance for longer.
What You’ll Need
Ingredients:
- Fresh apples (any variety you prefer)
- Cold water
- Lemon-lime soda (like Sprite, 7-Up, or any clear citrus soda)
Supplies:
- Knife and cutting board
- Two medium-sized bowls
- Ziploc or resealable plastic bags (snack size or sandwich size)
- Refrigerator storage space
Step-by-Step Instructions
Step 1: Slice the Apples
Start by washing your apples under cold running water. Using a clean, sharp knife, slice them into wedges or thin slices, depending on your preference. You can core them first, or slice around the core—it’s entirely up to you.
Try to keep the slices uniform so they soak evenly in the next steps.
Step 2: Soak in Cold Water
Immediately after slicing, place the apple slices in a bowl of cold water and let them sit for 3 to 5 minutes. This rinses off surface starches and slows oxidation while you prepare the next step.
Cold water also prevents the apple flesh from getting mushy.
Step 3: Soak in Lemon-Lime Soda
After the initial water soak, transfer the slices into another bowl filled with lemon-lime soda (such as Sprite or 7-Up). Let them soak for another 3 to 5 minutes.
The citric acid and ascorbic acid in the soda help preserve the apple’s color and crispness without adding a strong flavor. Most people can’t even tell that soda was used—it leaves behind just a hint of citrus sweetness.
Step 4: Portion the Apple Slices
After soaking, remove the slices from the soda and gently pat them dry with a clean kitchen towel or paper towel. This step helps reduce moisture before storage and keeps your bags from getting soggy.
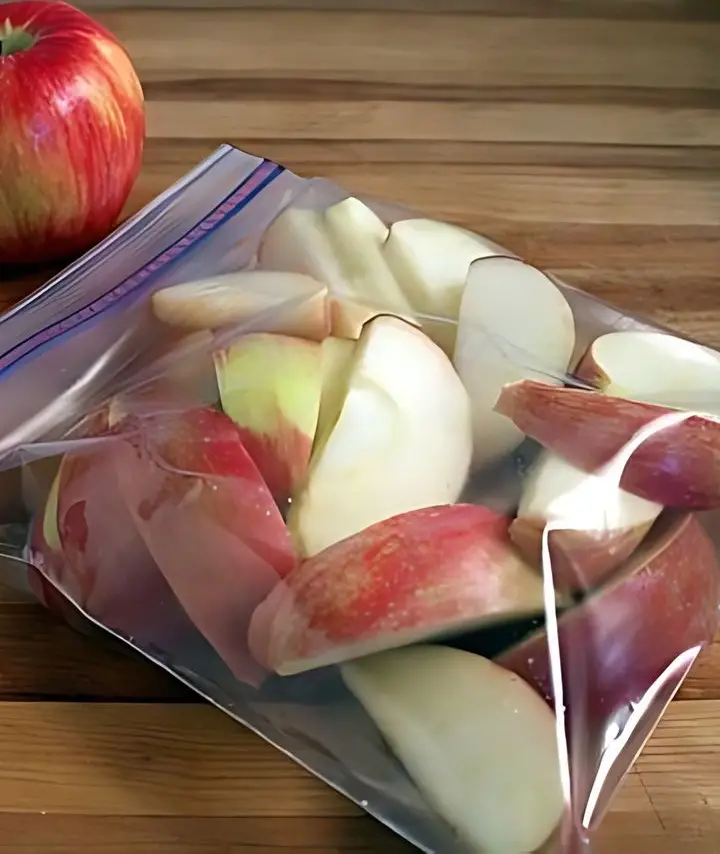
Divide the apple slices into snack-size portions, depending on how much you’d like to have on hand. Place them in resealable plastic bags or small airtight containers.
Step 5: Store in the Refrigerator
Seal the bags and store them in the refrigerator. These apple slices will stay crisp and look freshly cut for 3 to 5 days, sometimes even longer depending on the apple variety and fridge temperature.
They’re now ready to toss into lunchboxes, enjoy as quick snacks, or grab on your way out the door.
Tips for Success
- Choose the Right Apple Variety: Crisp apples like Honeycrisp, Fuji, Gala, or Pink Lady work best for slicing and storage. Softer apples like Red Delicious tend to get mushy more quickly.
- Skip Sugary Sodas: Use a regular lemon-lime soda, not a sugary, dark cola or artificially flavored drink. The citric acid is what you want—not caramel coloring or caffeine.
- Don’t Skip Drying: After soaking in soda, always pat the slices dry before storage. This helps prevent soggy bags and keeps your slices crisp.
- Use Clear Bags: Clear resealable bags or containers make it easier to see what’s inside and encourage healthy snacking.
- Add a Date Label: If you’re prepping multiple bags, label each one with the date to keep track of freshness.
- Flavor Boost (Optional): For a little twist, sprinkle a bit of cinnamon or pumpkin pie spice on the slices before storing them. This can make them feel like a sweet treat without any added sugar.