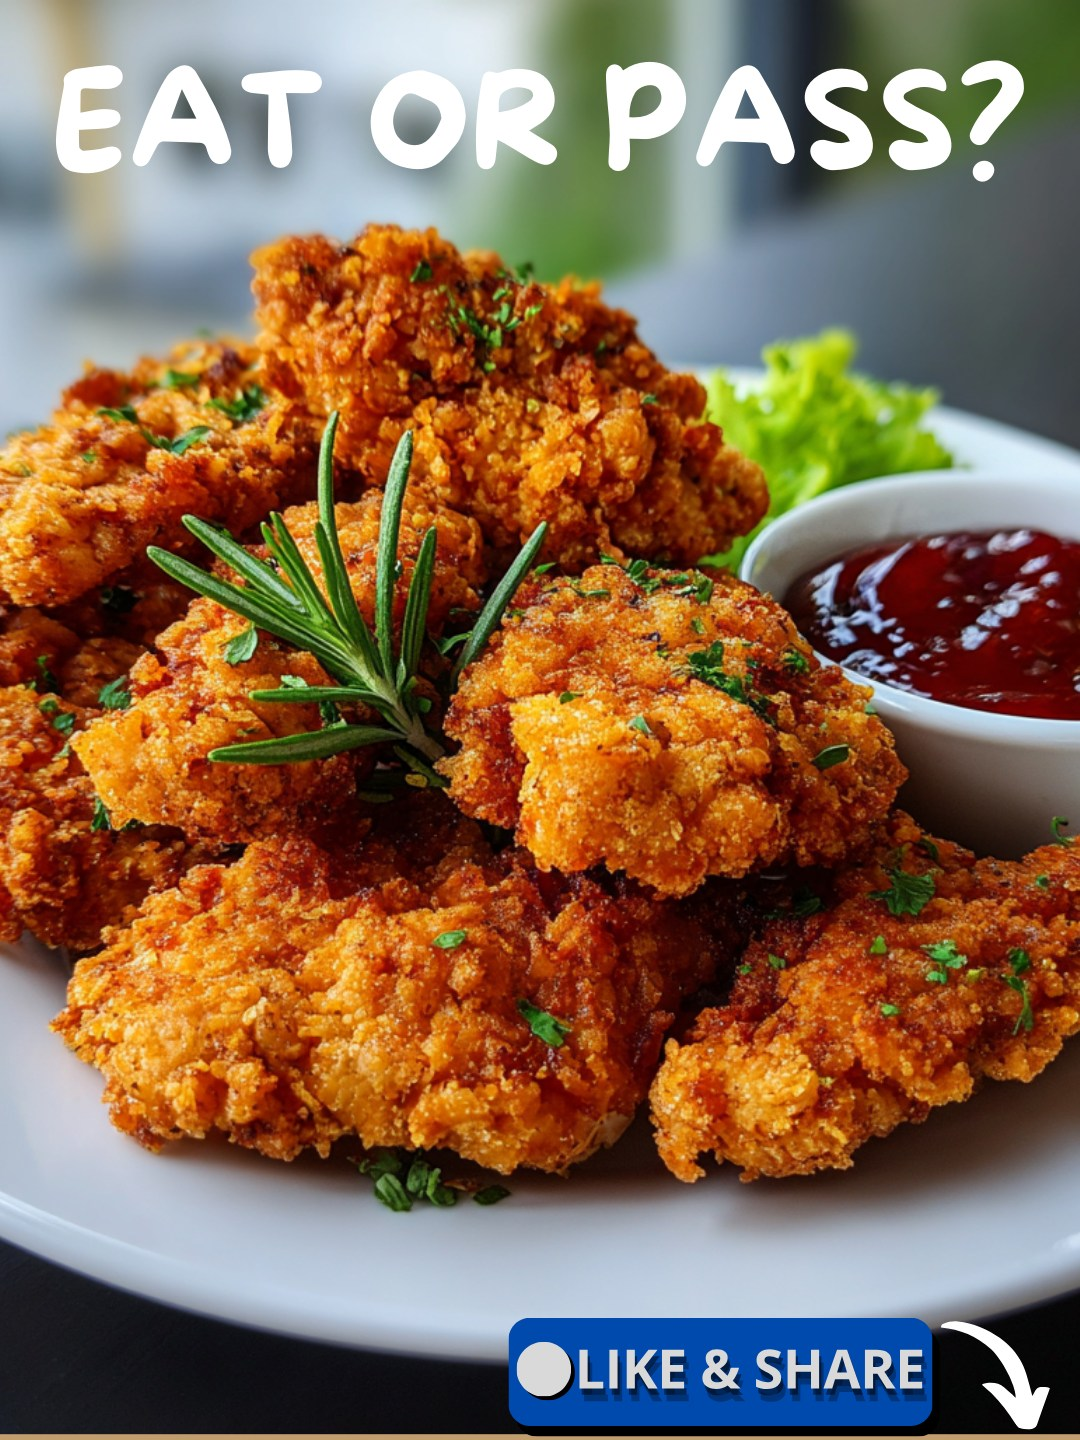
Nothing beats the satisfying crunch of crispy fried chicken tenders. Perfectly seasoned, juicy inside, and golden brown outside, this recipe is a timeless comfort food favorite. Whether you’re making them for a family dinner, a party snack, or simply to satisfy a craving, these chicken tenders will hit the spot every time.
They’re easy to prepare, use simple pantry ingredients, and can be paired with a variety of dipping sauces. In this article, you’ll find a complete step-by-step guide, cooking tips to get that perfect crisp, and answers to common questions about making fried chicken tenders at home.
Ingredients for Crispy Fried Chicken Tenders
To make the perfect batch of fried chicken tenders, gather the following ingredients:
- 1 lb boneless, skinless chicken breasts (about 3–4 breasts)
- 1 cup buttermilk
- 1 cup all-purpose flour
- 2 teaspoons garlic powder
- 2 teaspoons onion powder
- 2 teaspoons paprika
- 1 teaspoon salt
- ½ teaspoon black pepper
- 2 cups vegetable oil (for frying)
Step-by-Step Instructions
Follow these steps carefully for the best results.
Step 1: Prepare the Chicken
- Cut chicken breasts into even-sized strips. Try to keep them similar in thickness to ensure they cook evenly.
Step 2: Marinate in Buttermilk
- In a bowl, mix the buttermilk with salt, black pepper, garlic powder, onion powder, and paprika.
- Add the chicken strips and make sure they’re fully coated.
- Cover and refrigerate for at least 1 hour (or up to overnight). This tenderizes the meat and infuses flavor.
Step 3: Make the Coating
- In a shallow dish, combine flour with garlic powder, onion powder, paprika, salt, and pepper.
- Mix well to ensure the seasoning is evenly distributed.
Step 4: Heat the Oil
- Pour vegetable oil into a large skillet or cast-iron pan.
- Heat over medium-high until shimmering. The oil should reach about 350°F (175°C) for the perfect fry.
Step 5: Coat the Chicken
- Remove chicken pieces from the buttermilk marinade, letting excess drip off.
- Dredge each strip in the seasoned flour, pressing lightly to make the coating stick.
Step 6: Fry the Chicken Tenders
- Place coated strips into the hot oil, being careful not to overcrowd the pan.
- Fry each piece for 4–5 minutes per side until golden brown and fully cooked.
- The internal temperature should reach 165°F (74°C).
Step 7: Drain and Serve
- Transfer fried chicken tenders to a plate lined with paper towels to absorb excess oil.
- Serve immediately with your favorite dipping sauces like ranch, honey mustard, or BBQ sauce.
Tips for Perfect Crispy Fried Chicken Tenders
- Don’t skip the marinade: Buttermilk not only flavors the chicken but also keeps it juicy and tender.
- Use a thermometer: To avoid greasy or undercooked chicken, maintain the oil temperature around 350°F (175°C).
- Double-dredge for extra crispiness: For a thicker, crunchier crust, dip the chicken back into the buttermilk and flour mixture a second time.
- Rest after frying: Letting chicken sit on paper towels for a few minutes helps keep the coating crisp without getting soggy.
- Experiment with seasonings: Add cayenne pepper for heat, dried herbs for earthiness, or parmesan for a cheesy twist.
Serving Suggestions
Crispy fried chicken tenders are versatile and can be enjoyed in many ways:
- Classic style: Serve hot with fries and dipping sauces.
- In a sandwich: Tuck tenders into a toasted bun with lettuce, tomato, and mayo.
- On a salad: Slice and layer over fresh greens for a crunchy protein boost.
- As a party appetizer: Pair with a platter of assorted dips for guests.
Variations You Can Try
- Spicy Chicken Tenders: Add cayenne pepper or chili powder to both the marinade and flour mixture.
- Oven-Baked Tenders: For a lighter option, bake coated chicken strips on a parchment-lined sheet at 425°F (220°C) for 20 minutes, flipping halfway through.
- Air Fryer Version: Spray coated tenders with cooking oil and air fry at 400°F (200°C) for 12–14 minutes, shaking the basket halfway.
- Gluten-Free Option: Replace all-purpose flour with a gluten-free blend or crushed cornflakes for a crunchy coating.
Storing and Reheating
- Refrigerate: Store leftovers in an airtight container for up to 3 days.
- Freeze: Lay cooked tenders on a baking sheet, freeze until solid, then transfer to a freezer bag for up to 2 months.
- Reheat: Warm in an oven at 375°F (190°C) for 10–12 minutes to restore crispiness. Avoid microwaving, as it can make the coating soggy.
Frequently Asked Questions
Can I use chicken tenderloins instead of breasts?
Yes, chicken tenderloins work perfectly and save you the step of cutting chicken breasts into strips.
How do I know when the chicken is fully cooked?
The safest way is to use a meat thermometer. Chicken should reach an internal temperature of 165°F (74°C).
Why is my coating falling off?
Make sure the chicken isn’t too wet before dredging. Let excess buttermilk drip off, and press the flour mixture firmly onto the chicken.
Can I marinate the chicken without buttermilk?
Yes, you can use plain yogurt, kefir, or even milk with a splash of lemon juice or vinegar as alternatives.
How do I keep the chicken tenders crispy after frying?
Place cooked tenders on a wire rack set over a baking sheet instead of paper towels if making a large batch. This prevents steam from softening the crust.
Final Thoughts
Homemade crispy fried chicken tenders are easy to master once you get the hang of the marinade, coating, and frying process. They’re adaptable, family-friendly, and guaranteed to please both kids and adults alike. With a few simple tricks like double-dredging and controlling oil temperature, you’ll achieve restaurant-quality tenders every time.
Whether you enjoy them as a quick weeknight dinner, a game-day snack, or packed into a sandwich, these golden delights will quickly become a go-to recipe in your kitchen.