Classic Homemade Bread: Simple, Delicious, and Perfect Every Time
There’s nothing quite like the smell of fresh, homemade bread baking in the oven. This classic homemade bread recipe is perfect for beginners and seasoned bakers alike. It’s simple to follow and delivers a delicious, soft loaf every time. Whether you’re making sandwiches, toast, or just enjoying a slice with butter, this bread will quickly become a favorite in your kitchen.
Ingredients:
- 1 ½ cups (370 ml) warm water
- 2 tbsp (10 g) dry yeast
- 4 cups (500 g) flour
- 1 tsp salt
Instructions:
Step 1: Activate the Yeast
In a large bowl, mix 370 ml of warm water (about 100°F or 37°C) with 10 g of dry yeast. Stir gently and let it sit for 5-10 minutes until it becomes bubbly and frothy. This step is crucial to ensure the yeast is activated and will help the bread rise properly.
Step 2: Add the Flour and Salt
Once the yeast is activated, add 500 g of flour and 1 tsp of salt to the yeast mixture. Stir the ingredients together using a wooden spoon or spatula until a rough dough forms. It will be sticky, but that’s okay at this stage.
Step 3: Knead the Dough
Transfer the dough onto a lightly floured surface. Knead the dough for 8-10 minutes, adding small amounts of flour as needed to prevent sticking. You’ll know the dough is ready when it becomes smooth and elastic. Proper kneading helps develop gluten, giving the bread its structure and chewy texture.
Step 4: First Rise
Place the kneaded dough into a lightly oiled bowl and cover it with a damp cloth. Let it rise in a warm place for 1-2 hours, or until it has doubled in size. The dough should be soft and spring back when lightly pressed.
Step 5: Punch Down the Dough
Once the dough has risen, gently punch it down to release the built-up air. This step ensures your bread will have a uniform texture and rise evenly in the oven.
Step 6: Shape the Dough
Shape the dough into a loaf by gently stretching and folding it. Place the shaped dough onto a lined baking sheet or in a greased loaf pan.
Step 7: Second Rise
Cover the dough with a cloth and let it rise for another 30-45 minutes, or until it doubles in size again. This second rise helps develop a light and airy texture.
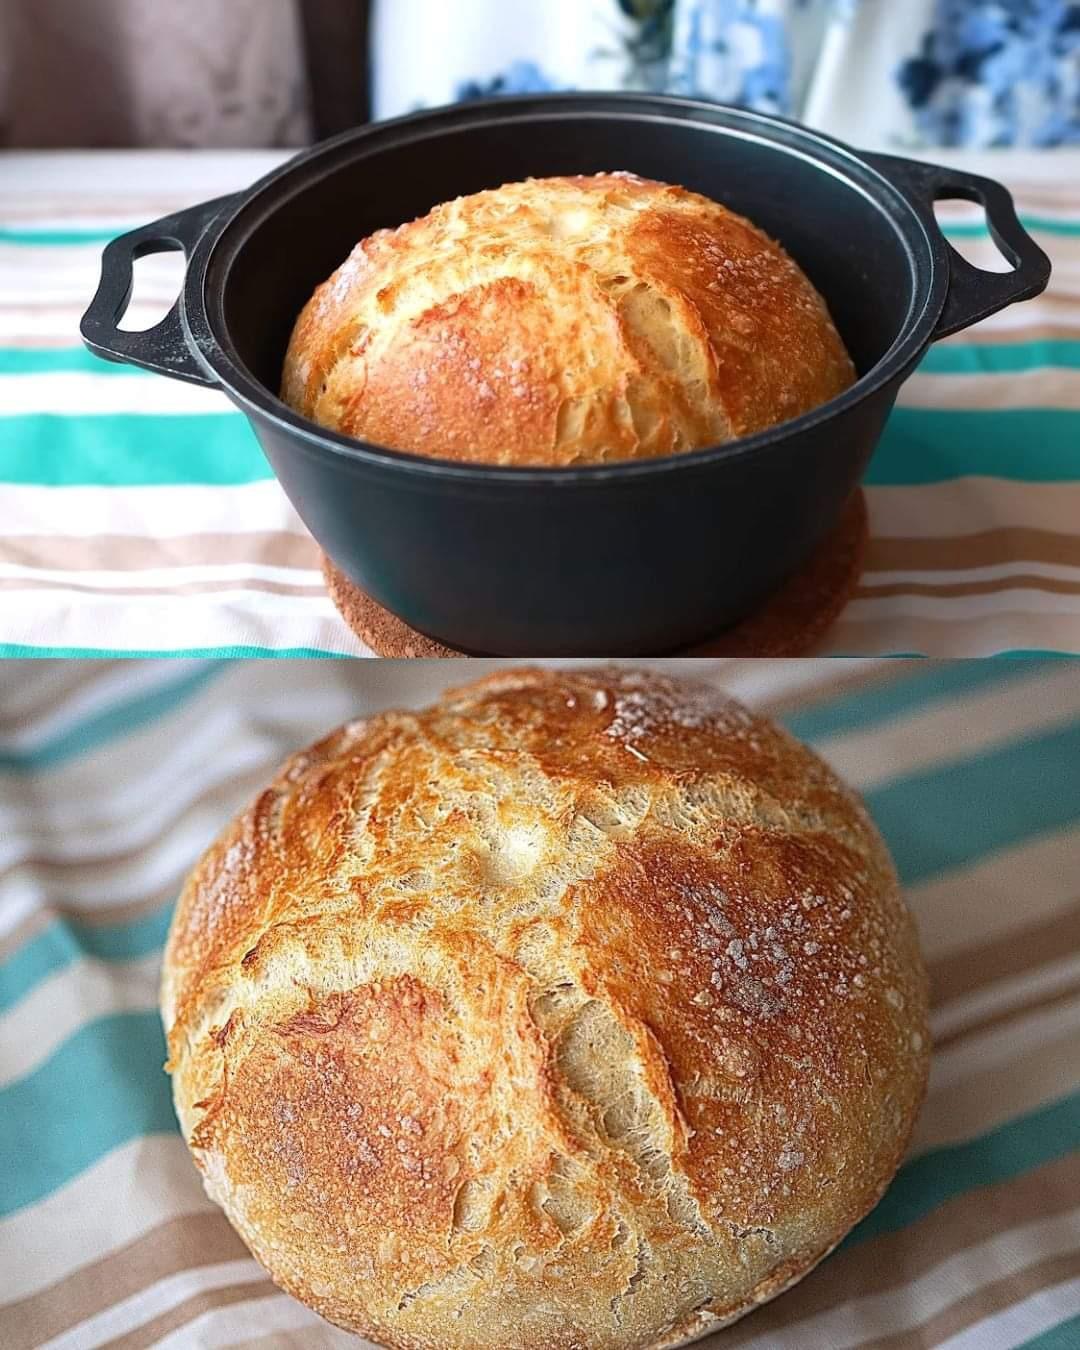
Step 8: Bake the Bread
Preheat your oven to 375°F (190°C). Once the dough has risen, bake it for 25-30 minutes, or until the top is golden brown and the bread sounds hollow when tapped. You can also check for doneness by inserting a thermometer into the center of the loaf — it should read around 190°F (88°C).
Step 9: Cool and Serve
Remove the bread from the oven and let it cool on a wire rack for at least 15 minutes before slicing. Enjoy your fresh, homemade bread with butter, jam, or any of your favorite toppings.
Tips for Making the Perfect Homemade Bread:
- Warm Water is Key: Make sure your water is warm (but not hot) when activating the yeast. The ideal temperature is around 100°F (37°C). Too hot, and it can kill the yeast; too cold, and the yeast won’t activate properly.
- Check Your Yeast: If your yeast mixture doesn’t become bubbly after 10 minutes, your yeast might be expired, or the water temperature may not be right. Always check the expiration date on your yeast, and try again if needed.
- Proper Kneading: Kneading helps to develop the gluten in the flour, which gives the bread its structure. Make sure to knead the dough for the full 8-10 minutes, or use a stand mixer with a dough hook attachment to save time.
- Rising Environment: The dough will rise best in a warm, draft-free environment. If your kitchen is cold, you can place the dough in the oven with the light on (but without turning on the oven) or near a warm window.
- Don’t Overload with Flour: Be careful not to add too much flour while kneading. The dough should be soft and slightly sticky. Adding too much flour can result in dense bread.
- Use a Thermometer: If you’re unsure whether the bread is fully baked, use a kitchen thermometer to check the internal temperature. Bread is ready when it reaches 190°F (88°C) in the center.
FAQ:
1. Can I use whole wheat flour instead of all-purpose flour?
Yes, you can substitute some or all of the all-purpose flour with whole wheat flour. Keep in mind that whole wheat flour can make the bread denser, so you may need to adjust the amount of liquid slightly and allow for a longer rise time.
2. How do I store homemade bread?
Once your bread is completely cooled, store it in an airtight container or a bread bag at room temperature. It will stay fresh for 2-3 days. For longer storage, you can freeze the bread in slices, wrapped tightly in plastic wrap and placed in a freezer bag.
3. Can I add mix-ins like seeds or herbs?
Absolutely! You can customize your homemade bread by adding seeds, herbs, or even grated cheese to the dough. Just mix them in during the kneading process.
4. Can I make the dough ahead of time?
Yes, you can make the dough ahead and let it rise in the fridge overnight. The cold temperature will slow down the yeast activity, allowing the dough to rise slowly. When you’re ready to bake, let the dough come to room temperature before shaping and baking.
5. Why didn’t my bread rise?
If your bread didn’t rise, it could be due to expired yeast, water that was too hot or too cold, or not giving the dough enough time to rise. Make sure your yeast is fresh, and allow enough time for both the first and second rises.
Conclusion:
This classic homemade bread recipe is simple and yields a loaf that’s soft, fluffy, and perfect every time. With just a few basic ingredients and some patience, you can enjoy the satisfying aroma and taste of freshly baked bread right from your own kitchen. Whether you’re a seasoned baker or a beginner, this recipe will quickly become a go-to for all your bread-making needs.