Easy-to-Make Cherry Pie Bars with Buttery Base and Topping
Cherry pie bars are a delightful treat that perfectly blend the tartness of cherries with the sweetness of a buttery crust and glaze. These bars are not only delicious but also incredibly easy to make. Whether you’re looking for a dessert to impress your family or a treat to share at a gathering, these cherry pie bars are sure to be a hit. With a soft, buttery base, a luscious cherry filling, and a crumbly topping, they strike the ideal balance between tart and sweet. And to top it off, a simple glaze adds the perfect finishing touch. Let’s dive into how to make these delectable cherry pie bars!
Why You’ll Love These Cherry Pie Bars
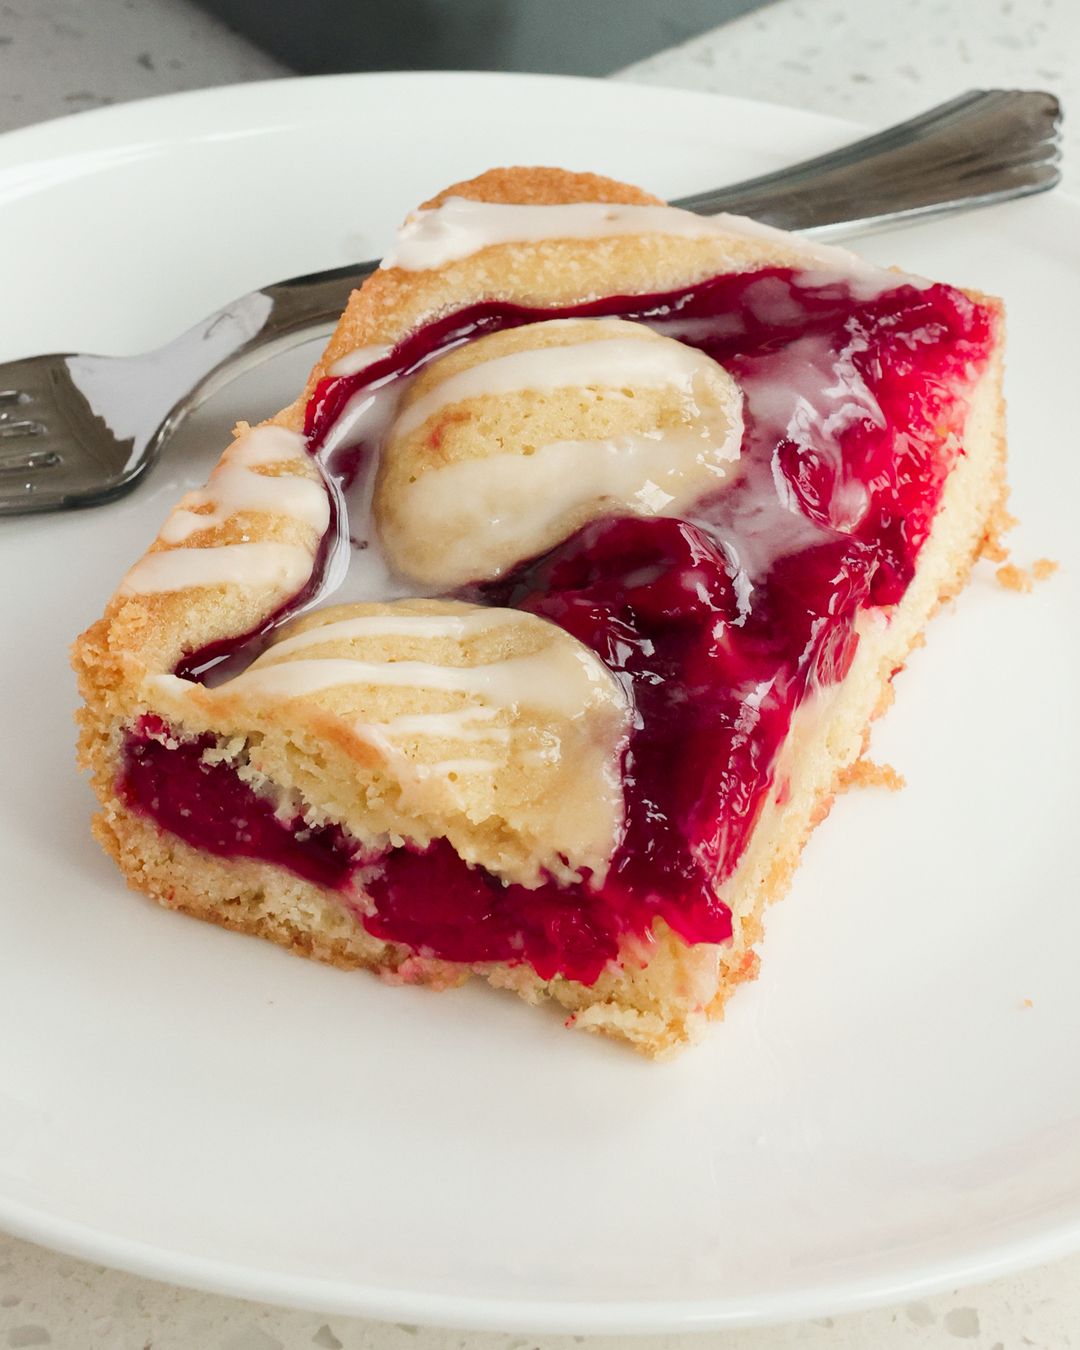
These cherry pie bars are the ultimate dessert for cherry lovers. The buttery base and topping complement the tartness of the cherry filling, creating a harmonious flavor combination that is simply irresistible. Plus, they are incredibly easy to make, requiring just a few simple ingredients that you likely already have in your pantry. Whether served at room temperature or slightly warmed with a scoop of vanilla ice cream, these bars are a crowd-pleaser.
Ingredients
For the Cherry Pie Bars:
- 2 ¼ cups all-purpose flour: Provides the structure for the bars.
- ½ teaspoon salt: Enhances the flavors of the other ingredients.
- ½ teaspoon baking soda: Helps the bars rise.
- ½ teaspoon baking powder: Adds lightness and fluffiness to the texture.
- 3/4 cup unsalted butter, softened: Adds richness and flavor; it’s essential to use real butter for the best results.
- 1 cup granulated sugar: Sweetens the bars.
- 3 large eggs: Bind the ingredients together and provide moisture.
- 1 teaspoon vanilla extract: Adds depth of flavor.
- ¼ teaspoon almond extract: Complements the cherry filling with a subtle nutty flavor.
- 1 21-ounce can of cherry pie filling: The star of the show, providing tartness and flavor.
For the Glaze:
- 1 cup powdered sugar: Sweetens the glaze and gives it a smooth texture.
- ½ teaspoon vanilla extract: Adds flavor to the glaze.
- ¼ teaspoon almond extract: Enhances the overall flavor with a hint of nuttiness.
- 2-3 tablespoons milk, half-and-half, or water: Thins the glaze to your desired consistency.
Instructions
Step 1: Prepare Your Oven and Pan
Preheat your oven to 350°F (175°C). Grease or spray a 9×13-inch baking dish with nonstick cooking spray. This ensures that the bars will release easily after baking.
Step 2: Mix the Dry Ingredients
In a medium bowl, whisk together the flour, salt, baking soda, and baking powder. This will be the dry mixture that gives the bars their structure.
Step 3: Cream the Butter and Sugar
In a large bowl, using a handheld mixer on medium speed, cream the softened butter and sugar until light and fluffy. This step is crucial for achieving a tender, buttery base and topping.
Step 4: Add the Eggs and Extracts
Reduce the mixer speed to low and add the eggs one at a time, mixing just until incorporated. Be careful not to overmix. Mix in the vanilla and almond extracts until just combined. These extracts add depth and flavor to the bars.
Step 5: Combine the Dry and Wet Ingredients
Gradually add the dry mixture to the wet mixture, mixing just until combined. Scrape down the sides of the bowl and the beaters as needed to ensure everything is well incorporated.
Step 6: Assemble the Bars
Spread all but 1 cup of the batter into the prepared pan using an offset spatula for an even layer. Then, spread the cherry pie filling over the batter. Drop the remaining batter by rounded tablespoons onto the cherry pie filling. This will create a crumbly topping as the bars bake.
Step 7: Bake the Bars
Bake for 30-35 minutes, or until the bars are golden brown and the edges are bubbling. Once baked, remove the pan from the oven and place it on a wire rack to cool completely. Allow the bars to cool for at least 1 hour or, better yet, overnight for the best results.
Step 8: Prepare the Glaze
In a small bowl, whisk together the powdered sugar, vanilla extract, almond extract, and milk (or your choice of liquid). Adjust the amount of liquid to achieve your desired glaze consistency.
Step 9: Drizzle the Glaze
Once the bars are completely cooled, drizzle the glaze over the top. This adds an extra layer of sweetness and a beautiful finishing touch to the bars.
Step 10: Serve and Enjoy
Cut the bars into squares and serve. These bars are perfect on their own, or you can elevate them by serving them with a scoop of vanilla ice cream or a dollop of whipped cream.
Tips for the Perfect Cherry Pie Bars
- Use Premium Cherry Pie Filling: If possible, opt for a high-quality cherry pie filling, or use fresh cherries if they are in season. The better the filling, the more delicious your bars will be.
- Don’t Skimp on the Butter: Real unsalted butter is essential for achieving that rich, buttery flavor in both the base and topping.
- Substitute with Other Fillings: While cherry is a classic choice, you can easily swap it out for other fruit fillings like blackberry, blueberry, peach, or apple. Customize it to your taste!
- Ensure Proper Baking: Bake the bars until the edges are bubbling and the top is golden brown. This ensures that the base is fully cooked and the topping is perfectly crisp.
- Cool Before Glazing: Make sure the bars are cooled to room temperature before drizzling the glaze. This will prevent the glaze from melting into the bars.
- Storing the Bars: Store the bars in an airtight container in the fridge for up to 4 days. To enjoy them warm, reheat in the microwave for 20 seconds at 70-80% power.
Frequently Asked Questions (FAQs)
Can I freeze cherry pie bars?
Yes, cherry pie bars freeze well. Allow them to cool completely, then wrap them tightly in plastic wrap and place them in an airtight container or freezer bag. They can be frozen for up to 3 months. When ready to enjoy, thaw them in the refrigerator overnight and reheat if desired.
Can I use a different type of pie filling?
Absolutely! While cherry is traditional, you can experiment with other fruit fillings like blueberry, apple, or peach. Each will bring its unique flavor to the bars.
How do I know when the bars are done?
The bars are done when the edges are bubbling, and the top is a light golden brown. You can also insert a toothpick into the center; if it comes out clean or with a few moist crumbs, the bars are ready.
Do I have to use almond extract?
Almond extract adds a lovely nutty flavor that pairs well with cherries, but if you’re not a fan or don’t have any on hand, you can omit it or substitute it with more vanilla extract.
How long will the cherry pie bars last?
Stored in an airtight container in the refrigerator, cherry pie bars will last for up to 4 days. For the best texture, enjoy them within the first couple of days.
Can I make these bars gluten-free?
Yes, you can make these bars gluten-free by substituting the all-purpose flour with a gluten-free flour blend. Just make sure the blend contains xanthan gum or another binder for the best results.
These cherry pie bars are a fantastic treat that combines the flavors of a traditional cherry pie with the convenience of a bar. Easy to make and even easier to enjoy, they’re perfect for any occasion!