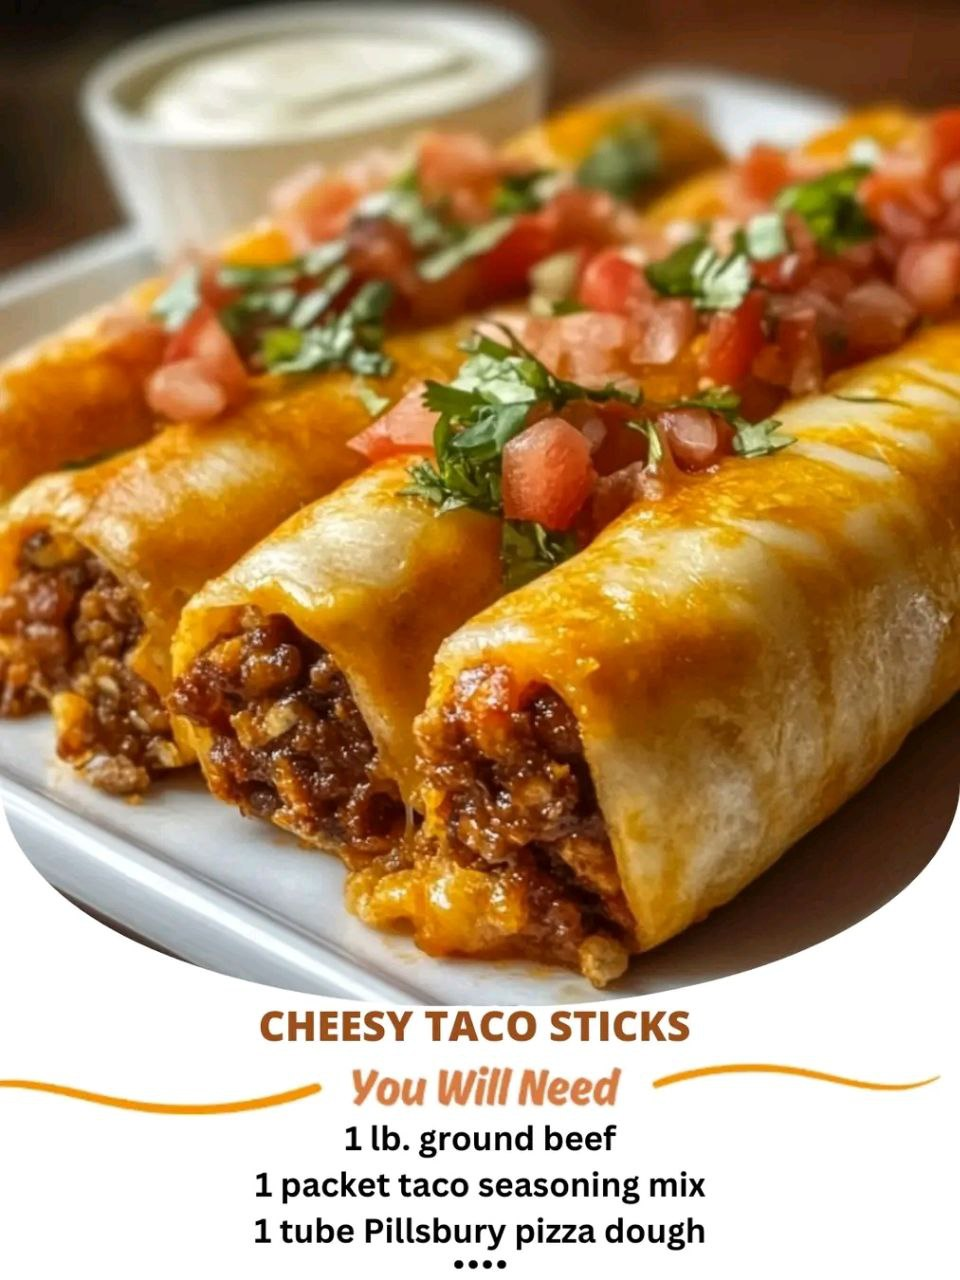
Cheesy Taco Sticks are the ultimate comfort food and the perfect snack for anyone who loves bold, taco-inspired flavors. With their crispy, golden crust and gooey, cheesy filling, these taco sticks are a guaranteed crowd-pleaser. Whether you’re preparing a fun family dinner, a game day snack, or looking for a creative appetizer, these cheesy treats will satisfy your cravings and leave everyone wanting more.
In this recipe, we’ll guide you through the steps to create these cheesy, crispy delights, and we’ll also share some handy tips and variations to make them your own!
Why You’ll Love This Recipe
There’s so much to love about Cheesy Taco Sticks. Here’s why they’re a must-try:
Crispy and Cheesy
These taco sticks offer the best of both worlds—crispy on the outside and cheesy on the inside. The perfect combination of texture and flavor in every bite!
Packed with Flavor
With taco seasoning, cheese, and optional fillings like ground beef or beans, these taco sticks are loaded with flavor and a great way to spice up your snacking experience.
Kid-Friendly
A fun, handheld snack that both kids and adults will love. They’re easy to eat, making them perfect for parties, lunchboxes, or after-school snacks.
Customizable
You can adjust the spice levels, add your favorite taco fillings, and even swap out ingredients to suit dietary preferences. These taco sticks are completely versatile.
Versatile
Serve them as an appetizer, snack, or even as a unique meal option. Whether you’re making them for a party or just craving something different, these taco sticks fit the bill.
Ingredients You’ll Need
The secret to these taco sticks lies in their flavorful filling and crispy coating. Here’s what you’ll need to make them:
For the Filling:
- 1 cup shredded cheese (cheddar, Monterey Jack, or a Mexican cheese blend works best)
- ½ cup cooked ground beef or turkey (optional, seasoned with taco seasoning)
- ¼ cup black beans or refried beans (optional for added flavor and texture)
- 2 tablespoons cream cheese (softened, to help bind the filling)
- 1 teaspoon taco seasoning (store-bought or homemade)
For the Coating:
- 1 cup all-purpose flour
- 2 large eggs (beaten)
- 1 ½ cups breadcrumbs (plain or panko for extra crunch)
- 1 teaspoon garlic powder (optional, for added flavor)
- 1 teaspoon paprika (optional, for color and flavor)
For Serving:
- Salsa (for dipping)
- Sour cream or guacamole (optional)
- Shredded lettuce, diced tomatoes, or olives (for garnish)
Step-by-Step Instructions
Ready to make these crispy, cheesy taco sticks? Follow these simple steps for an easy and delicious result:
Step 1: Prepare the Filling
In a large mixing bowl, combine the shredded cheese, cooked ground beef (if using), beans, cream cheese, and taco seasoning. Mix everything together until well combined.
Divide the mixture into 8–10 equal portions, and shape each portion into a log or stick shape. Place the formed sticks onto a plate and freeze them for 15–20 minutes to firm up. This will help the sticks hold their shape when you coat and cook them.
Step 2: Set Up the Coating Station
Prepare three shallow bowls for the coating process:
- Bowl 1: All-purpose flour
- Bowl 2: Beaten eggs
- Bowl 3: Breadcrumbs mixed with garlic powder and paprika (if using)
Step 3: Coat the Taco Sticks
Take each frozen taco filling log and roll it in the flour, shaking off any excess. Then, dip it into the beaten eggs, making sure it’s fully coated.
Next, roll the stick in the breadcrumb mixture, pressing gently to make sure the breadcrumbs adhere. For extra crunch, you can dip the taco stick in the egg and breadcrumb mixture twice.
Step 4: Cook the Taco Sticks
You can cook these taco sticks using either the baking or frying method:
Option 1: Baking
Preheat your oven to 400°F (200°C). Line a baking sheet with parchment paper or lightly grease it with cooking spray.
Arrange the coated taco sticks on the baking sheet. Spray them lightly with cooking oil for extra crispiness, and bake them for 15–20 minutes, flipping them halfway through. The sticks should turn golden brown and crispy.
Option 2: Frying
Heat about 1–2 inches of vegetable oil in a deep skillet over medium heat, aiming for a temperature of 350°F (175°C).
Carefully fry the taco sticks in batches for 2–3 minutes per side, or until they are golden brown and crispy. Once fried, transfer them to a paper towel-lined plate to drain any excess oil.
Step 5: Serve and Enjoy
Serve your Cheesy Taco Sticks warm with salsa, sour cream, or guacamole for dipping. Garnish with shredded lettuce, diced tomatoes, or olives for an added festive touch. Enjoy your tasty, cheesy creation!
Why This Recipe Works So Well
The beauty of Cheesy Taco Sticks lies in their perfect balance of flavors and textures. The cheesy filling is rich and flavorful, while the crispy breadcrumb coating gives each bite a satisfying crunch. Freezing the taco sticks before coating them ensures they hold their shape during cooking, so they stay neat and easy to eat. Whether baked or fried, these taco sticks will come out crispy and delicious every time.
Variations to Try
While the classic version is delicious on its own, there are many ways to customize these taco sticks to suit your tastes and dietary preferences:
Add Veggies
For an extra burst of flavor and nutrition, try adding finely chopped bell peppers, onions, or jalapeños to the filling. These will complement the taco seasoning and add a touch of freshness.
Make Them Vegetarian
Skip the meat and use beans, corn, or sautéed mushrooms as the base for a vegetarian-friendly option. These ingredients are flavorful and satisfying on their own, so you won’t miss the meat.
Spice It Up
If you prefer a spicier kick, add diced jalapeños, red pepper flakes, or a dash of hot sauce to the filling. Adjust the spice level to your liking.
Gluten-Free Option
For those with dietary restrictions, you can easily make these taco sticks gluten-free. Simply swap out the all-purpose flour and breadcrumbs for their gluten-free counterparts.
Mini Taco Bites
If you’re serving these for a party or gathering, you can make mini taco bites by shaping the filling into smaller balls instead of logs. These bite-sized appetizers are perfect for snacking.
Tips for Success
To ensure your Cheesy Taco Sticks turn out perfectly, here are a few helpful tips:
Freeze Before Coating
Freezing the filling before coating helps prevent the cheese from melting out during cooking. It also ensures that the sticks hold their shape better.
Double-Coat for Extra Crunch
For an extra crispy exterior, dip the taco sticks twice in the egg and breadcrumb mixture. This gives them an even thicker, crunchier crust.
Use Fresh Breadcrumbs
For the crispiest texture, consider making your own breadcrumbs by pulsing stale bread in a food processor. This will ensure that your taco sticks have an ultra-crunchy coating.
Save Leftovers
Store any leftover taco sticks in an airtight container in the refrigerator for up to 2 days. Reheat them in the oven at 350°F for 5–7 minutes to restore their crispiness.
Experiment with Dips
While salsa is a classic dipping choice, you can also try other dips like queso dip, ranch dressing, or chipotle mayo for a fun variety of flavors.
Serving Suggestions
Cheesy Taco Sticks are versatile and can be served for a variety of occasions. Here are some ideas to enhance your taco stick experience:
Game Day Snack
Serve these taco sticks as part of your game day spread alongside wings, nachos, and other finger foods. They’re sure to be a hit!
Party Appetizer
Cheesy Taco Sticks make an excellent appetizer for birthday parties, holiday gatherings, or potlucks. They’re fun, delicious, and easy to eat.
Dinner Twist
Pair the taco sticks with a side salad or soup for a creative dinner. They’re a fun and flavorful alternative to your regular meal options.
Brunch Idea
For a unique brunch dish, serve the taco sticks with scrambled eggs, hash browns, and fresh fruit. It’s a perfect combination of savory and satisfying.
Kids’ Lunchbox
Pack taco sticks in lunchboxes for a fun school lunch that kids will love. You can add a side of dipping sauce to make them even more enjoyable.
Final Thoughts
Cheesy Taco Sticks are an irresistible snack that combines crispy, crunchy exteriors with gooey, cheesy interiors and bold taco flavors. They’re perfect for parties, as an appetizer, or just for a fun snack at home. With their versatility and customizable options, these taco sticks will quickly become a family favorite.
So, the next time you’re craving something cheesy and delicious, give this recipe a try. They’re easy to make, fun to eat, and absolutely delicious!
FAQs
Q: Can I make these taco sticks ahead of time?
A: Yes, you can prepare the taco sticks and freeze them before cooking. When ready to serve, simply bake or fry them as directed.
Q: Can I make these taco sticks vegetarian?
A: Absolutely! Skip the meat and add extra beans, corn, or vegetables like mushrooms for a delicious vegetarian version.
Q: How do I store leftovers?
A: Store leftover taco sticks in an airtight container in the refrigerator for up to 2 days. Reheat them in the oven at 350°F for 5–7 minutes to restore crispiness.
Q: Can I make these taco sticks gluten-free?
A: Yes, simply substitute the all-purpose flour and breadcrumbs with gluten-free versions to make these taco sticks suitable for those with dietary restrictions.
Q: How can I adjust the spice level?
A: You can add jalapeños, red pepper flakes, or hot sauce to the filling to make them spicier. Adjust the amount based on your preferred spice level.
Happy cooking and enjoy your Cheesy Taco Sticks! 🌮🧀✨