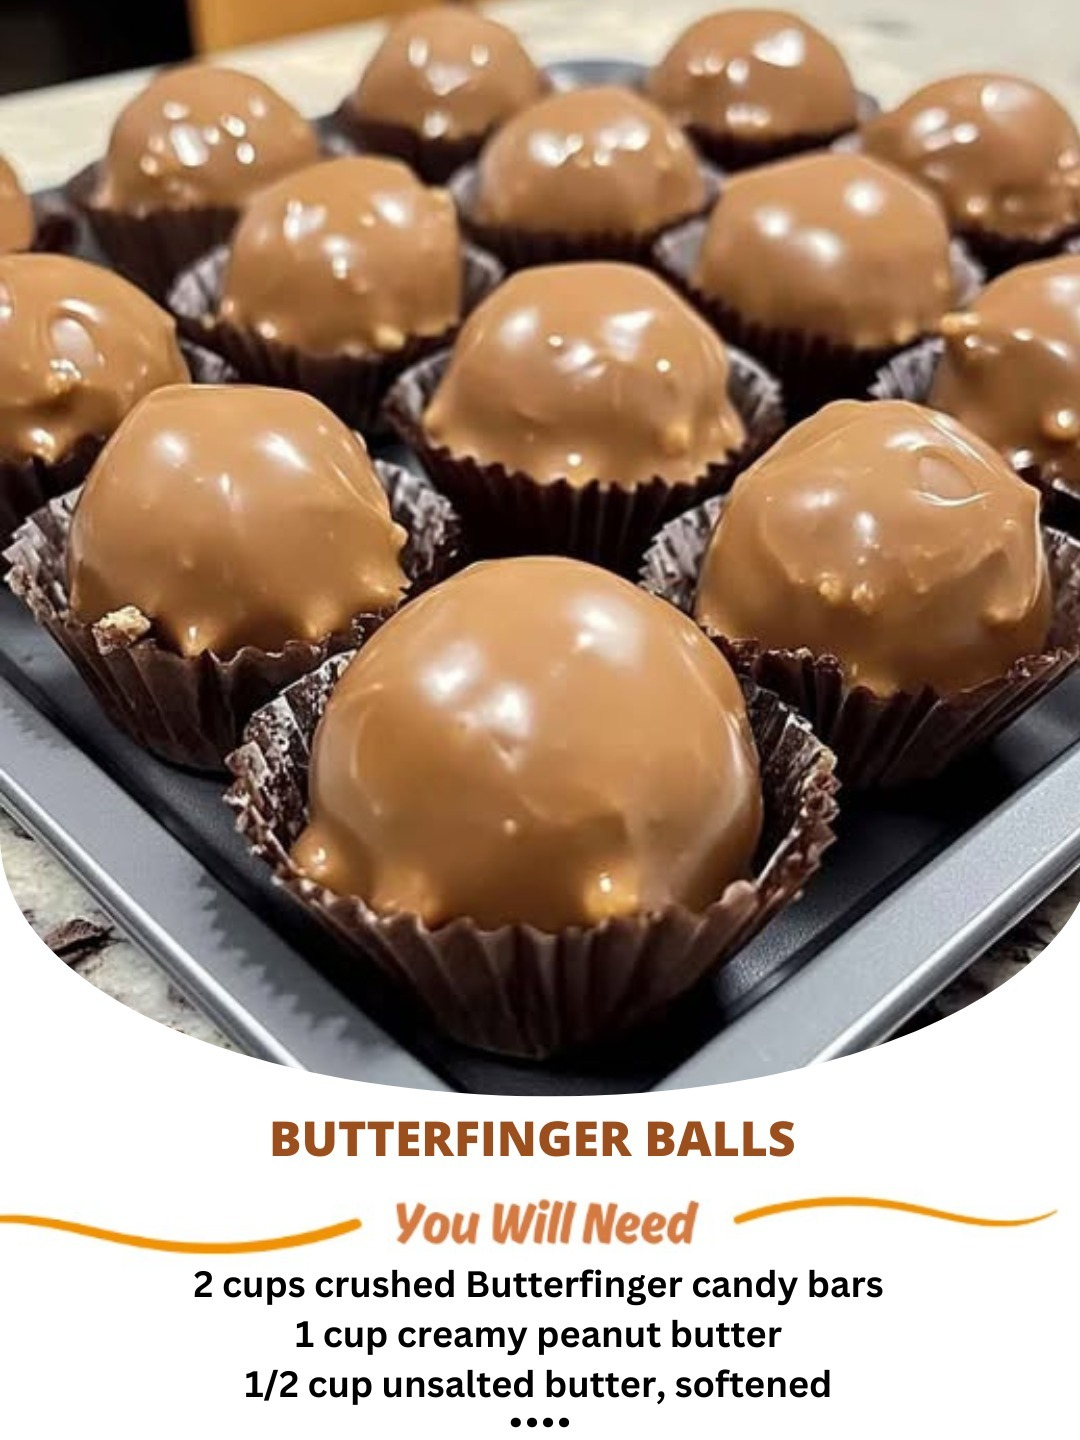
Butterfinger Balls are the ultimate no-bake treat, combining creamy peanut butter, crunchy Butterfinger candy, and smooth chocolate in each bite. Whether you’re preparing for a holiday party, making homemade gifts, or just craving a delicious snack, these irresistible bite-sized candies are quick, easy, and full of nostalgic flavor.
This simple, customizable recipe is perfect for both beginner and experienced home bakers. Let’s dive into how to make these dreamy treats!
Ingredients
For the Balls
- 1 cup crushed Butterfinger candy bars (about 4–5 fun-size bars)
- 1 cup creamy peanut butter
- 1 cup powdered sugar
- 2 cups semi-sweet chocolate chips (you can also use milk or dark chocolate)
- 1 tablespoon vegetable oil or coconut oil (for melting chocolate)
Optional Add-Ins
- 1/2 cup chopped peanuts (for extra crunch)
- Pinch of salt (to balance the sweetness)
Instructions
Crush the Butterfingers
Place your Butterfinger candy bars into a zip-top bag. Using a rolling pin or your hands, crush the bars until you have a mix of fine crumbs and small chunks. The combination of textures adds a wonderful crunch to your final product.
Make the Peanut Butter Mixture
In a large mixing bowl, combine the crushed Butterfingers, creamy peanut butter, and powdered sugar.
Mix well until the ingredients come together to form a soft, sticky dough. If the mixture feels too soft to shape, pop it in the refrigerator for 10–15 minutes to firm up slightly.
Shape the Balls
Scoop out about one tablespoon of the dough mixture. Roll it between your palms to create a smooth ball.
Repeat with the remaining mixture. You should get approximately 20 to 24 balls, depending on the size you make.
Place the balls onto a parchment-lined baking sheet and refrigerate them for 15–20 minutes to firm up before dipping.
Melt the Chocolate
Place the chocolate chips and vegetable (or coconut) oil into a microwave-safe bowl.
Heat in 30-second intervals, stirring between each, until the chocolate is completely melted and smooth.
Alternatively, you can melt the chocolate slowly in a double boiler on the stovetop, stirring constantly to prevent burning.
Coat the Balls
Using a fork or a dipping tool, dip each chilled ball into the melted chocolate.
Allow the excess chocolate to drip off, then carefully place the coated ball back onto the parchment-lined sheet.
If desired, sprinkle additional crushed Butterfingers or chopped peanuts over the top before the chocolate sets for extra texture and a beautiful finish.
Set the Chocolate
Chill the coated balls in the refrigerator for about 15–20 minutes, or until the chocolate is firm and fully set.
Once set, your Butterfinger Balls are ready to enjoy!
Tips and Variations
Add Texture
For extra crunch, stir in chopped peanuts or pretzel bits when making the peanut butter mixture. This small addition enhances the texture beautifully.
Use Different Candy Bars
Not a fan of Butterfinger? You can easily swap them out for other favorites like Snickers, Heath Bars, Kit Kats, or Milky Ways for a unique twist.
Gluten-Free Option
Double-check that your candy bars and powdered sugar are certified gluten-free to make a gluten-friendly version of these treats.
Make Ahead
You can prepare the peanut butter mixture and roll the balls up to three days ahead. Store the uncoated balls in the refrigerator, and dip them in chocolate when you’re ready to serve or gift them.
Storage Tips
- Refrigerator: Store finished Butterfinger Balls in an airtight container in the fridge for up to one week.
- Freezer: Freeze for longer storage! Place the balls in a freezer-safe bag or container, and they’ll keep for up to three months. Thaw in the fridge before serving.
Why You’ll Love Butterfinger Balls
No-Bake Simplicity
These delicious treats come together without the need for an oven. Just mix, shape, dip, and chill—it’s that simple!
Perfect Balance of Flavors
Every bite delivers a perfect balance of sweet, salty, creamy, and crunchy flavors that make them incredibly satisfying.
Highly Customizable
You can tweak the candy bars, add-ins, and toppings to make a completely different treat every time. It’s a flexible recipe that’s easy to personalize.
Great for Gifting
Package these Butterfinger Balls in cute tins or cellophane bags for an easy, thoughtful homemade gift during the holidays, birthdays, or special events.
Kid-Friendly Fun
Kids love getting involved—rolling the dough, dipping the balls in chocolate, and adding toppings makes for a fun family kitchen project.
FAQs
Can I make Butterfinger Balls without peanut butter?
Yes, you can substitute peanut butter with almond butter, cashew butter, or sunflower seed butter for a nut-free version. Just make sure the alternative spread is thick enough to hold the mixture together.
Can I use white chocolate instead of regular chocolate?
Absolutely! White chocolate creates a sweeter coating and a striking look. Just be careful when melting it, as white chocolate can burn more easily.
How do I prevent the chocolate from cracking?
Make sure the balls are not too cold when you dip them in the warm chocolate. If the temperature difference is too great, the chocolate may crack when setting.
Can I add flavoring to the chocolate?
You can! Stir in a drop or two of flavored oil (like peppermint or orange) into the melted chocolate for an extra flavor boost. Avoid water-based extracts, as they can cause the chocolate to seize.
Are Butterfinger Balls freezer-friendly?
Yes. To freeze, place the balls in a single layer on a baking sheet until frozen, then transfer to an airtight container or freezer bag. They’ll keep well for up to three months. Thaw them in the fridge before serving.

