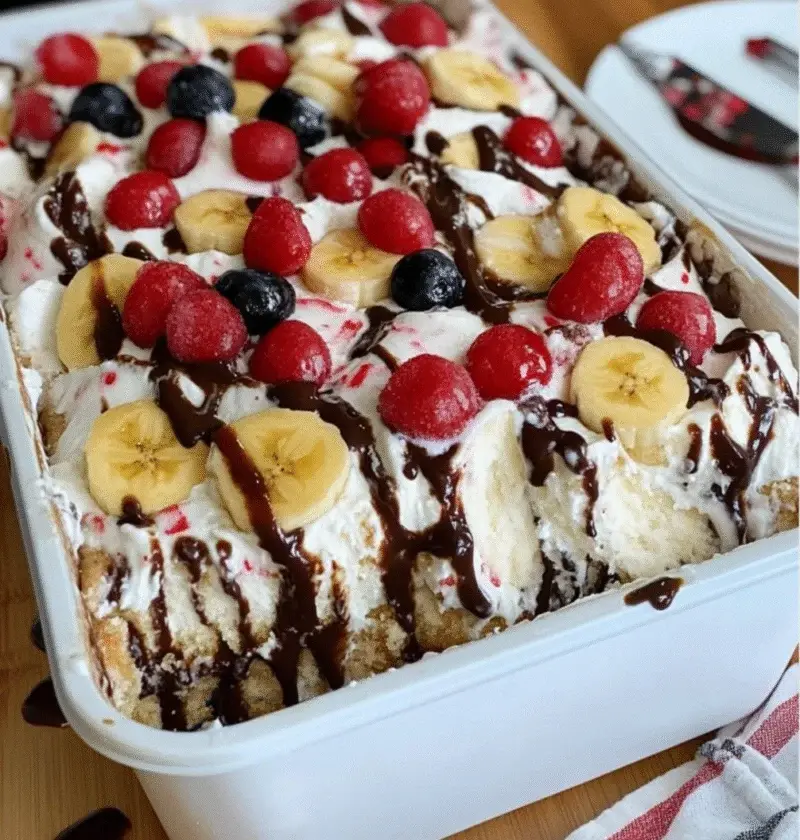
Indulge in the ultimate summer dessert with this Banana Split Ice Cream Poke Cake. It’s the perfect fusion of soft cake, rich fudge, sweet bananas, and creamy ice cream—all layered into one frozen delight. Whether you’re hosting a backyard gathering, planning a birthday celebration, or simply craving something sweet and nostalgic, this cake checks all the boxes.
This recipe takes everything you love about a traditional banana split and turns it into a shareable, sliceable dessert that’s as beautiful as it is delicious. Best of all, it’s easy to prepare and customizable to fit your flavor preferences.
Let’s explore how to make this show-stopping Banana Split Ice Cream Poke Cake from scratch.
Ingredients You’ll Need
Before diving into the recipe, gather the following ingredients to streamline your preparation process:
- 1 box yellow cake mix
- 3 large eggs
- ½ cup vegetable oil
- 1 cup water
- 1 can sweetened condensed milk (14 oz)
- 1 jar hot fudge sauce (approximately 12 oz)
- 2 ripe bananas, sliced
- 1 pint strawberry ice cream
- 1 pint chocolate ice cream
- Whipped cream (store-bought or homemade)
- Maraschino cherries
- Sprinkles (rainbow or chocolate, optional)
These ingredients will give your dessert the classic banana split flavor and an irresistible texture that’s part cake, part ice cream treat.
How to Make Banana Split Ice Cream Poke Cake
Follow these detailed steps to bring your dessert to life. You’ll love how easily this recipe comes together with just a little prep time and some chill time in the freezer.
Prepare the Cake
- Preheat the oven to 350°F (175°C). Grease a 9×13-inch baking dish or line it with parchment paper.
- In a large bowl, combine the cake mix, eggs, oil, and water. Mix until smooth and lump-free, about 2-3 minutes.
- Pour the batter into the prepared baking dish and spread evenly.
- Bake for 25–30 minutes or until a toothpick inserted in the center comes out clean.
- Let the cake cool for 10 minutes before poking holes.
Poke and Soak
- Use the handle of a wooden spoon to poke holes all over the surface of the cake. Make sure the holes go deep to allow the filling to seep in.
- Pour the sweetened condensed milk evenly over the cake, allowing it to soak into the holes.
- Allow the cake to cool completely at room temperature.
Layer the Goodness
- Warm the hot fudge sauce slightly in the microwave for easier spreading, then drizzle and spread it across the top of the cake.
- Arrange banana slices evenly over the surface.
- Let the cake chill for 15 minutes in the fridge before moving to the ice cream layer.
Add Ice Cream Layers
- Soften both ice cream flavors at room temperature for about 10–15 minutes until spreadable.
- Scoop and spread the strawberry ice cream over half of the cake.
- Scoop and spread the chocolate ice cream over the other half, or alternate in stripes for a fun effect.
- Cover the cake tightly with plastic wrap or aluminum foil.
- Freeze for at least 4 hours, preferably overnight, until firm.
Final Touches Before Serving
- Remove from freezer about 10 minutes before serving to allow easier slicing.
- Top with whipped cream, maraschino cherries, and colorful sprinkles right before serving.
- Slice, serve, and enjoy every chilly, creamy bite!
Creative Variations to Try
Don’t hesitate to experiment and customize your poke cake. Try these flavorful twists:
- Pineapple Surprise: Add a layer of crushed pineapple over the bananas for an extra fruity burst.
- Nutty Delight: Sprinkle chopped peanuts, almonds, or walnuts between the banana and ice cream layers.
- Different Cake Bases: Try chocolate, strawberry, or funfetti cake mix instead of yellow cake.
- Sauce Swaps: Replace hot fudge with caramel or strawberry sauce for a new flavor combo.
- Boozy Boost: Mix a splash of banana liqueur or coffee liqueur into the condensed milk layer for an adults-only version.
Helpful Tips for Perfect Results
- Freeze in Layers: For the neatest presentation, freeze the cake for 15–30 minutes between each major layer.
- Slice with a Warm Knife: Run your knife under hot water, then wipe dry before cutting for clean slices.
- Use Ripe Bananas: Slightly overripe bananas add the best flavor and sweetness.
- Firm Ice Cream Is Key: Ensure your cake is thoroughly frozen before slicing to prevent melting messes.
- Storage: Keep leftovers in an airtight container in the freezer for up to 7 days.
Why You’ll Love This Dessert
Banana Split Ice Cream Poke Cake isn’t just about nostalgia—it’s about bringing together beloved flavors into a simple yet indulgent treat. The soft cake absorbs the condensed milk and fudge, while the bananas and ice cream elevate it to dessert greatness.
This dessert is especially popular at:
- Summer cookouts
- Birthday parties
- Family reunions
- Kids’ sleepovers
- Holiday potlucks
Plus, it’s endlessly customizable, allowing you to tailor it to your favorite flavors or dietary needs.
FAQs
Can I make this recipe ahead of time?
Yes! This is the perfect make-ahead dessert. You can prepare and freeze the cake a day or two before your event. Just add the whipped cream and toppings right before serving.
Can I use homemade cake instead of a mix?
Absolutely. If you prefer baking from scratch, use your favorite yellow cake recipe. Just make sure it yields enough for a 9×13-inch pan.
How long can I store this cake in the freezer?
This poke cake can be stored for up to 1 week in the freezer. Wrap it tightly to prevent freezer burn and preserve flavor.
Do I have to use banana and chocolate ice cream?
Not at all. Feel free to mix it up with your favorite flavors—vanilla, cookies and cream, or even cherry would be delicious!
Can I make this dessert dairy-free?
Yes, substitute the dairy ingredients with plant-based options. Use a dairy-free cake mix, coconut milk condensed milk, non-dairy ice cream, and plant-based whipped topping.
Wrap-Up
There you have it—a full guide to creating your own Banana Split Ice Cream Poke Cake. It’s a playful, layered dessert that captures the joy of a classic banana split in every bite. With its moist cake base, rich fudge, creamy ice cream, and sweet banana flavor, this treat is destined to become a favorite.
So gather your ingredients, follow the simple steps, and let your freezer do the hard work. When it’s time to serve, don’t forget the whipped cream, cherries, and sprinkles. This cake isn’t just dessert—it’s a celebration in every slice.