How to Make Perfect Buttermilk Biscuits at Home
Introduction
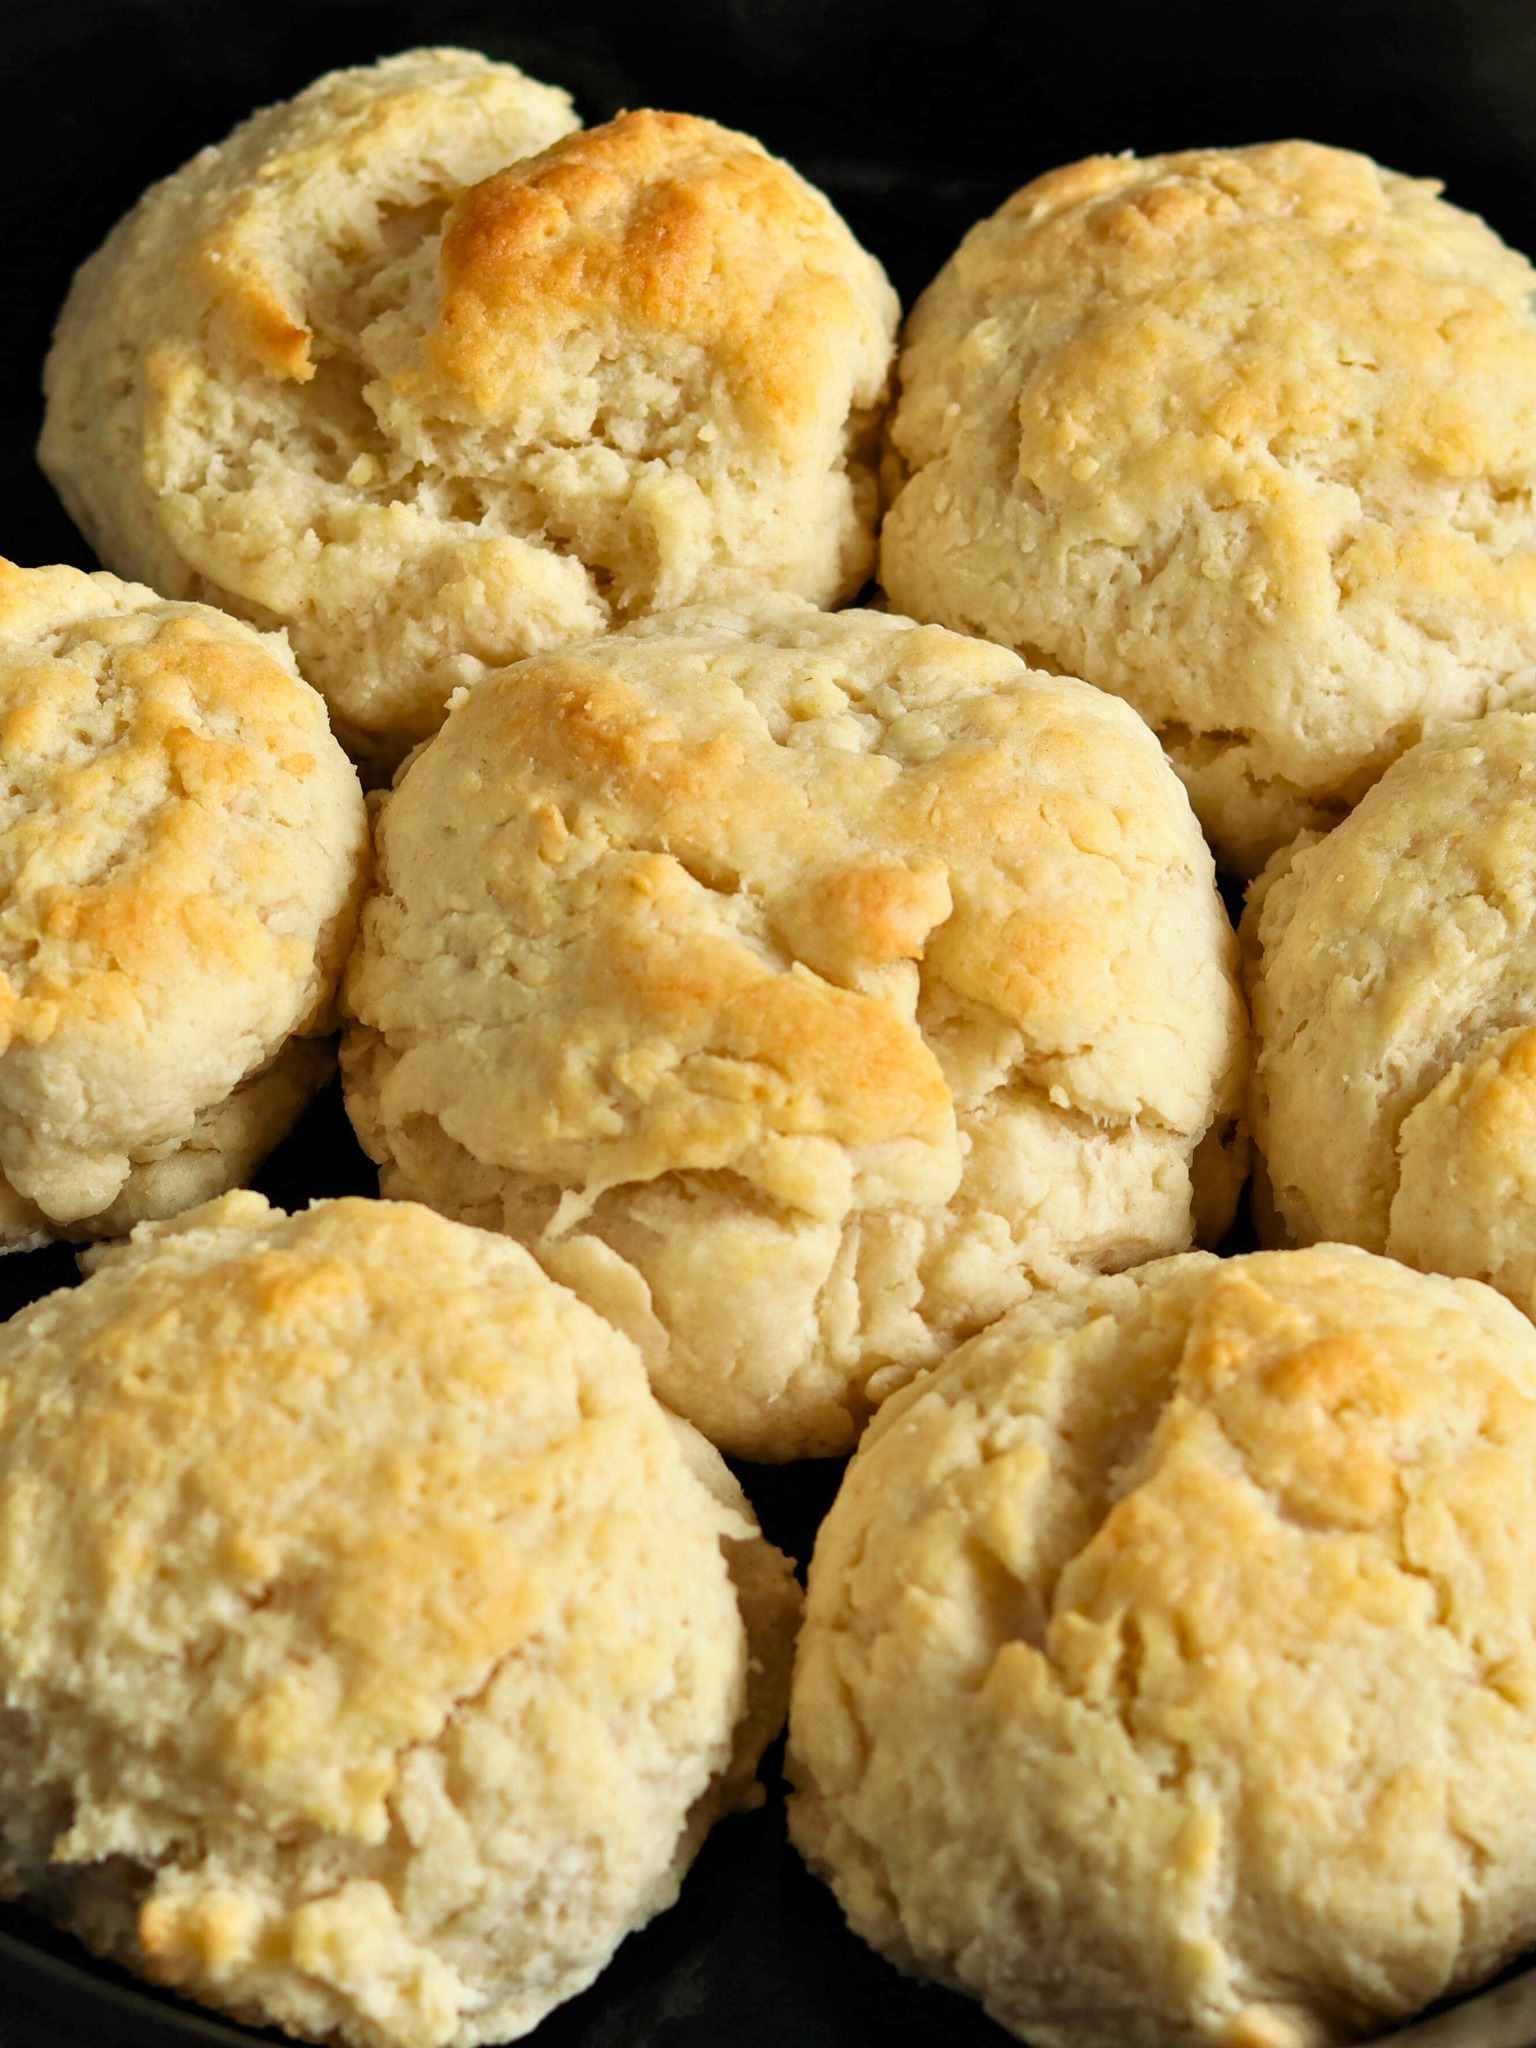
Nothing beats the aroma of freshly baked biscuits wafting through the kitchen. These homemade buttermilk biscuits are a simple yet delightful recipe that can easily become a family favorite. Perfectly soft on the inside and golden brown on the outside, they are ideal for breakfast, brunch, or even as a side to your dinner.
In this guide, we’ll walk through how to make light and fluffy buttermilk biscuits with a few simple ingredients and some handy tips to ensure your biscuits come out perfect every time. Whether you’re an experienced baker or trying biscuits for the first time, this recipe is easy to follow and yields consistently great results.
Ingredients for Buttermilk Biscuits
Before we get started, let’s go over the essential ingredients you’ll need to make these delicious biscuits.
List of Ingredients:
- ¾ cup buttermilk (plus 2 tablespoons for brushing the biscuits)
- 2 cups all-purpose flour
- 2 teaspoons baking powder
- ¼ teaspoon baking soda
- 1 teaspoon salt
- 7 tablespoons butter, chilled and cut into thin slices (keep the butter in the freezer until ready to use)
Step-by-Step Instructions for Making Buttermilk Biscuits
Step 1: Preheat the Oven
- Preheat your oven to 425°F (220°C). This high temperature helps the biscuits rise quickly, giving them a flaky texture.
- Line a baking sheet with parchment paper to prevent the biscuits from sticking.
Step 2: Combine Dry Ingredients
- In a large mixing bowl, whisk together the all-purpose flour, baking powder, baking soda, and salt. Whisking the ingredients helps distribute the leavening agents evenly throughout the flour.
Step 3: Cut in the Butter
- Take your chilled, sliced butter from the freezer. Using a pastry cutter, cut the butter into the flour mixture. The goal is to achieve a texture that resembles coarse crumbs.
- This process may take about 5 minutes, and the butter should remain cold throughout. If the butter warms up too much, it won’t create the flaky layers in the biscuits.
Step 4: Add Buttermilk
- Make a well in the center of the flour mixture and pour in ¾ cup of buttermilk. Stir gently until the dough just comes together. Avoid overmixing at this stage, as it can lead to tough biscuits.
- The dough should be slightly sticky but not too wet.
Step 5: Shape the Dough
- Lightly flour a clean surface (such as your countertop), and place the dough on the flour.
- Gently pat the dough into a rectangle using your hands.
- Fold this rectangle into thirds, like you would fold a letter.
- Turn the dough one half turn (180 degrees), then pat it into a rectangle again.
Step 6: Fold and Turn
- Repeat the folding and turning process two more times. This technique helps create layers in the biscuits, resulting in a flaky texture once baked.
Step 7: Roll Out the Dough
- After the final fold, roll the dough out to a thickness of about ½ inch. Be sure not to roll it too thin, as thicker dough will yield fluffier biscuits.
Step 8: Cut Out the Biscuits
- Using a 2 ½ inch biscuit cutter, cut out about 12 biscuits. Press the cutter straight down and lift it out without twisting. Twisting the cutter can seal the edges of the biscuits and prevent them from rising properly.
Step 9: Prepare for Baking
- Place the biscuits onto the prepared baking sheet. Make sure they are close together, as this helps them rise higher during baking.
- Using your thumb, make a small indent in the top of each biscuit. This step encourages even rising and gives the biscuits their signature look.
- Brush the tops of the biscuits with the 2 tablespoons of buttermilk. This will help them achieve a golden-brown color during baking.
Step 10: Bake the Biscuits
- Bake the biscuits for about 15 minutes or until they are golden brown and have risen nicely.
- Keep an eye on them toward the end of the baking time to avoid overbaking.
Step 11: Serve and Enjoy!
- Once the biscuits are baked to perfection, serve them warm with butter, jam, or your favorite toppings. Enjoy!
Tips for Making Perfect Buttermilk Biscuits
1. Keep the Butter Cold
- Cold butter is crucial for flaky biscuits. When the butter melts during baking, it creates steam, which helps the biscuits rise and develop layers. If the butter gets too warm before baking, the biscuits will be dense.
- Keep the butter in the freezer until you’re ready to use it, and work quickly to prevent it from warming up.
2. Don’t Overmix the Dough
- Overmixing can develop the gluten in the flour, resulting in tough biscuits. Stir the dough until just combined for a tender texture.
3. Folding Technique for Layers
- The folding process creates distinct layers in the biscuits. Be gentle when folding and avoid flattening the dough too much to preserve those layers.
4. Cut Straight Down
- When cutting out the biscuits, press the cutter straight down without twisting. Twisting can seal the edges and hinder the biscuits from rising properly during baking.
5. Oven Temperature
- Make sure your oven is fully preheated to 425°F (220°C) before baking. A hot oven ensures that the biscuits rise quickly, giving them a light and fluffy texture.
Frequently Asked Questions (FAQs)
1. Can I substitute buttermilk with another dairy product?
- Yes, if you don’t have buttermilk, you can make a substitute by mixing 1 tablespoon of lemon juice or vinegar with 1 cup of milk. Let the mixture sit for 5 minutes before using. However, buttermilk gives the biscuits their signature tang and tenderness, so the flavor might differ slightly.
2. How do I achieve the best texture for my biscuits?
- The key to light and flaky biscuits is using very cold butter and not overworking the dough. The folding technique also helps create layers, which contribute to the fluffiness of the biscuits.
3. What if I don’t have a pastry cutter?
- If you don’t have a pastry cutter, you can use two forks or your fingers to cut the butter into the flour mixture. Just be sure to work quickly so the butter stays cold.
4. Why are my biscuits not rising properly?
- Several factors could prevent your biscuits from rising. The most common reasons are using old baking powder or soda, overworking the dough, or twisting the cutter when cutting out the biscuits. Always use fresh leavening agents and handle the dough gently.
5. Can I make these biscuits ahead of time?
- Yes! You can prepare the dough, cut out the biscuits, and freeze them on a baking sheet. Once frozen, transfer them to a freezer bag. When ready to bake, pop them into the oven from frozen, adding a couple of extra minutes to the baking time.
6. What’s the best way to store leftover biscuits?
- Store leftover biscuits in an airtight container at room temperature for up to 2 days. To store for longer, freeze them in a freezer bag for up to 3 months. Reheat them in the oven to restore their crispiness.
7. Can I add cheese or other ingredients to the dough?
- Absolutely! You can add shredded cheese, herbs, or even crumbled bacon to the dough for added flavor. Fold them in after you add the buttermilk, but be careful not to overmix the dough.
8. How do I know when the biscuits are done?
- The biscuits are done when they are golden brown on top and have risen well. A toothpick inserted into the center should come out clean. Keep an eye on them toward the end of the baking time, as baking times may vary.
Conclusion
These buttermilk biscuits are a must-try for anyone who enjoys homemade baking. With a few simple ingredients and careful techniques, you can create soft, flaky biscuits that are perfect for any occasion. Whether you enjoy them with a pat of butter, some jam, or as a side to a hearty meal, these biscuits will never disappoint. Follow this guide, and you’ll be making bakery-quality biscuits at home in no time!