The Only Strawberry Jam Recipe I Trust – Full of Flavor and No Thickeners
Strawberry jam is one of those homemade delights that never fails to bring comfort and joy. Over the years, I’ve experimented with many jam recipes, but this is the only one I swear by. It preserves the true taste and aroma of strawberries without using any thickeners, ensuring a pure and flavorful result.
Every time I share this recipe, people are amazed by how simple yet effective it is. If you’ve ever struggled to make strawberry jam that captures the fruit’s natural essence, you’ll love this method. With a few essential tips and a slow, careful cooking process, you’ll create a jam that’s bursting with flavor, rich in texture, and free from unnecessary additives.
⸻
Why This Strawberry Jam Recipe is Special
This isn’t just any strawberry jam recipe. It follows a traditional European method that relies solely on fruit and sugar, without using pectin or other artificial thickeners. Instead, it uses a slow-cooking process that intensifies the natural sweetness of the berries while maintaining a perfect jam-like consistency.
Here are the key reasons why this recipe stands out:
• No Added Water: The strawberries release their own natural juices, creating a rich and concentrated flavor.
• Slow Cooking in Stages: This method preserves the color and texture of the strawberries, preventing them from turning mushy.
• No Thickeners Needed: The natural pectin in strawberries, combined with sugar, helps achieve the perfect thickness.
• Pure Strawberry Flavor: Because there are no artificial ingredients, the taste is fresh, fruity, and full-bodied.
⸻
Secrets to Perfect Strawberry Jam
To ensure your jam turns out beautifully every time, follow these essential tips:
Tip #1: Wash Your Strawberries the Right Way
Strawberries absorb water quickly, which can dilute the flavor of your jam. Instead of soaking them, rinse them gently under running water and let them drain in a strainer. This prevents excess moisture and helps the berries retain their natural sweetness.
Tip #2: Skip the Water – Use Only Strawberry Juice
A common mistake when making jam is adding water, which can weaken the taste. Instead, coat the strawberries in sugar and let them sit overnight. This process draws out their natural juice, which becomes the base for your jam. The longer they sit, the more syrup they release.
Pro Tip: Prepare your strawberries the night before and start cooking in the morning for the best results.
Tip #3: Use the Right Cooking Utensils
The type of pot you use makes a significant difference in jam-making. A wide, shallow pan allows moisture to evaporate quickly, helping the jam thicken naturally without excessive boiling. Using a dedicated jam-making pot can also enhance consistency.
Tip #4: Cook in Stages for Better Flavor and Texture
Instead of cooking your jam all at once, use a step-by-step approach:
1. Bring the strawberries and sugar mixture to a gentle boil.
2. Skim off the foam that forms on the surface.
3. Cook for just 1-2 minutes, then remove from heat and let it cool completely.
4. Repeat this process 2-3 times over the course of a day or two.
This method helps the strawberries retain their shape, prevents overcooking, and enhances the jam’s color and flavor.
Tip #5: Let the Jam Rest Between Cooking Stages
After each stage of cooking, allow the jam to cool completely. This resting period allows the strawberries to absorb the syrup, naturally thickening the jam. If you need to take a longer break, store the partially cooked jam in the refrigerator.
⸻
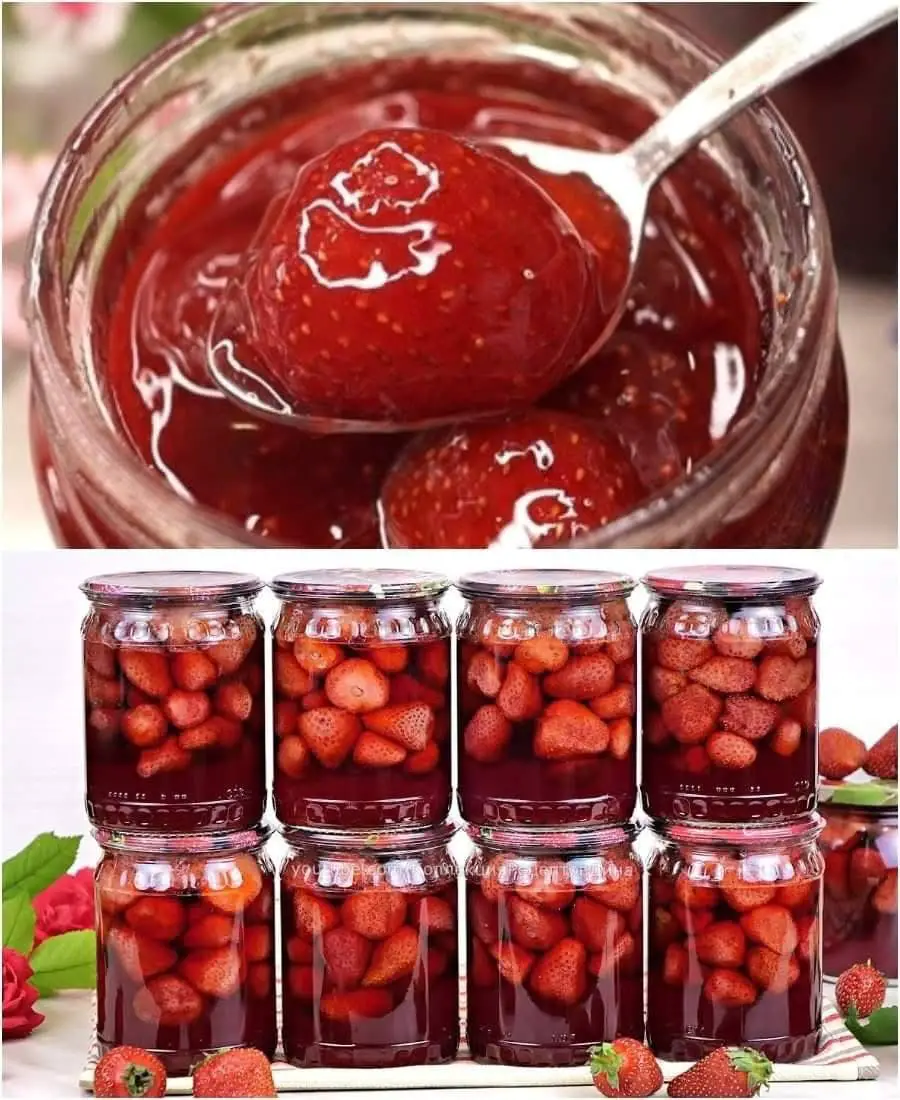
Strawberry Jam Recipe – Ingredients & Directions
Ingredients:
• Strawberries – 2 kg (about 4.5 lbs)
• Sugar – 1 kg (2.2 lbs) or more, depending on sweetness preference
Directions:
1. Prepare the Strawberries
• Rinse the strawberries quickly under running water and pat them dry.
• Remove the stems and cut larger berries in half.
2. Draw Out the Juice
• Place the strawberries in a large bowl.
• Sprinkle sugar evenly over them and let them sit overnight (8-12 hours).
3. Start Cooking
• Transfer the strawberries and their juices to a wide, shallow pan.
• Place over low heat and bring to a gentle boil.
4. Skim the Foam
• As the jam boils, foam will form on the surface. Skim this off with a spoon for a clearer jam.
5. Cook in Stages
• Let the jam cook for 1-2 minutes, then remove from heat.
• Allow it to cool completely before reheating.
• Repeat this process 2-3 times for the best results.
6. Final Cooking & Jar Preparation
• After the last round of cooking, pour the hot jam into sterilized jars.
• Seal the jars tightly while the jam is still hot.
• Avoid covering them with a thick cloth, as this can trap heat and continue the cooking process.
⸻
FAQs About Homemade Strawberry Jam
1. Why does my jam turn out too runny?
If your jam is too runny, it may not have cooked long enough or cooled sufficiently between stages. Letting it rest between cooking sessions helps it thicken naturally.
2. Can I use less sugar?
Yes, but sugar is essential for preservation and texture. If you reduce the sugar, be sure to store the jam in the refrigerator and consume it sooner.
3. How long does homemade strawberry jam last?
Properly sealed jam can last up to a year when stored in a cool, dark place. Once opened, keep it refrigerated and consume within a few weeks.
4. Can I add lemon juice?
Yes! A little lemon juice can enhance the flavor and help with natural preservation. It also balances the sweetness of the jam.
5. Do I need to refrigerate the jam after making it?
If sealed properly in sterilized jars, the jam does not need refrigeration. However, once opened, store it in the fridge.
6. What’s the best way to enjoy this jam?
This jam is perfect on toast, pancakes, yogurt, or as a filling for cakes and pastries!
⸻
Conclusion
This strawberry jam recipe is the only one I trust because it captures the true essence of strawberries without any thickeners or unnecessary ingredients. The slow-cooking process enhances both the flavor and texture, ensuring a homemade jam that is rich, vibrant, and incredibly delicious.
If you’ve never tried making jam this way before, I highly recommend giving it a go. You’ll love the deep, natural taste of strawberries and the satisfaction of creating a homemade preserve that lasts all year long.
Happy jam-making!